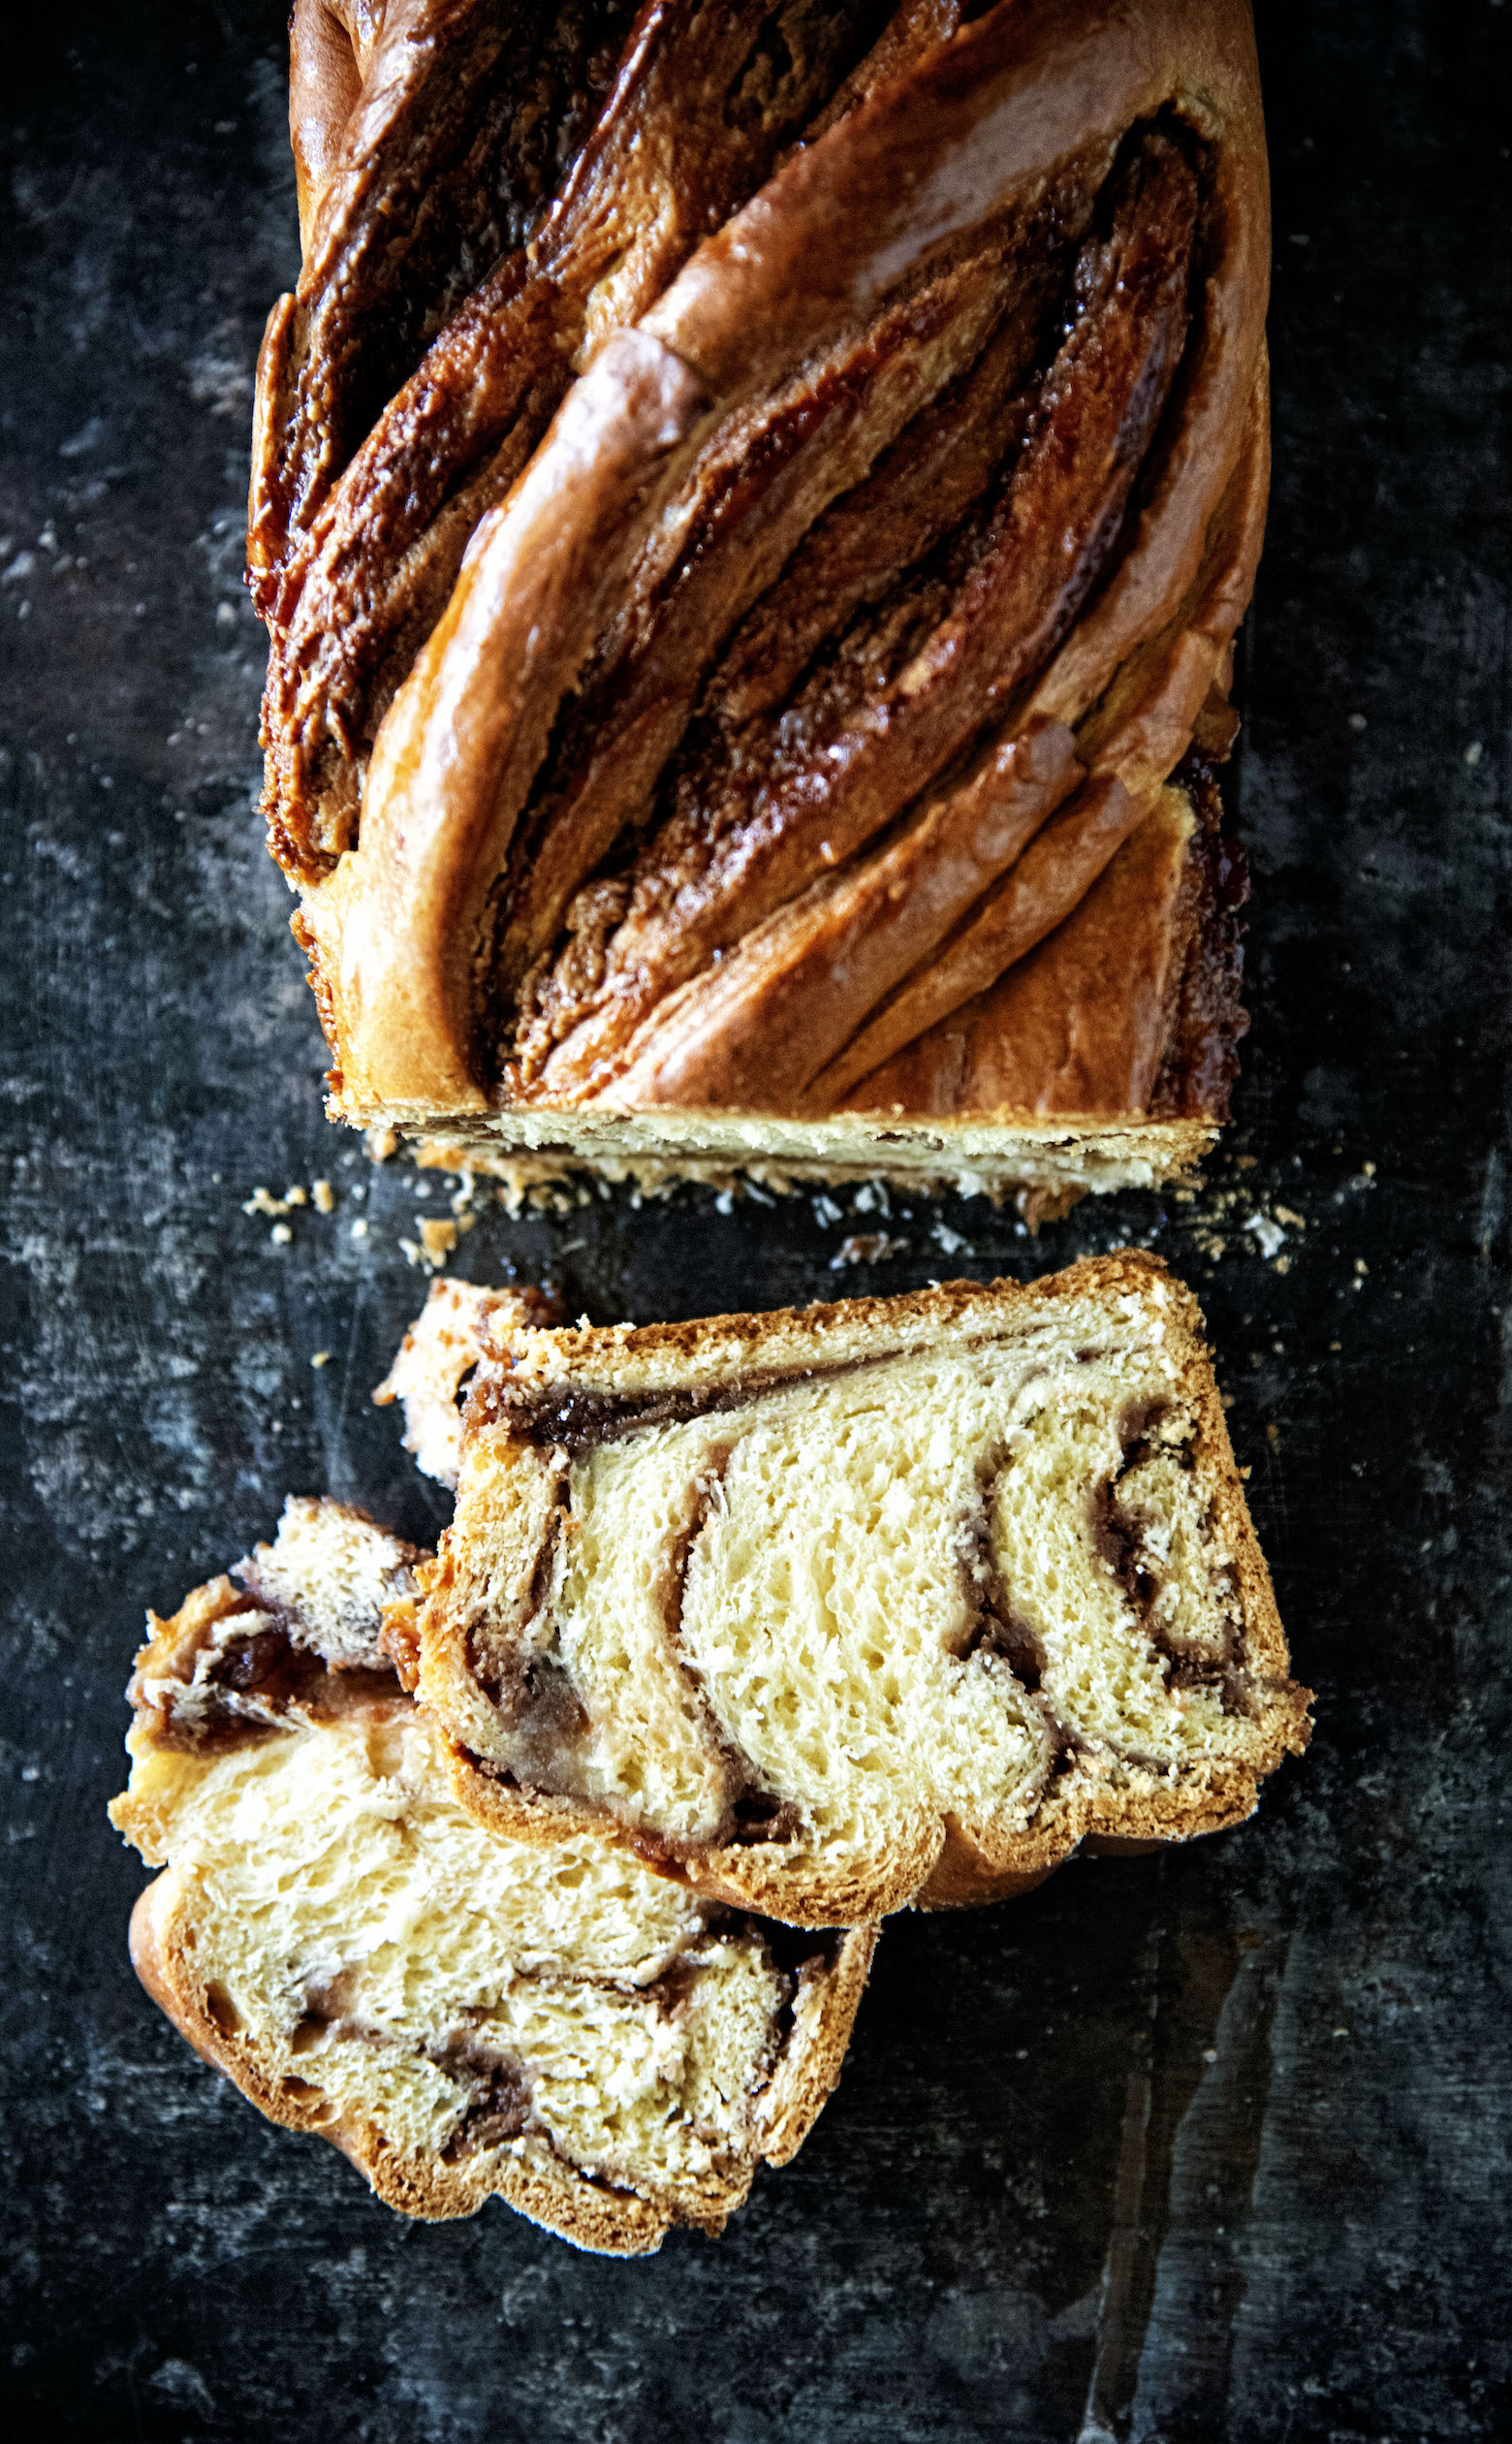
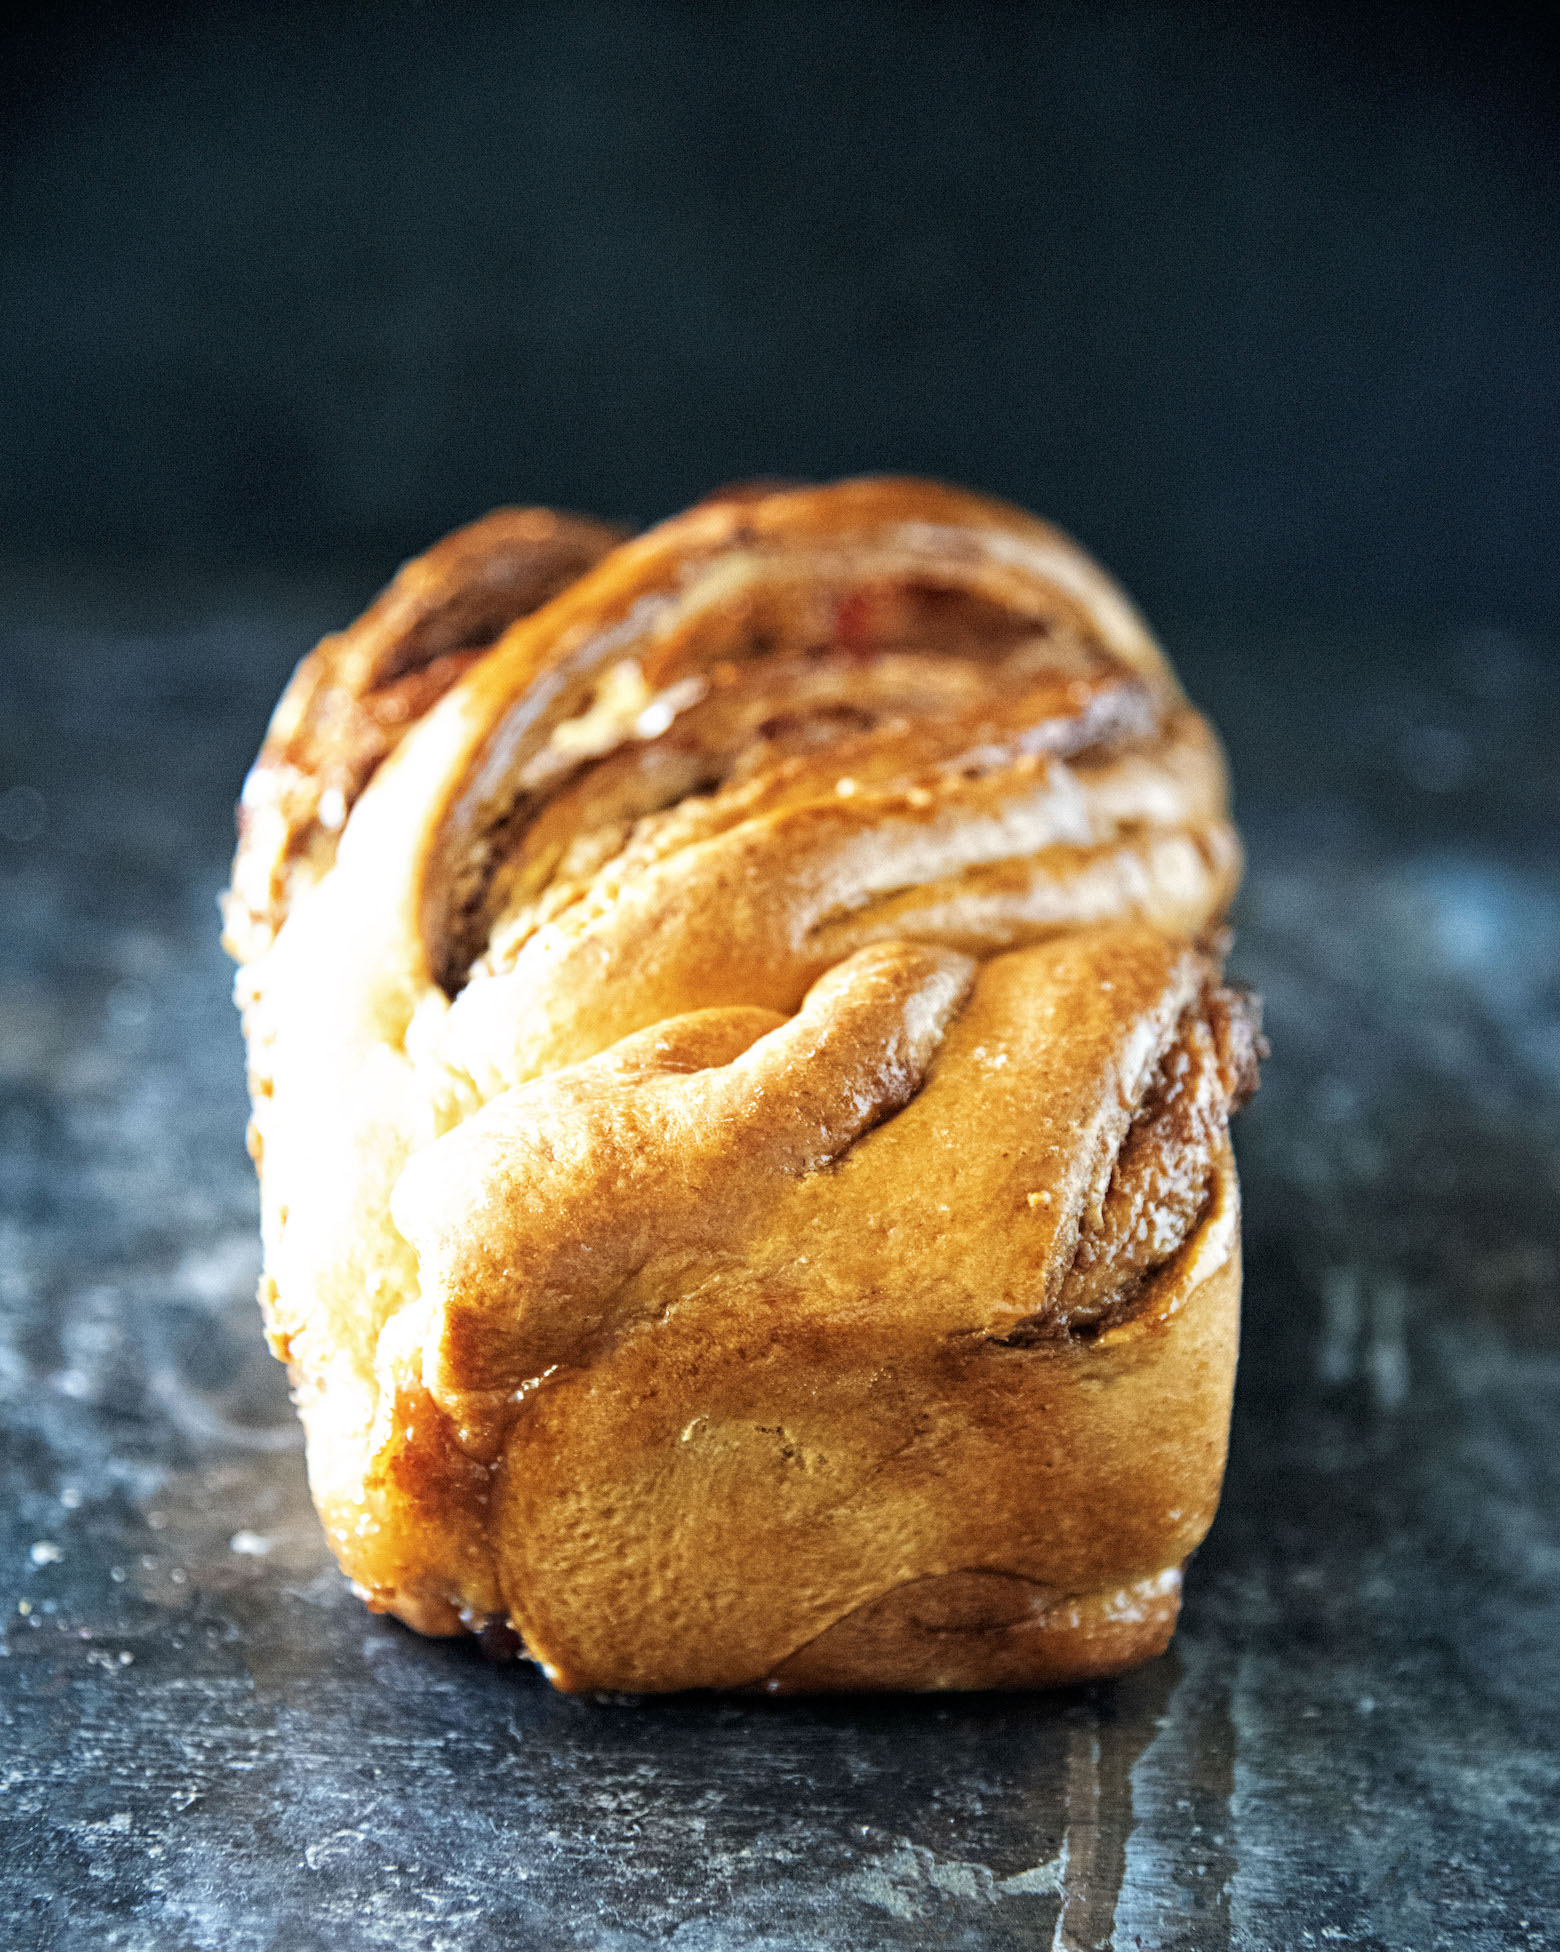
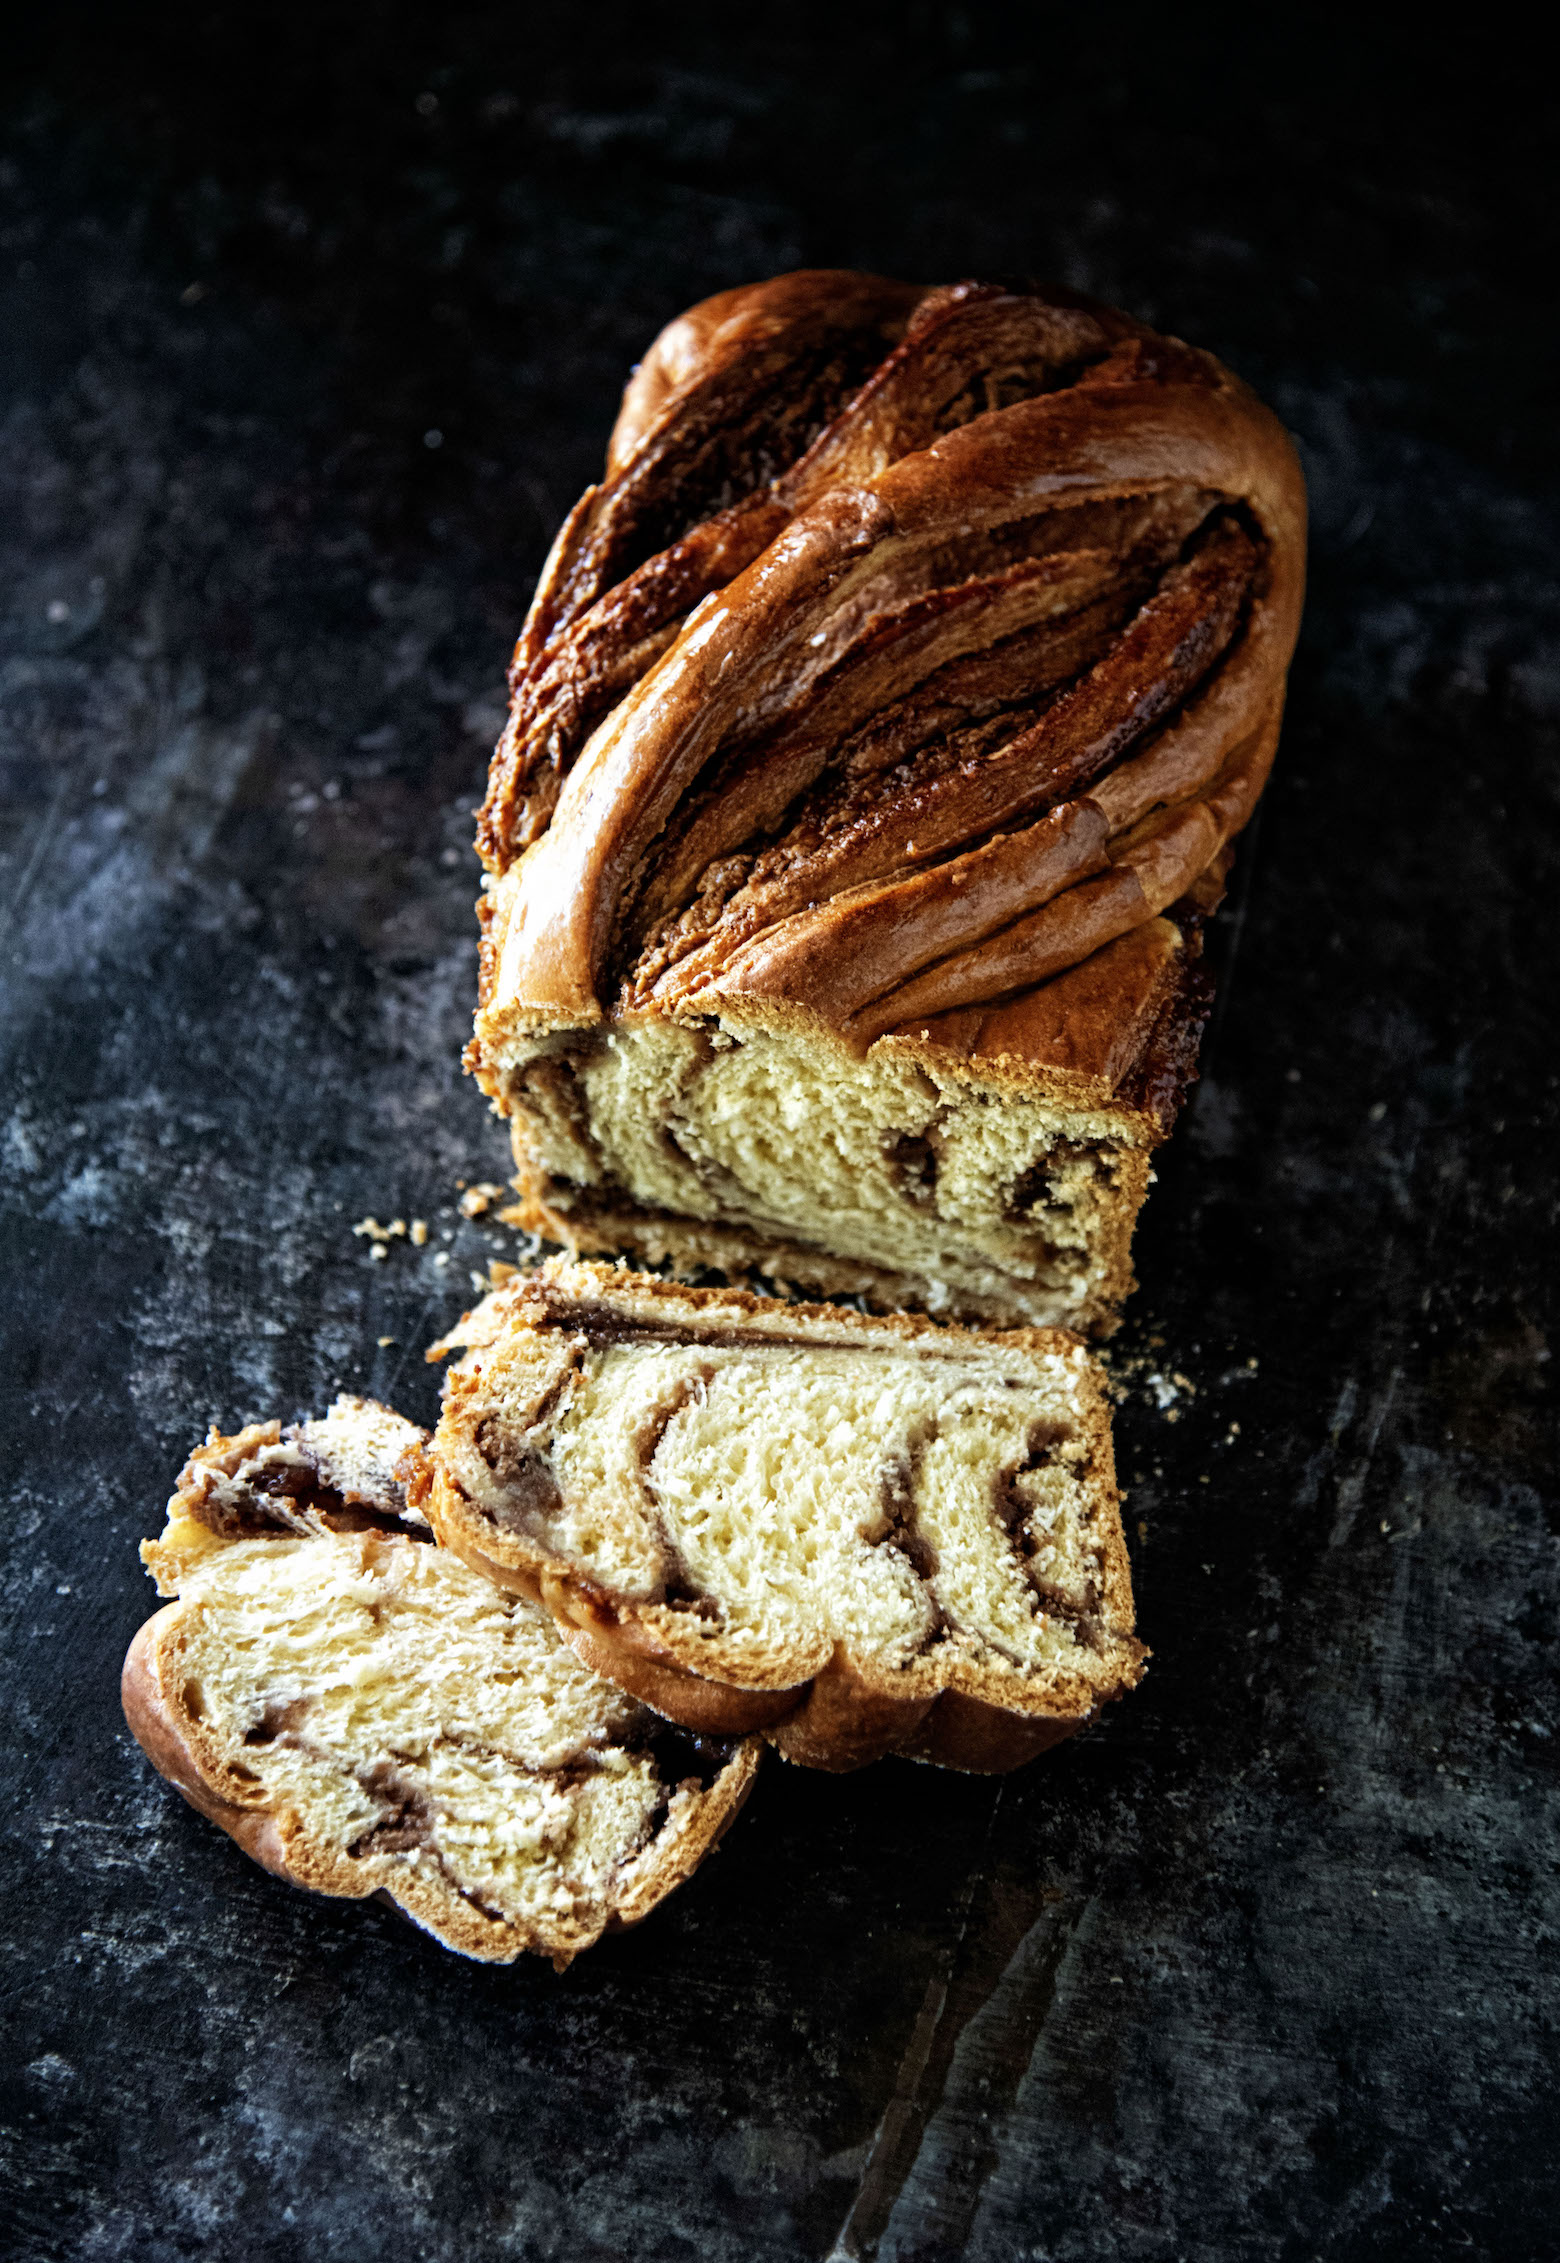
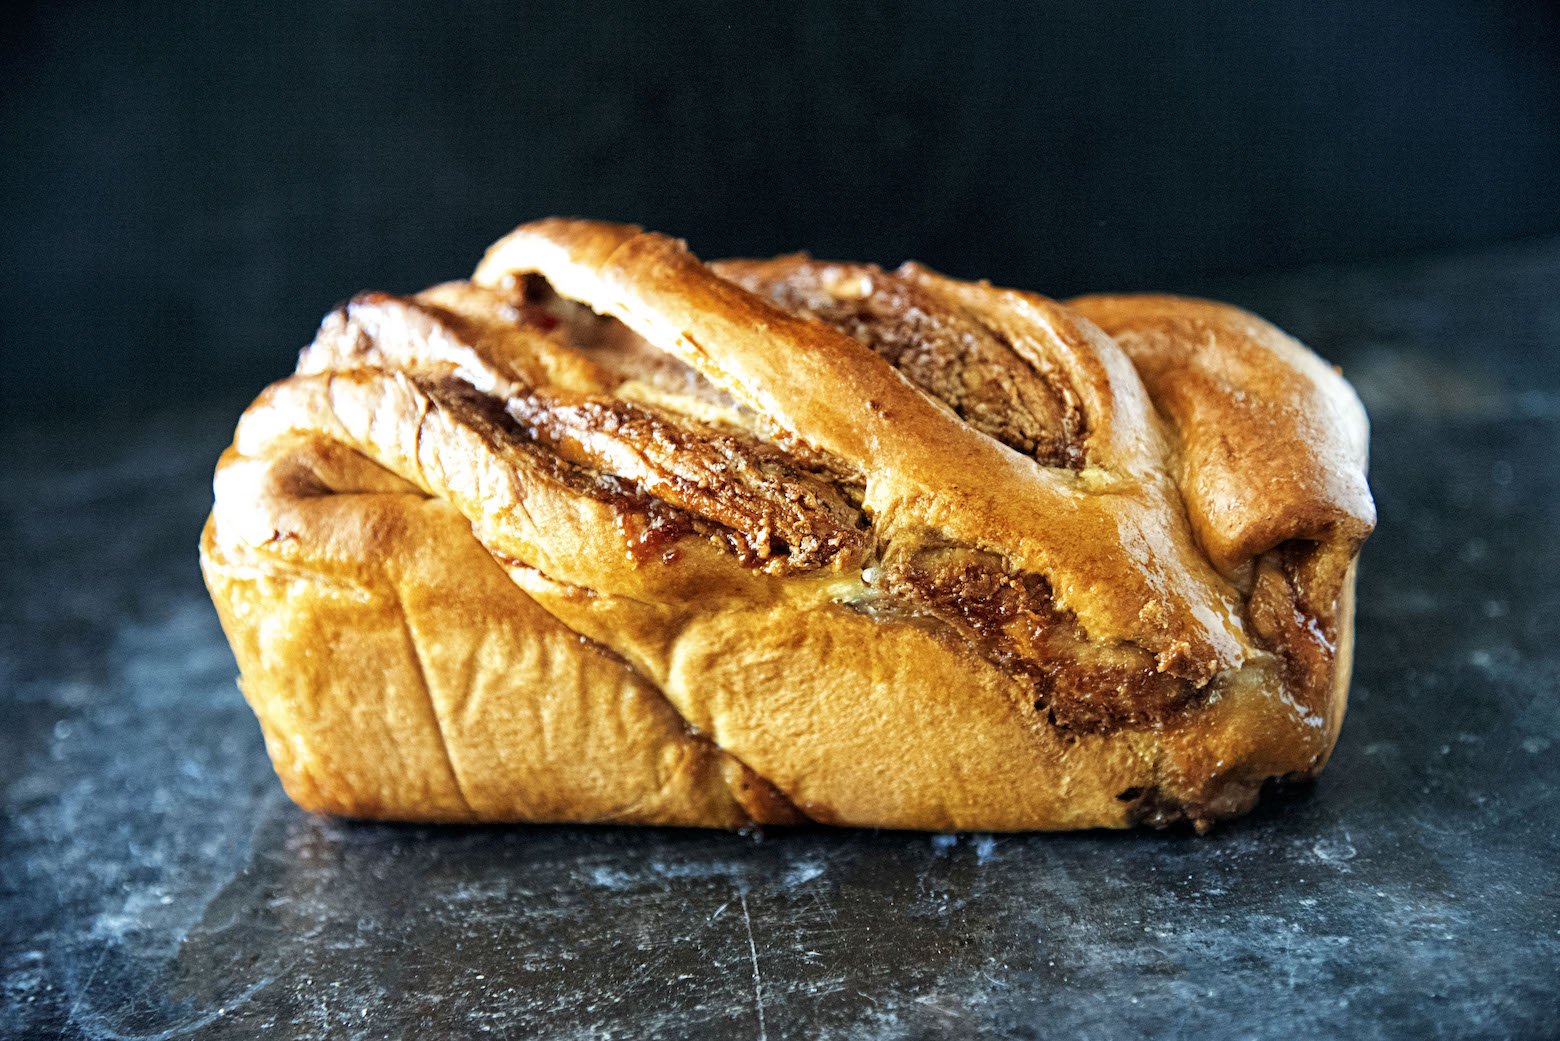
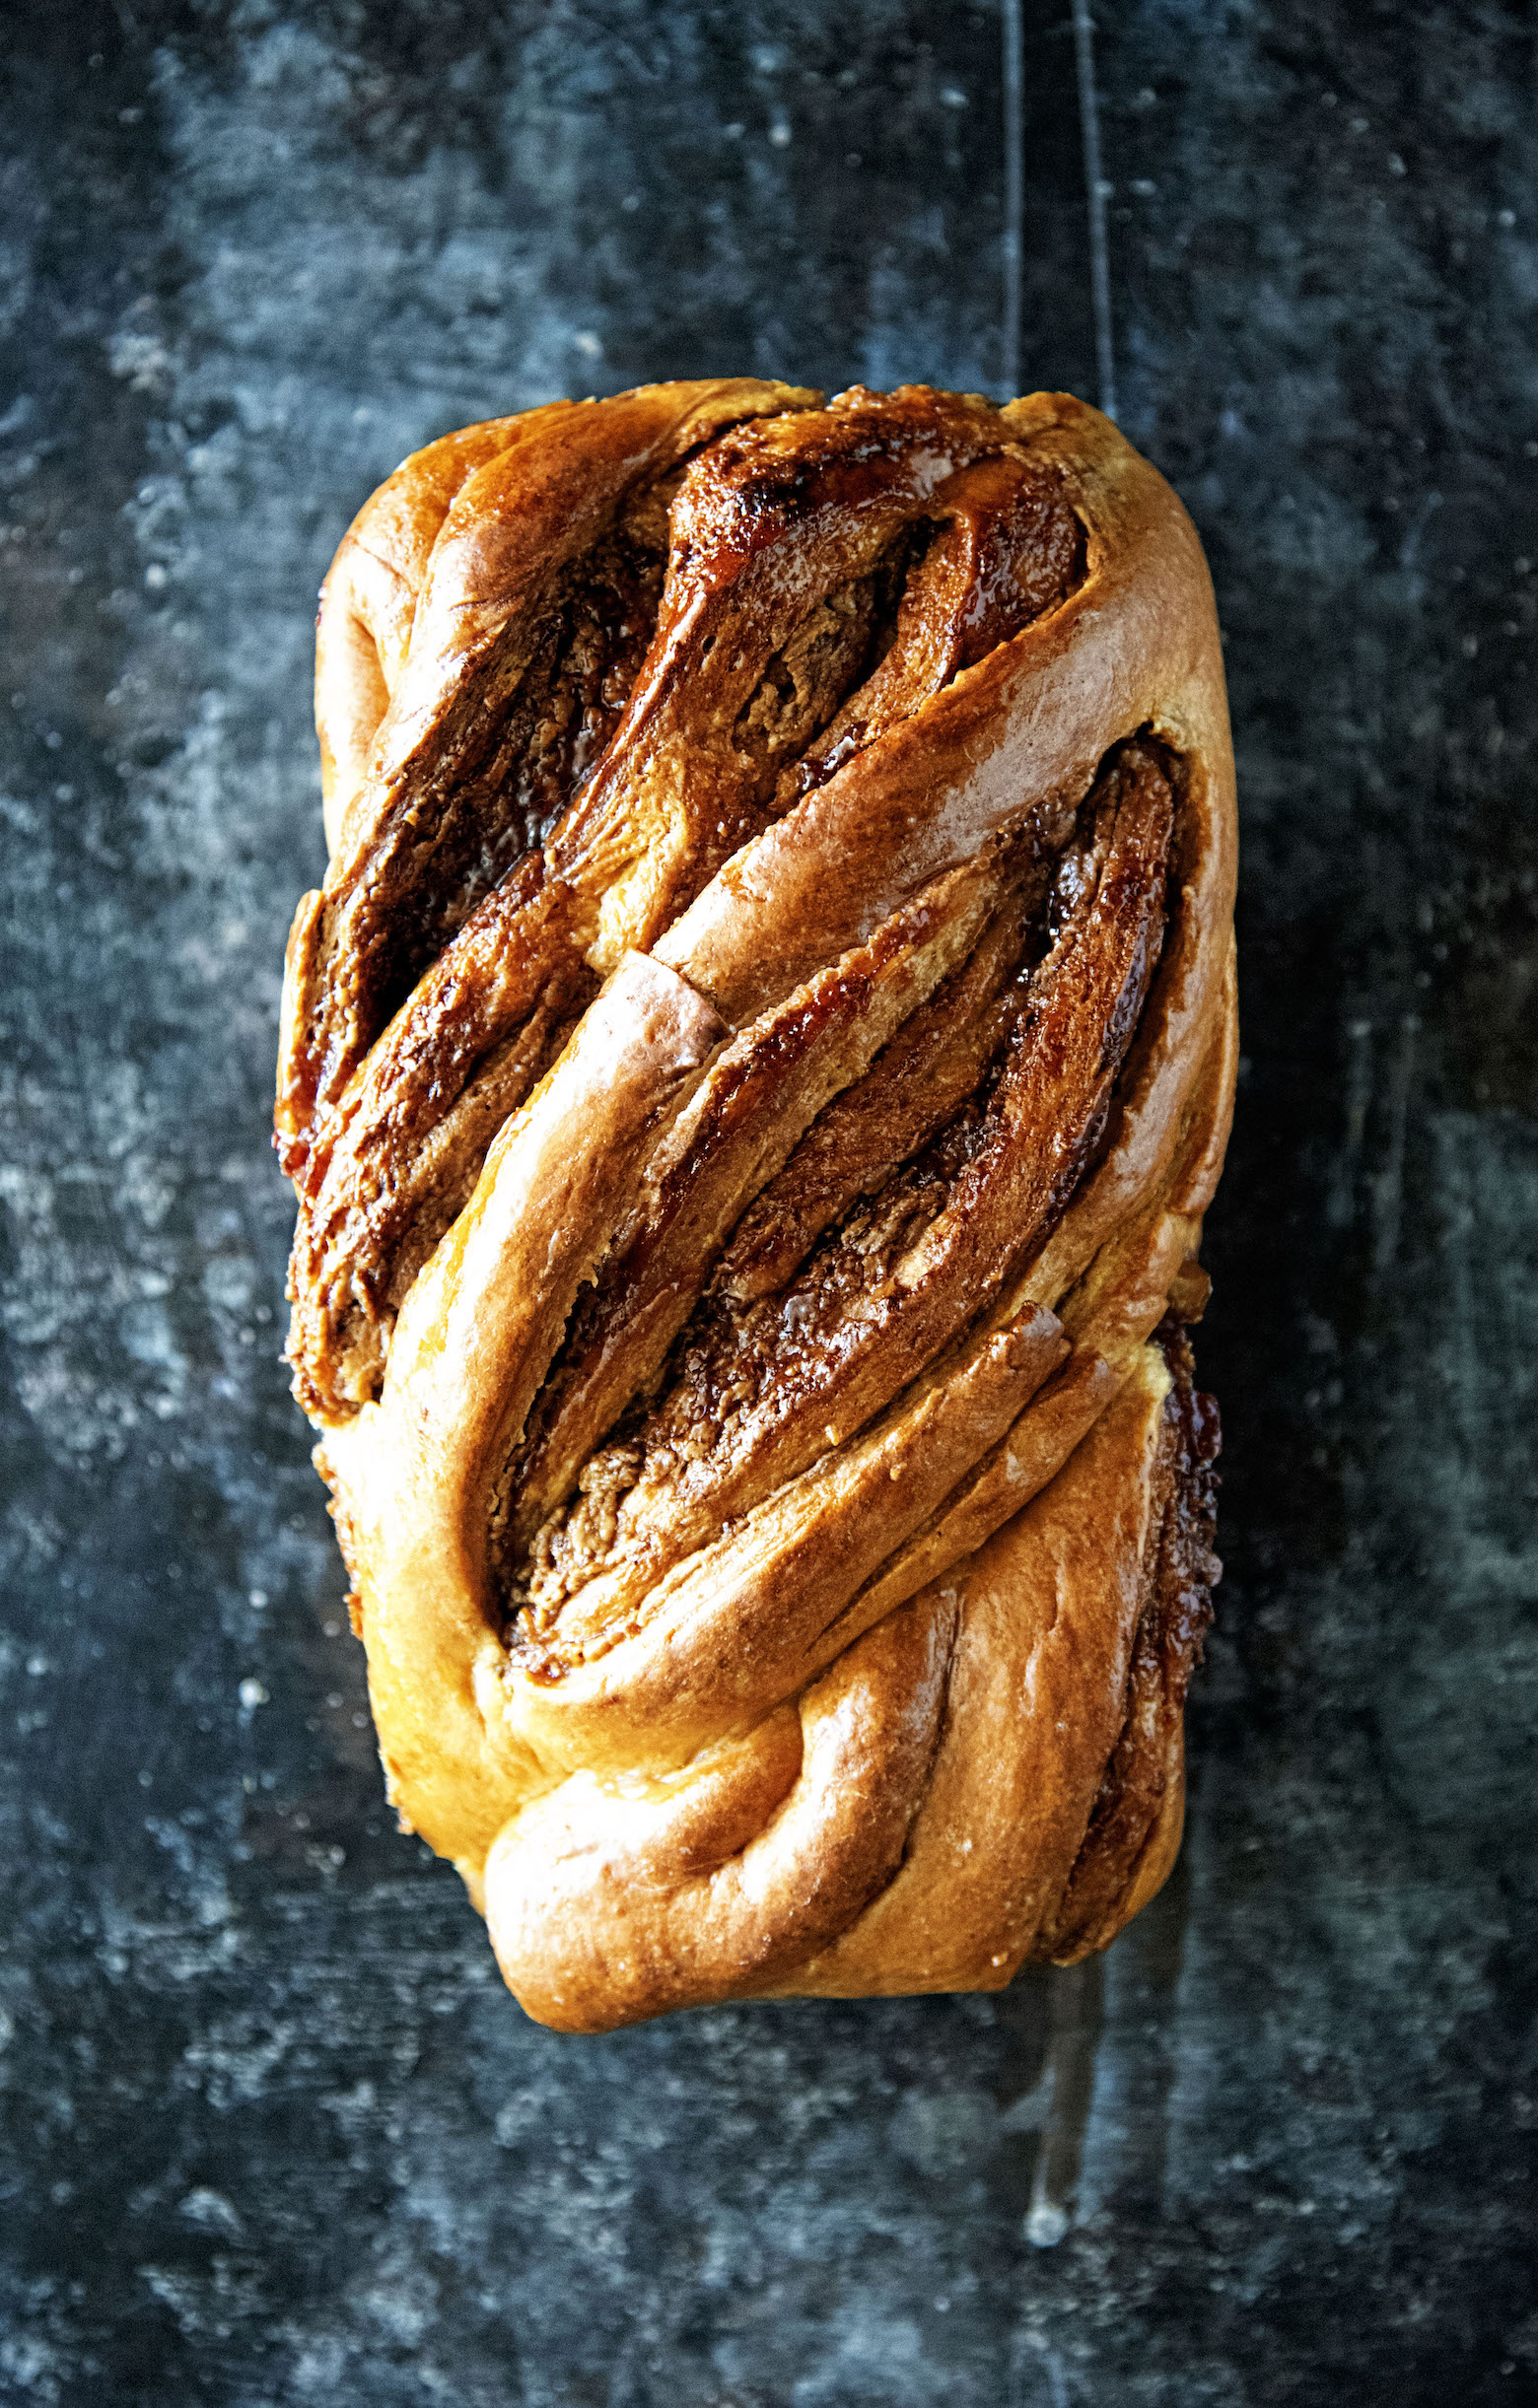
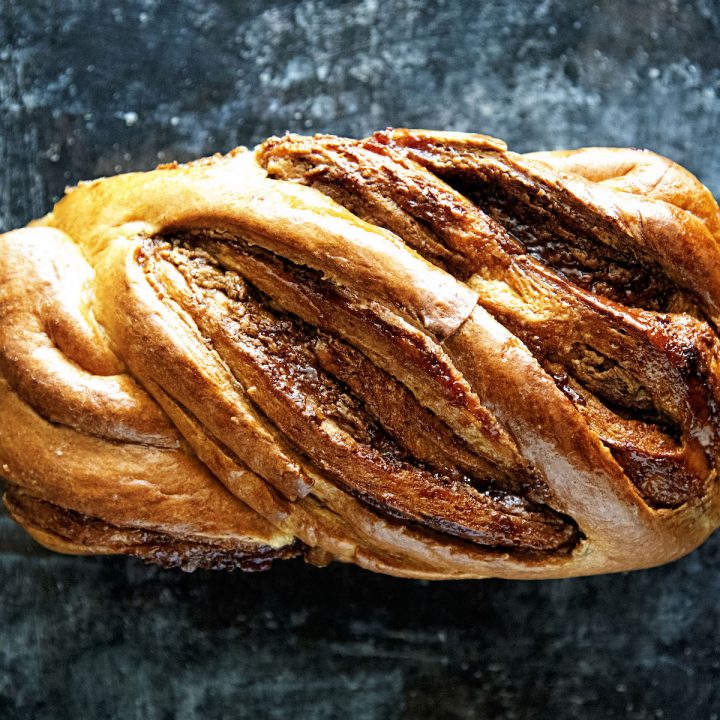
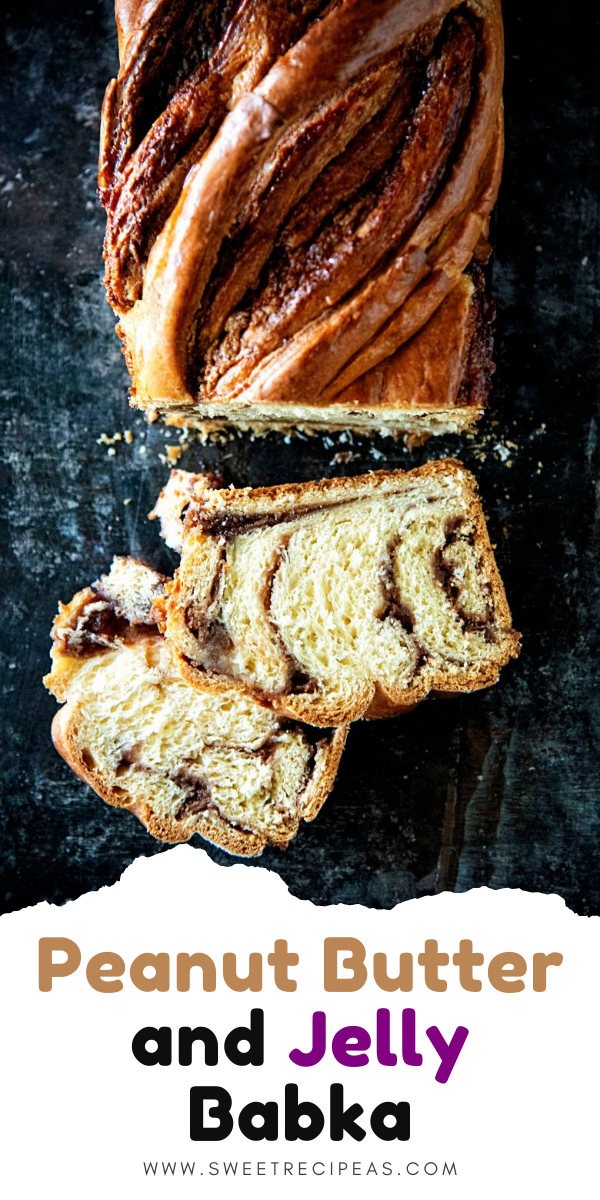
This Peanut Butter and Jelly Babka is a soft yeasty sweet braided dense bread filled with peanut butter and strawberry jam and coated in a sugar syrup.
If you live in the Pacific Northwest like me then school doesn’t start up for another month.
But if you live in Arizona like I did for a good chunk of my life, school is starting back this week.
And even though I have not taught for many years I still get a certain feeling this time of year.
I also tend to buy a lot of Sharpies and stickers…because it’s habit.
Since it is back to school and I was a teacher I would like to offer up some tips for all you parents out there.
Back to School Tips for Parents from a Former Teacher:
The Dreaded List:
We all know the list. The list of a million things your child needs for the school year.
It’s complained about constantly on Facebook rants and You Tube.
But reality is your teach does indeed need those supplies.
Schools are not flushed with money and your teachers don’t make enough to buy all the supplies themselves.
And trust me they buy A TON of supplies themselves.
Be Honest About The List:
If you get the list and think to yourself there is no way I can afford all of this right now…go ask the teacher just exactly what is needed with in the first few weeks.
There is a good chance that not EVERY single item is needed the second school starts.
Trust me that no one knows more than your children’s teacher about not having money.
They will understand.
If Your Child Gets The New Teacher:
Many a parent doesn’t like for their children to get the brand new, fresh out of school teacher.
And I get it.
Sometimes the discipline in the class gets a little haywire (unless you are me who won an award for classroom discipline her first year teaching 🙂 ) as the teacher learns theory and actual application are two different things.
BUT what you are getting is an incredibly excited teacher who is beyond thrilled to get his/hers first classroom ever.
Who is full of new ideas and wants to try every single one of them.
Their desire to teach is off the map!
Nurture that.
Help them without implying they are not doing a good job.
We are having a hard enough time keeping teachers, most leave after the first 5 years.
If Your Child Gets The Veteran Teacher:
Most people prefer the seasoned veteran teacher.
You know their reputation and if they will be a good fit for your child.
Sometimes however because they aren’t new they are overlooked for support.
They need it too.
Write a Letter to your Child’s Teacher:
On the first day of school send a letter with your child.
Or if they have a meet and greet before school this is also a good time to give it to them.
In that letter let your child’s teacher know their strengths and weaknesses.
Your child’s teacher will eventually find all of it out but why not give them a head start to know that your child loves to read but struggles with multiplication.
Schedule an Appointment to Talk:
We have all done it.
Run up to the teacher before school while he/she is on bus duty or playground duty and want to get into a discussion about your child.
Don’t.
He/she is supposed watching other kids and not being distracted by discussion.
Don’t run up after school as well.
Just like before school, most teachers have duty after school or they are off to a meeting.
If it’s Friday…well, you stand between them and happy hour. 😛
It’s not that they don’t want to talk about your child with you…they do.
In fact, I LOVED when parents would set up a time to talk because I actually had the time to focus my attention on them and their child’s needs.
Buy Supplies Again:
Your child’s classroom will always need supplies. If you are in a place where you can buy them
Let the Teacher Know they are Doing a Good Job:
Teaching is often a thankless job, just like parenting.
Be sure to let your teacher know that you appreciate the time and effort they put into their classroom.
If your child came home and told you about something they did in class that day…send a note to the teacher the next day telling them so.
If You have Junior High or High School Age Kids:
Don’t stop being involved with their school lives just because your child doesn’t seem to need you as much anymore.
Sure they stink a little of body odor 🙂 and they tell you that they hate you…but reality is they need you.
They need you especially if they are saying they hate you.
Teen years are rough but they are still kids no matter how hard they resist.
Back to school means peanut butter and jelly to me.
And while nowadays it’s almond butter and jelly…I don’t have a peanut allergy (amazingly since I have so many other food allergies) so I made my babka with peanut butter.
This is a new recipe I tried out.
The bake time is way longer on it than what I am used to.
I worried greatly that it would be dry but it was not.
This Peanut Butter and Jelly Babka is a tasty bread and takes place of making a PB and J sandwich.
Feel free to use whatever nut butter or jam/jelly flavor you like.
And teacher friends if you are headed back to school this week…I wish you a great and sane year.
It’s a great day to order my cookbook.
Want more recipes?
Fireball Glazed Cinnamon Sugar Babka
Brown Sugar Apple Cinnamon Babka
Peanut Butter and Jelly Babka
Ingredients
- For the Dough:
- 3 cups all-purpose flour
- 1 pkg. active dry yeast
- ¾ cup milk
- ½ cup butter, cut up
- ¼ cup sugar
- 1 teaspoon salt
- 1 egg
- 1 cup peanut butter (I used Jif)
- 1 cup jam of your choice (I used homemade strawberry)
- For the sugar syrup:
- 1/2 cup water
- 1/3 sugar
Instructions
- For the sugar syrup:
- In a small saucepan bring sugar and water to a boil.
- When sugar is all dissolved remove from heat and set aside until needed.
- For the dough:
- Using a stand mixer with a hook attachment mix together 2 cups of the flour and the yeast.
- In a small saucepan heat and stir the milk, 1/2 cup butter, 1/4 cup sugar, and salt until warm (110°F to 115°F) and butter almost melts.
- Add to flour mixture along with 1 egg.
- Stir with dough hook until combined. Stir in as much of the remaining flour as you can.
- Mix until dough comes together and is shiny and smooth.
- Shape dough into a ball. Place in a lightly greased bowl; turn once to grease surface of dough.
- Cover; let rise in a warm place until nearly double in size (1 1/2 to 2 hours).
- Punch dough down.
- Turn out onto a lightly floured surface.
- Cover and let rest 10 minutes.
- Grease an 8x4-inch loaf pan.
- Roll dough into a 16x12-inch rectangle.
- Spread peanut butter all around.
- Spread the jam over the peanut butter.
- Roll up rectangle, starting from a long side.
- Cut roll in half crosswise. Make an "x" with the pieces.
- Twist each end together.
- Place dough twist in prepared pan.
- Cover and let rise in a warm place until nearly double (45 to 60 minutes).
- Preheat oven to 325°F.
- Bake 40 minutes. Remove from oven and brush with sugar syrup.
- Cover with foil to prevent overbrowning.
- Place back in oven and bake another 30-35 minutes or until golden and bread sounds hollow when gently tapped (internal temperature of bread should be 180°F to 190°F).
- Remove from oven and again brush with sugar syrup.
- Loosen loaf from pan and remove.
- Cool completely on a wire rack.
Notes
Adapted from Better Homes and Garden Fall Recipes 2018
Sabrina says
thank you for sharing this amp-ed up peanut butter and jelly! Great school-kids advice too, much appreciated from a former teacher
Peabody says
🙂 Glad you liked it.