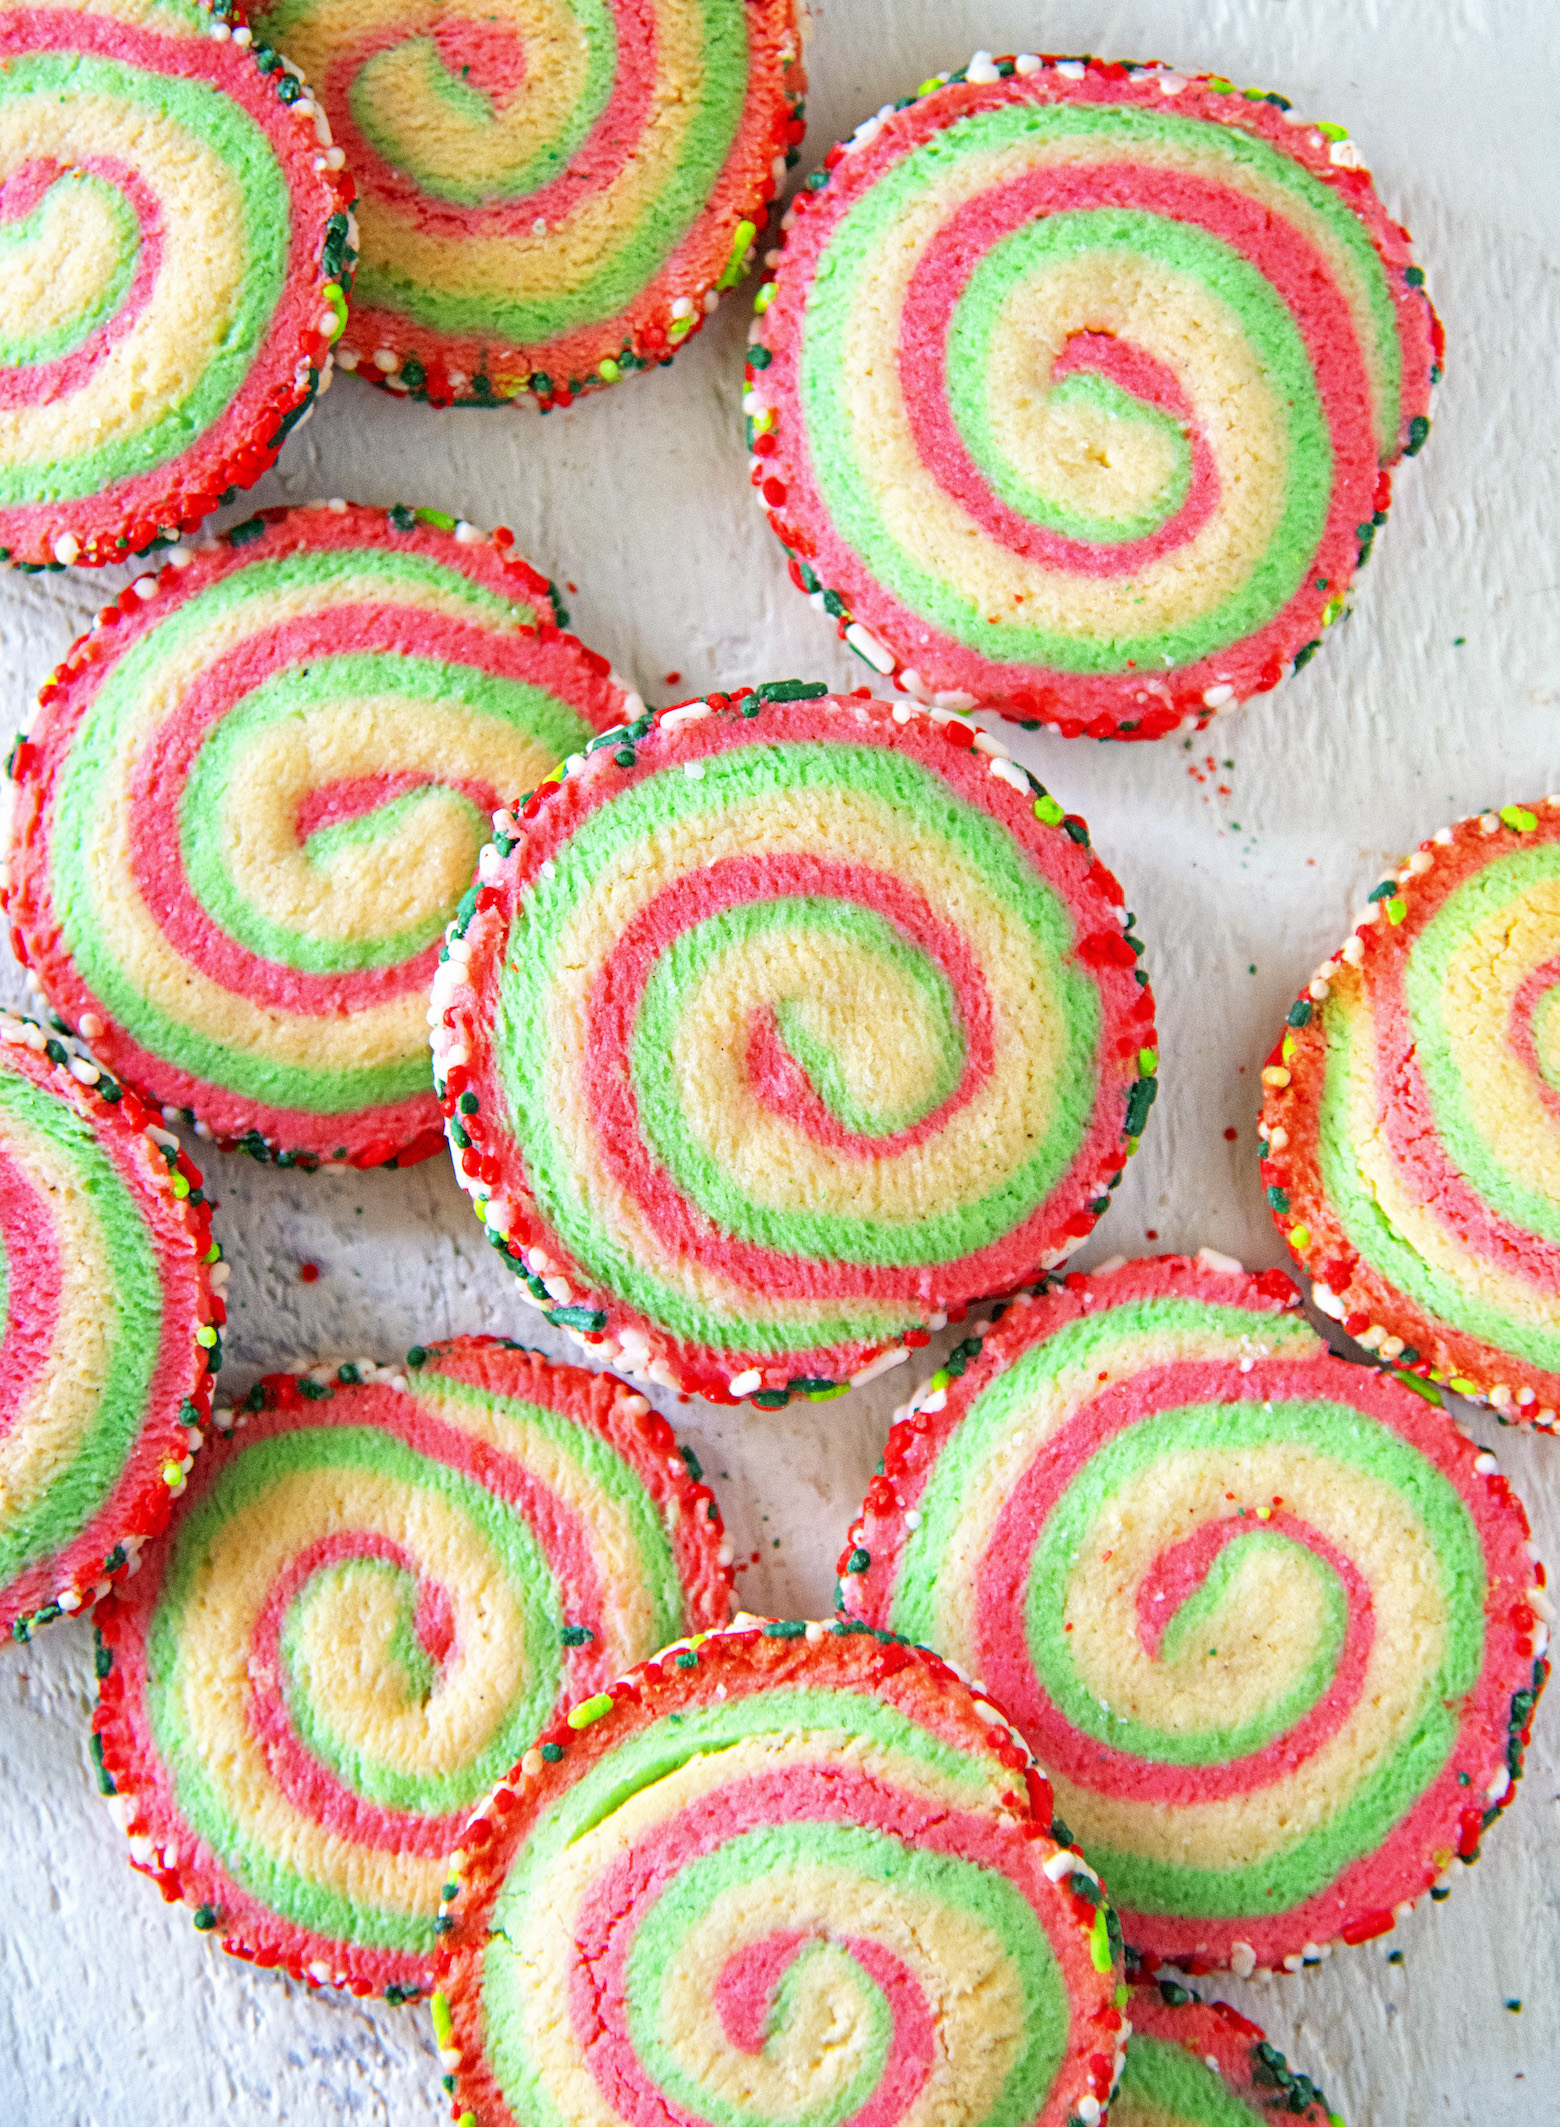
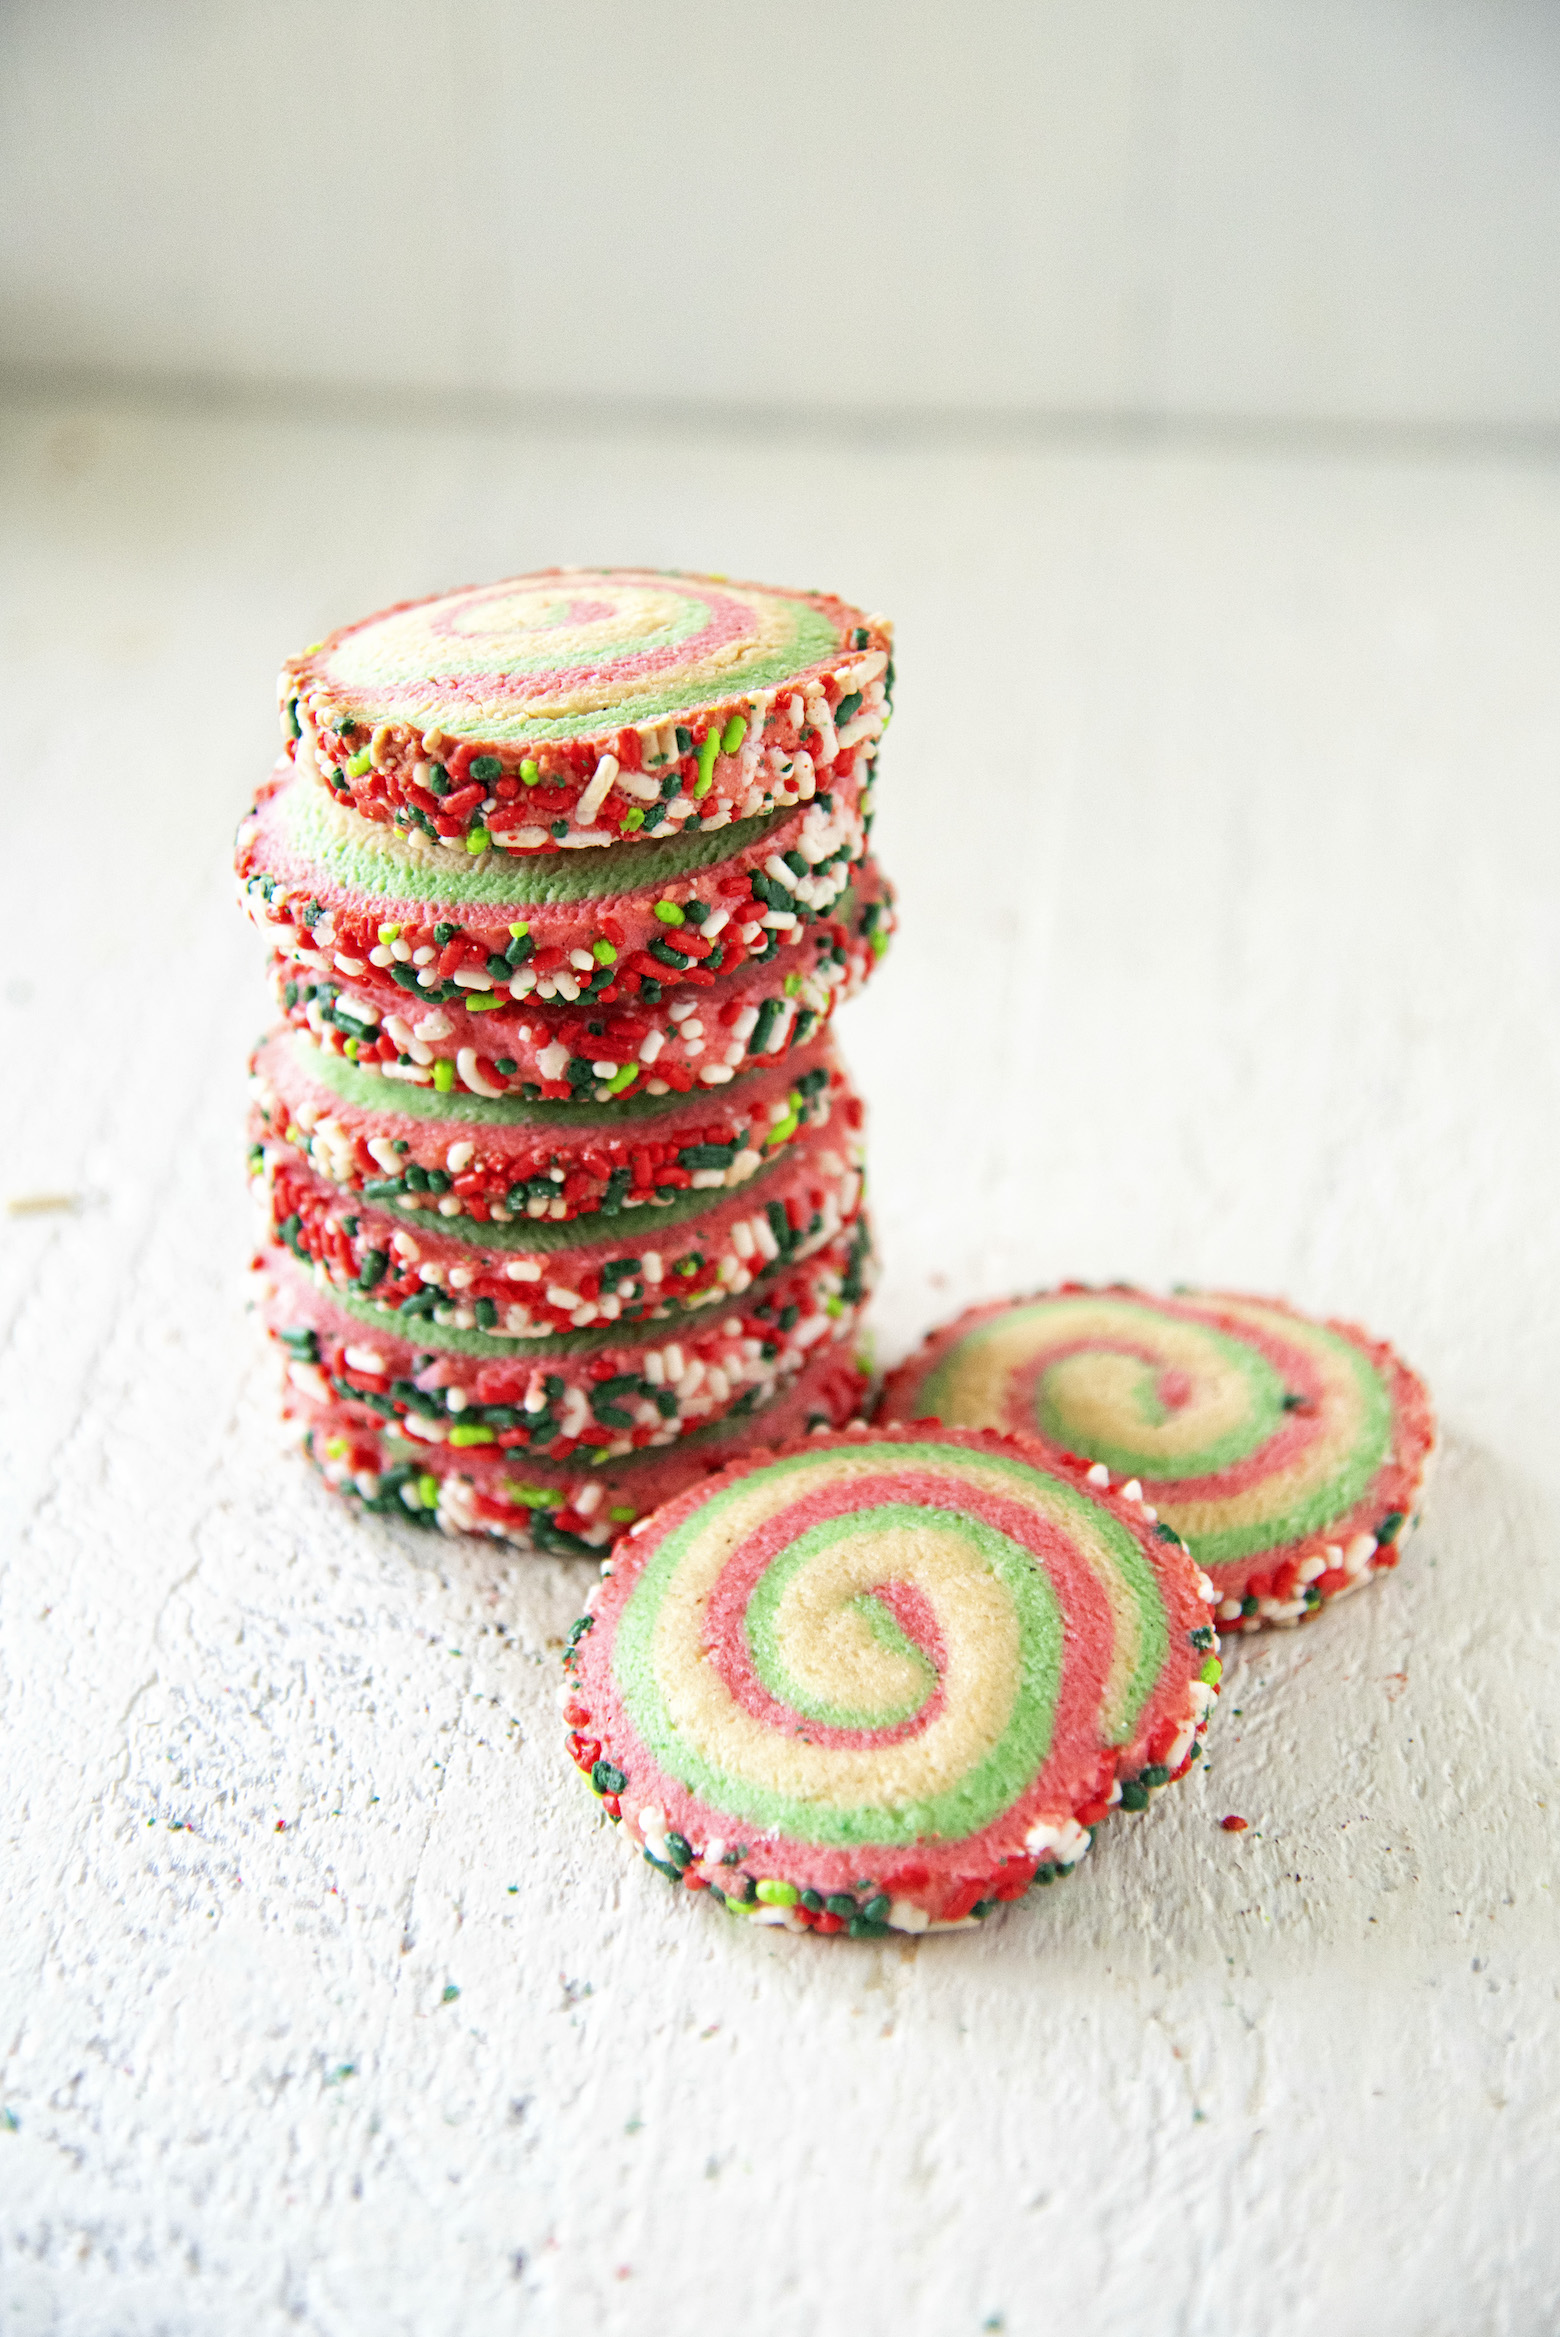
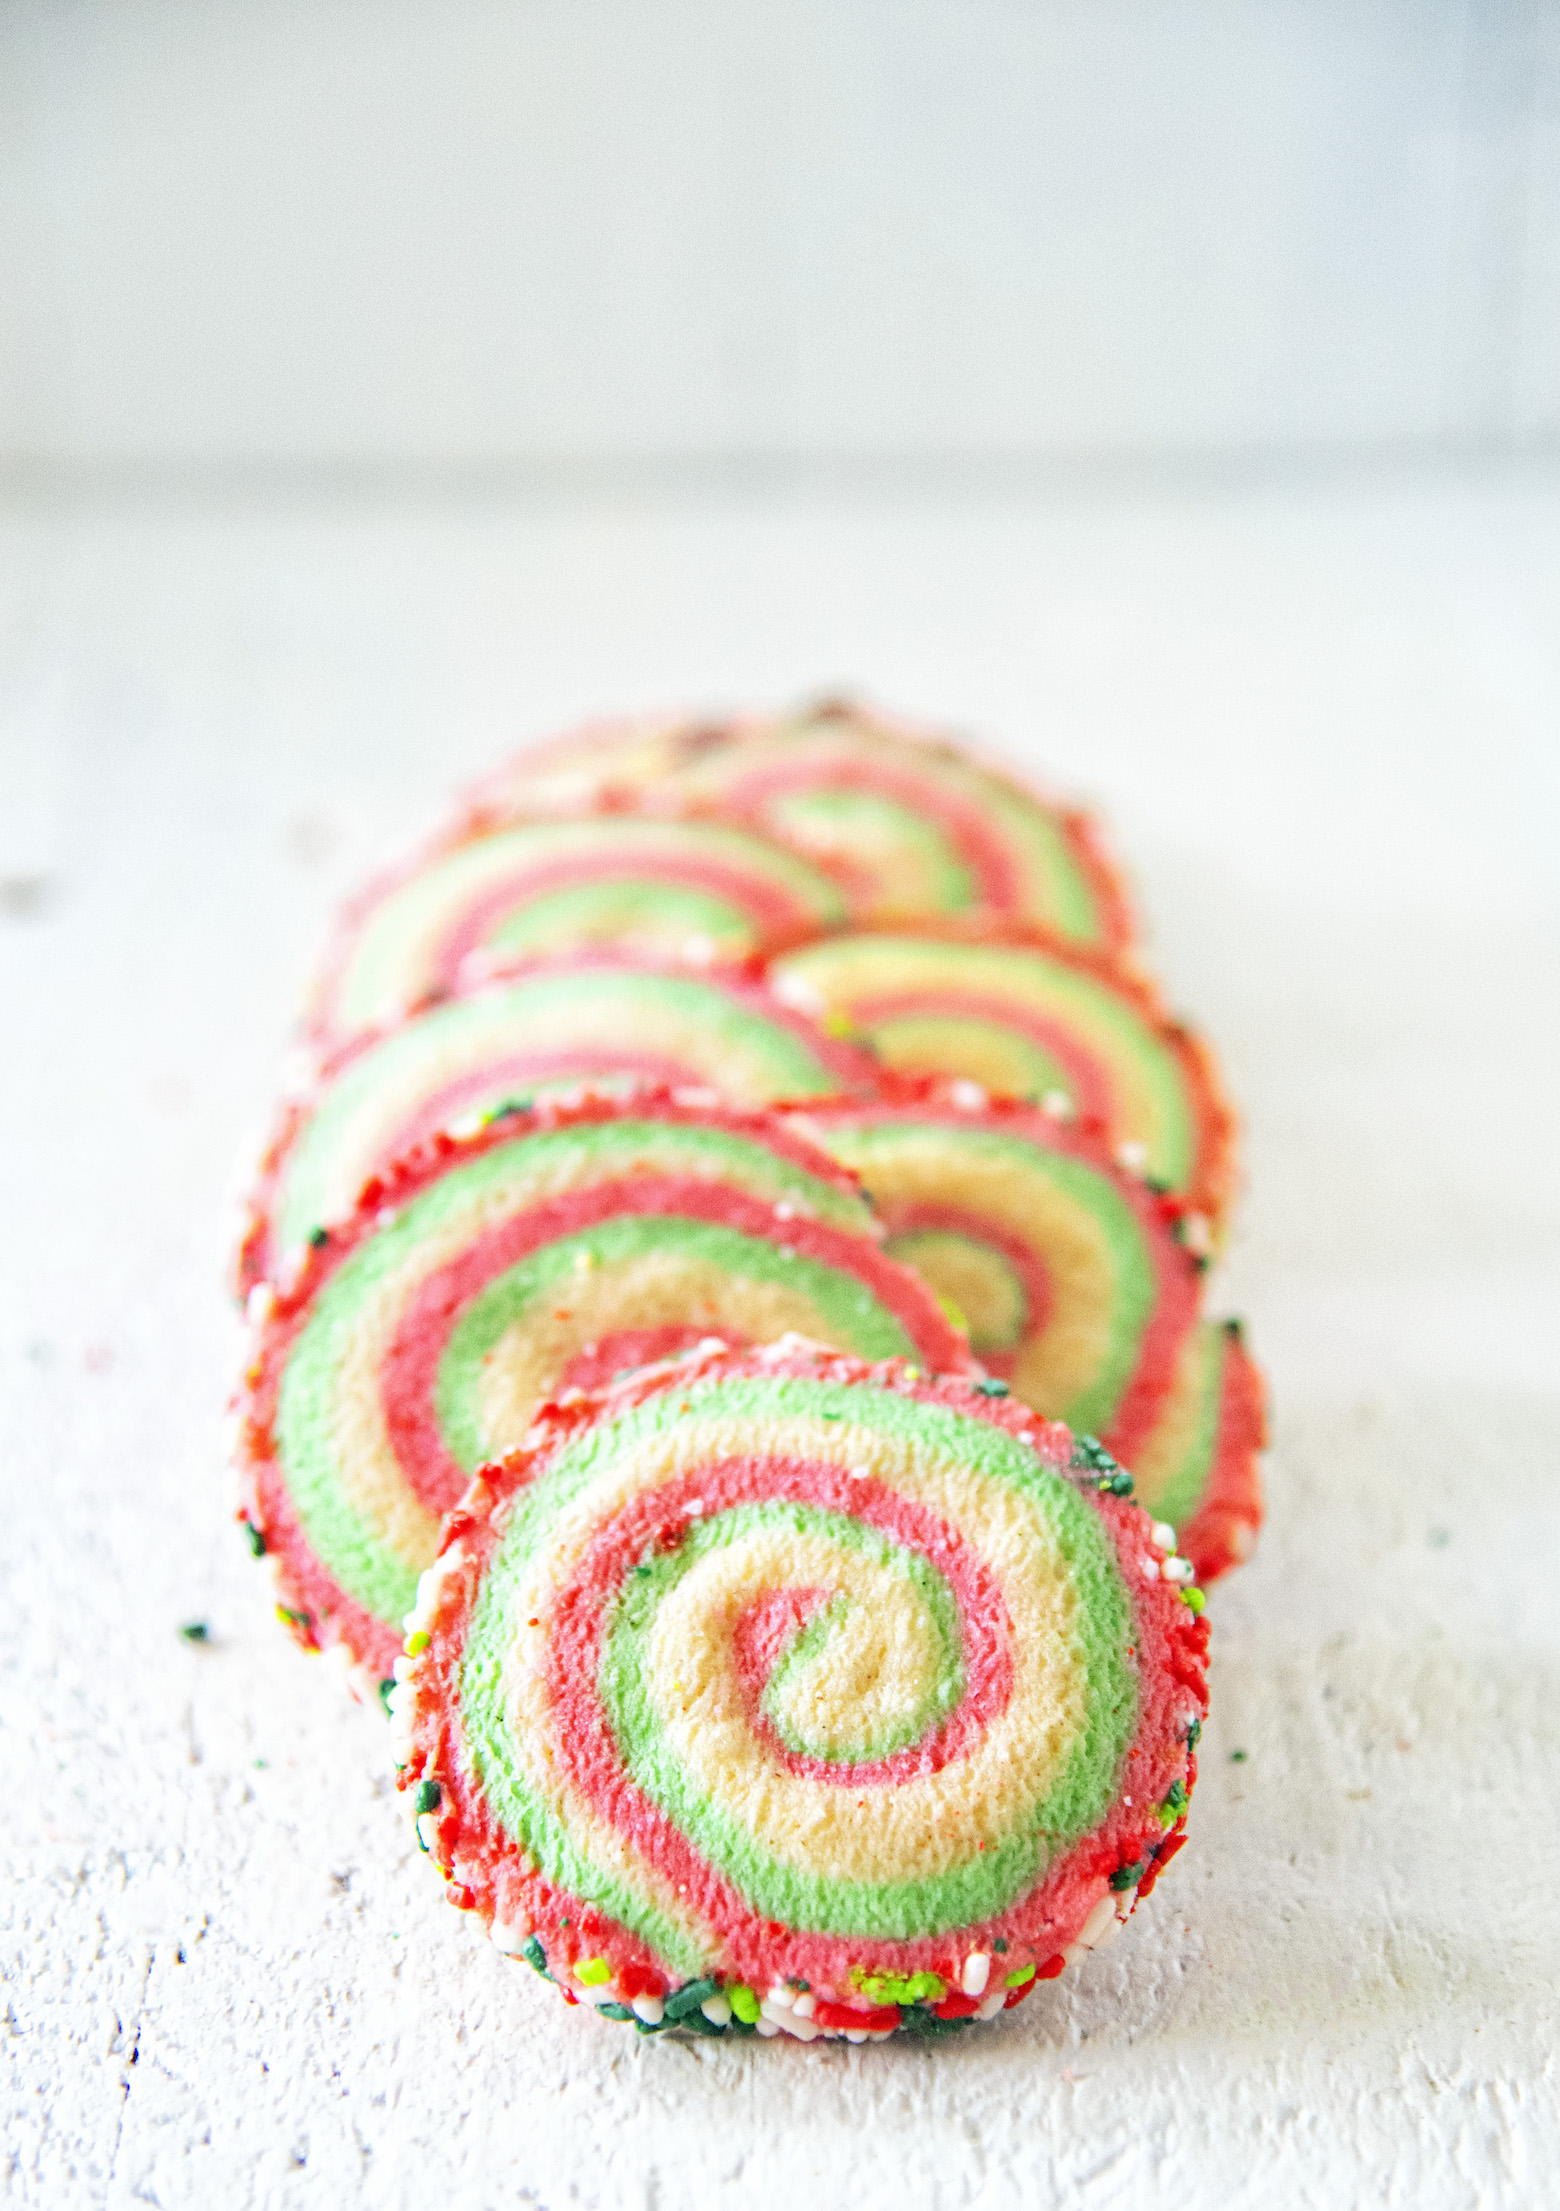
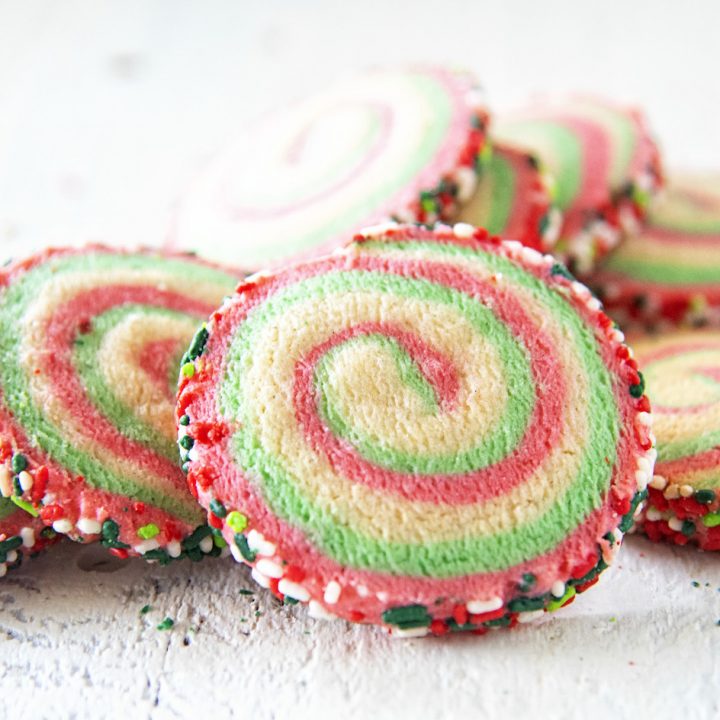
These Vanilla Mint Pinwheel Cookies are a fun cookie to have a holiday time. Three layers of vanilla mint swirls all rolled in sprinkles.
In 2014 Rodelle asked it’s ambassadors if we wanted to participate in a Cookies with Rodelle event.
It wasn’t for money just for fun.
And it was fun.
The more ambassadors they got the bigger it grew.
This year when I asked if we were doing the cookie event I was told no.
But that they were having a baking challenge.
The challenge isn’t for me, it’s for you.
Why is it a challenge?
Because you are the ones that have to make my cookie.
Or at least a recipe that is part of the bakers challenge.
But really you want to make these Vanilla Mint Pinwheel Cookies because they are just fun and happy.
And tasty.

What do you get if you win the challenge?
$200+ supply of Rodelle baking products.
Which I’m quite sure any baker would want.
Go see the official rules over at Rodelle.
I hope you do participate as I would love to see one of my readers win!

We didn’t have to make a cookie for the challenge.
But it just seemed odd not to make a cookie since I have been since 2014 making one for them every year.
Plus everyone loves cookies.
If you are not a mint fan then you can just use all vanilla.
I won’t tell on you.
But know that it’s not a strong mint flavor.
It’s more like those buttermint candies that they used to have at every wedding and baby shower you went to.
These do take some time but most of that is just sitting in the fridge.
You can do just two colors if you would prefer to make it easier on you.
But I admit that I love the look of the three colors vs the two.
P.S. It’s a great day to buy my cookbook Holy Sweet!
My other Rodelle Cookies:
Vanilla Bean Caramel Thumbprint Cookies
Peppermint Bark Snowball Cookies
Mini Gingerbread Men Sandwich Cookies
Vanilla Bean Roll Out Shortbread Cookies
Vanilla Mint Pinwheel Cookies
Ingredients
- 3 cups all-purpose flour
- 1/2 tsp. baking powder
- 1/2 tsp. salt
- 1 cup unsalted butter, at room temperature
- 1 1/3 cups granulated sugar
- 2 large eggs
- 2 tsp. vanilla extract (I used Rodelle)
- 1 tsp. peppermint extract (I used Rodelle)
- red food coloring
- green food coloring
- holiday sprinkles of your choice (make sure they can be baked...some highly decorative ones can not be)
Instructions
- Using a stand mixer with the paddle attachment beat together the sugar and butter on medium-high speed until light and fluffy, about three minutes.
- Add in eggs, one at a time, and mix for 30 seconds. Scrape down the sides and bottom of the bowl after each addition.
- Pour in both extracts and mix for 30 seconds.
- With the mixer on low add in the flour, baking powder, and salt until all the ingredients are fully combined.
- Remove the dough from the mixer and using a food scale measure out the dough into three equal parts.
- Keep one dough uncolored.
- Color one dough with green food coloring and the third with red food coloring.
- Place each section of dough between two large sheets of wax paper.
- Roll out each dough to a 9x16-inch rectangle.
- Transfer dough to the refrigerator to chill, keeping both sheets of wax paper in place. Repeat process with red and green doughs.
- Refrigerate both layers of dough for 30 minutes.
- Place the red dough down first, removing the top layer of wax paper. Then remove the top and bottom layer of wax paper from the green dough and place it right on top of the green layer. Remove one sheet of wax paper from the plain dough and place it on top of the green dough. Remove the remaining top layer of wax paper.
- Cut the dough to an even rectangle.
- Beginning at one of the short ends, carefully roll dough into a tight log. Tight is key. If you do it loosely you will get gaps in the swirl and you don't want that.
- Pull up gently on the remaining layer of wax paper to help roll the dough.
- Remove the wax paper.
- On a large baking tray add the sprinkles. Roll the dough into the sprinkles repeatedly until the majority of the outer log is covered in sprinkles.
- Wrap in waxed paper and refrigerate for at least 4 hours or overnight. I usually do overnight.If you have an empty Pringles can or two I like to keep them around for putting the logs into to help keep their round shape.
- Remove from the fridge and with it still in the waxed paper give it a roll a few times around to help insure the cookie will be round.
- Preheat oven to 350°F. Line a baking pan with a silicone baking mat or parchment paper.
- Unwrap the sprinkle covered dough log.
- Slice off the end. Carefully slice 1/4-inch slices, spacing roughly 1-2-inches apart on the prepared baking sheet.
- Return remaining dough to the refrigerator until ready to slice and bake.
- Bake cookies for 10 minutes.
- Allow cookies to sit on the pan for 1 minute while they continue to bake before transferring them to a wire rack to cool completely.
- Store cookies in an airtight container for up to a week.

Emily Leishman says
These were so tasty! My family were amazed how pretty they looked and how delicious they tasted!
Peabody says
Glad to hear you enjoyed them.