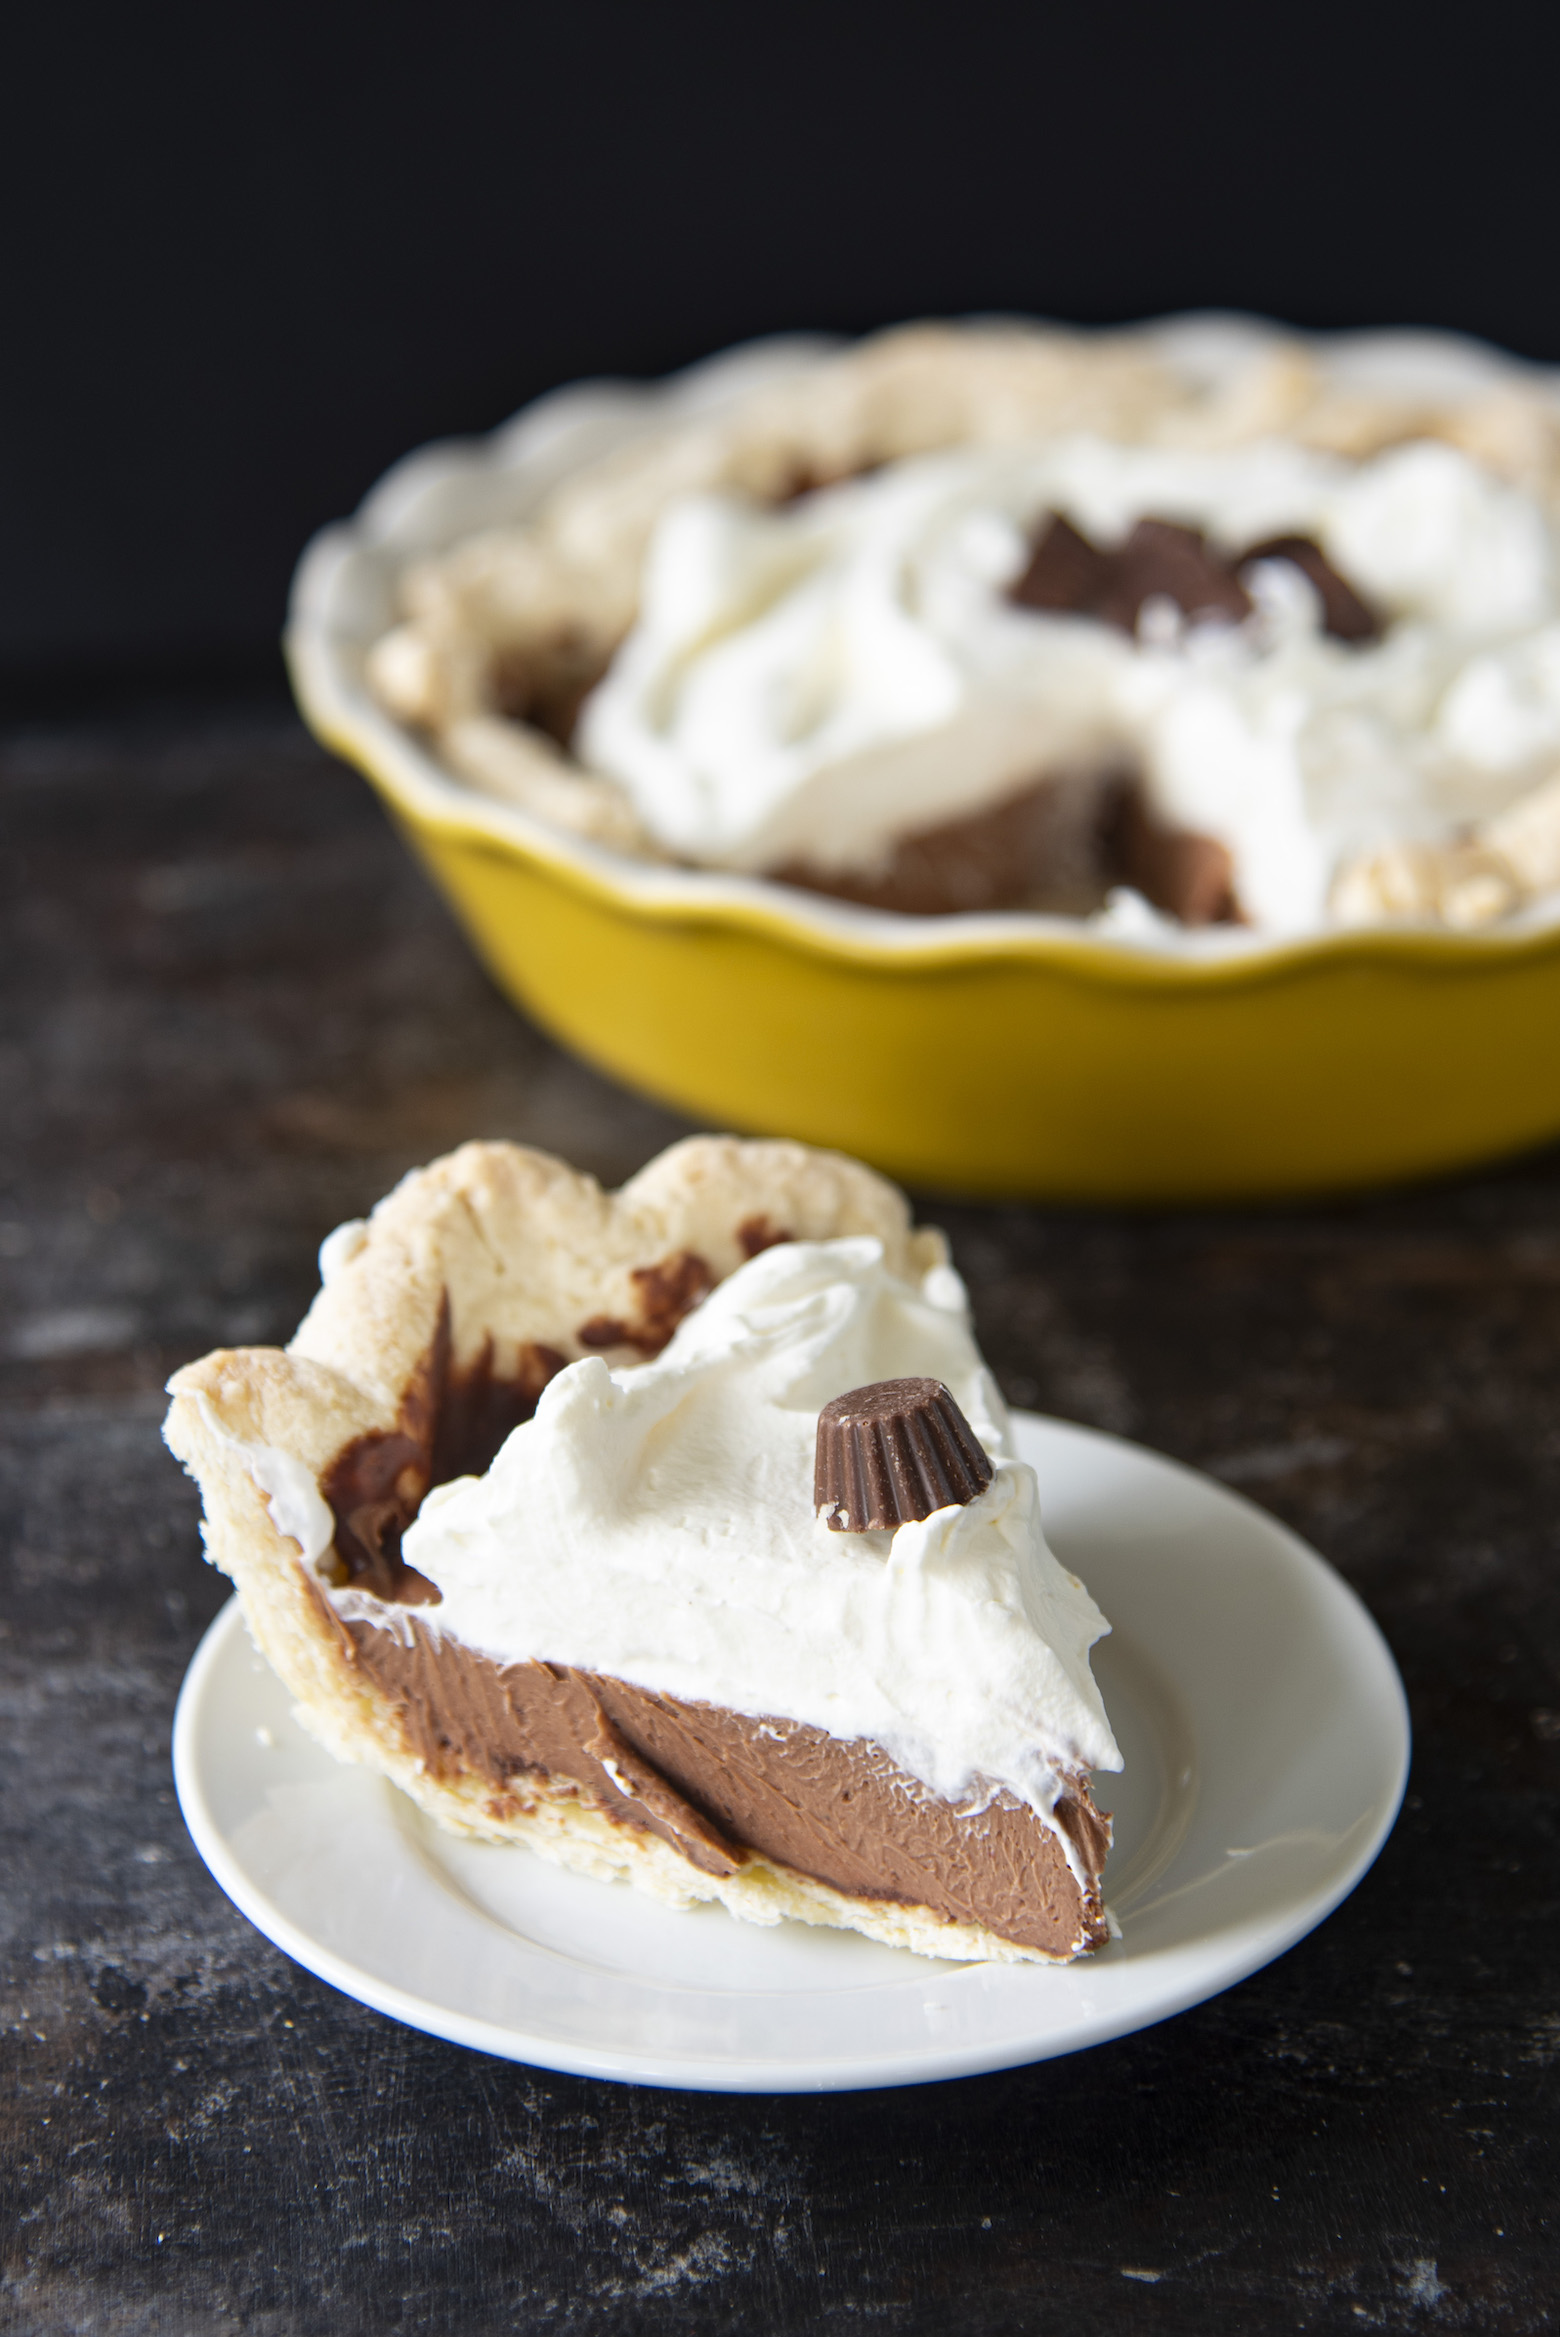
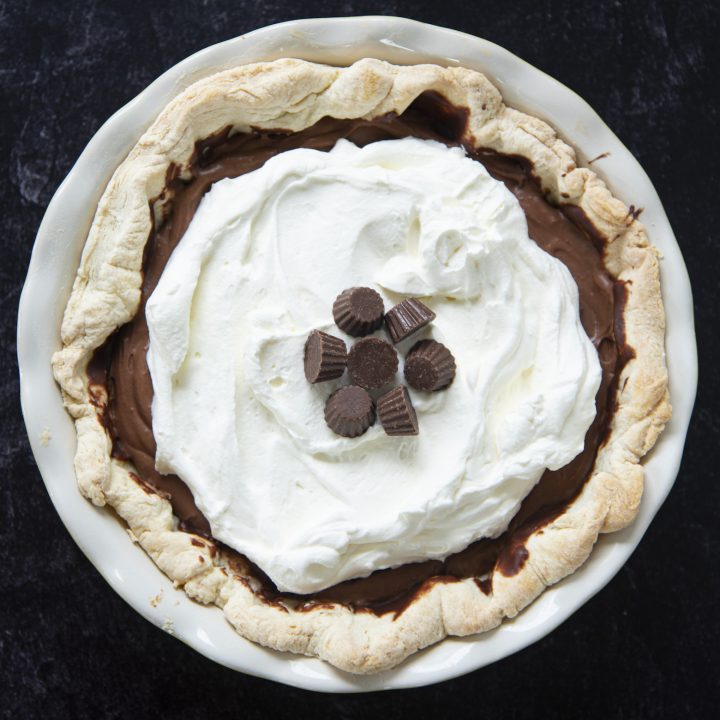
This Peanut Butter Cup Cream Pie is a take on the classic chocolate cream pie but using melted peanut butter cups for an extra special pie.
Happy Pi Day all! The math nerd in me loves this day.
Pie lovers also love this day since it has become the unofficial national pie day.
FYI the real National Pie Day is January 23rd.
Pi day is kind of weird for me now.
Years ago when I was a math teacher I always made a big deal of it.
And often got my other subject teachers to help me have a full Pi Day extravaganza.
With games and silliness all with math snuck in.
It was something the kids looked forward to each year.
But then I went and got married to my first husband and we chose Pi Day as our wedding date because we are both nerds.
If you caught on I said my first husband.
Long time readers know him as the Picky Eater and they know we still consider each other family.
But now Pi Day is my former wedding date.
And so it’s just odd.
However, I still love Pi and Pie so I still celebrate.
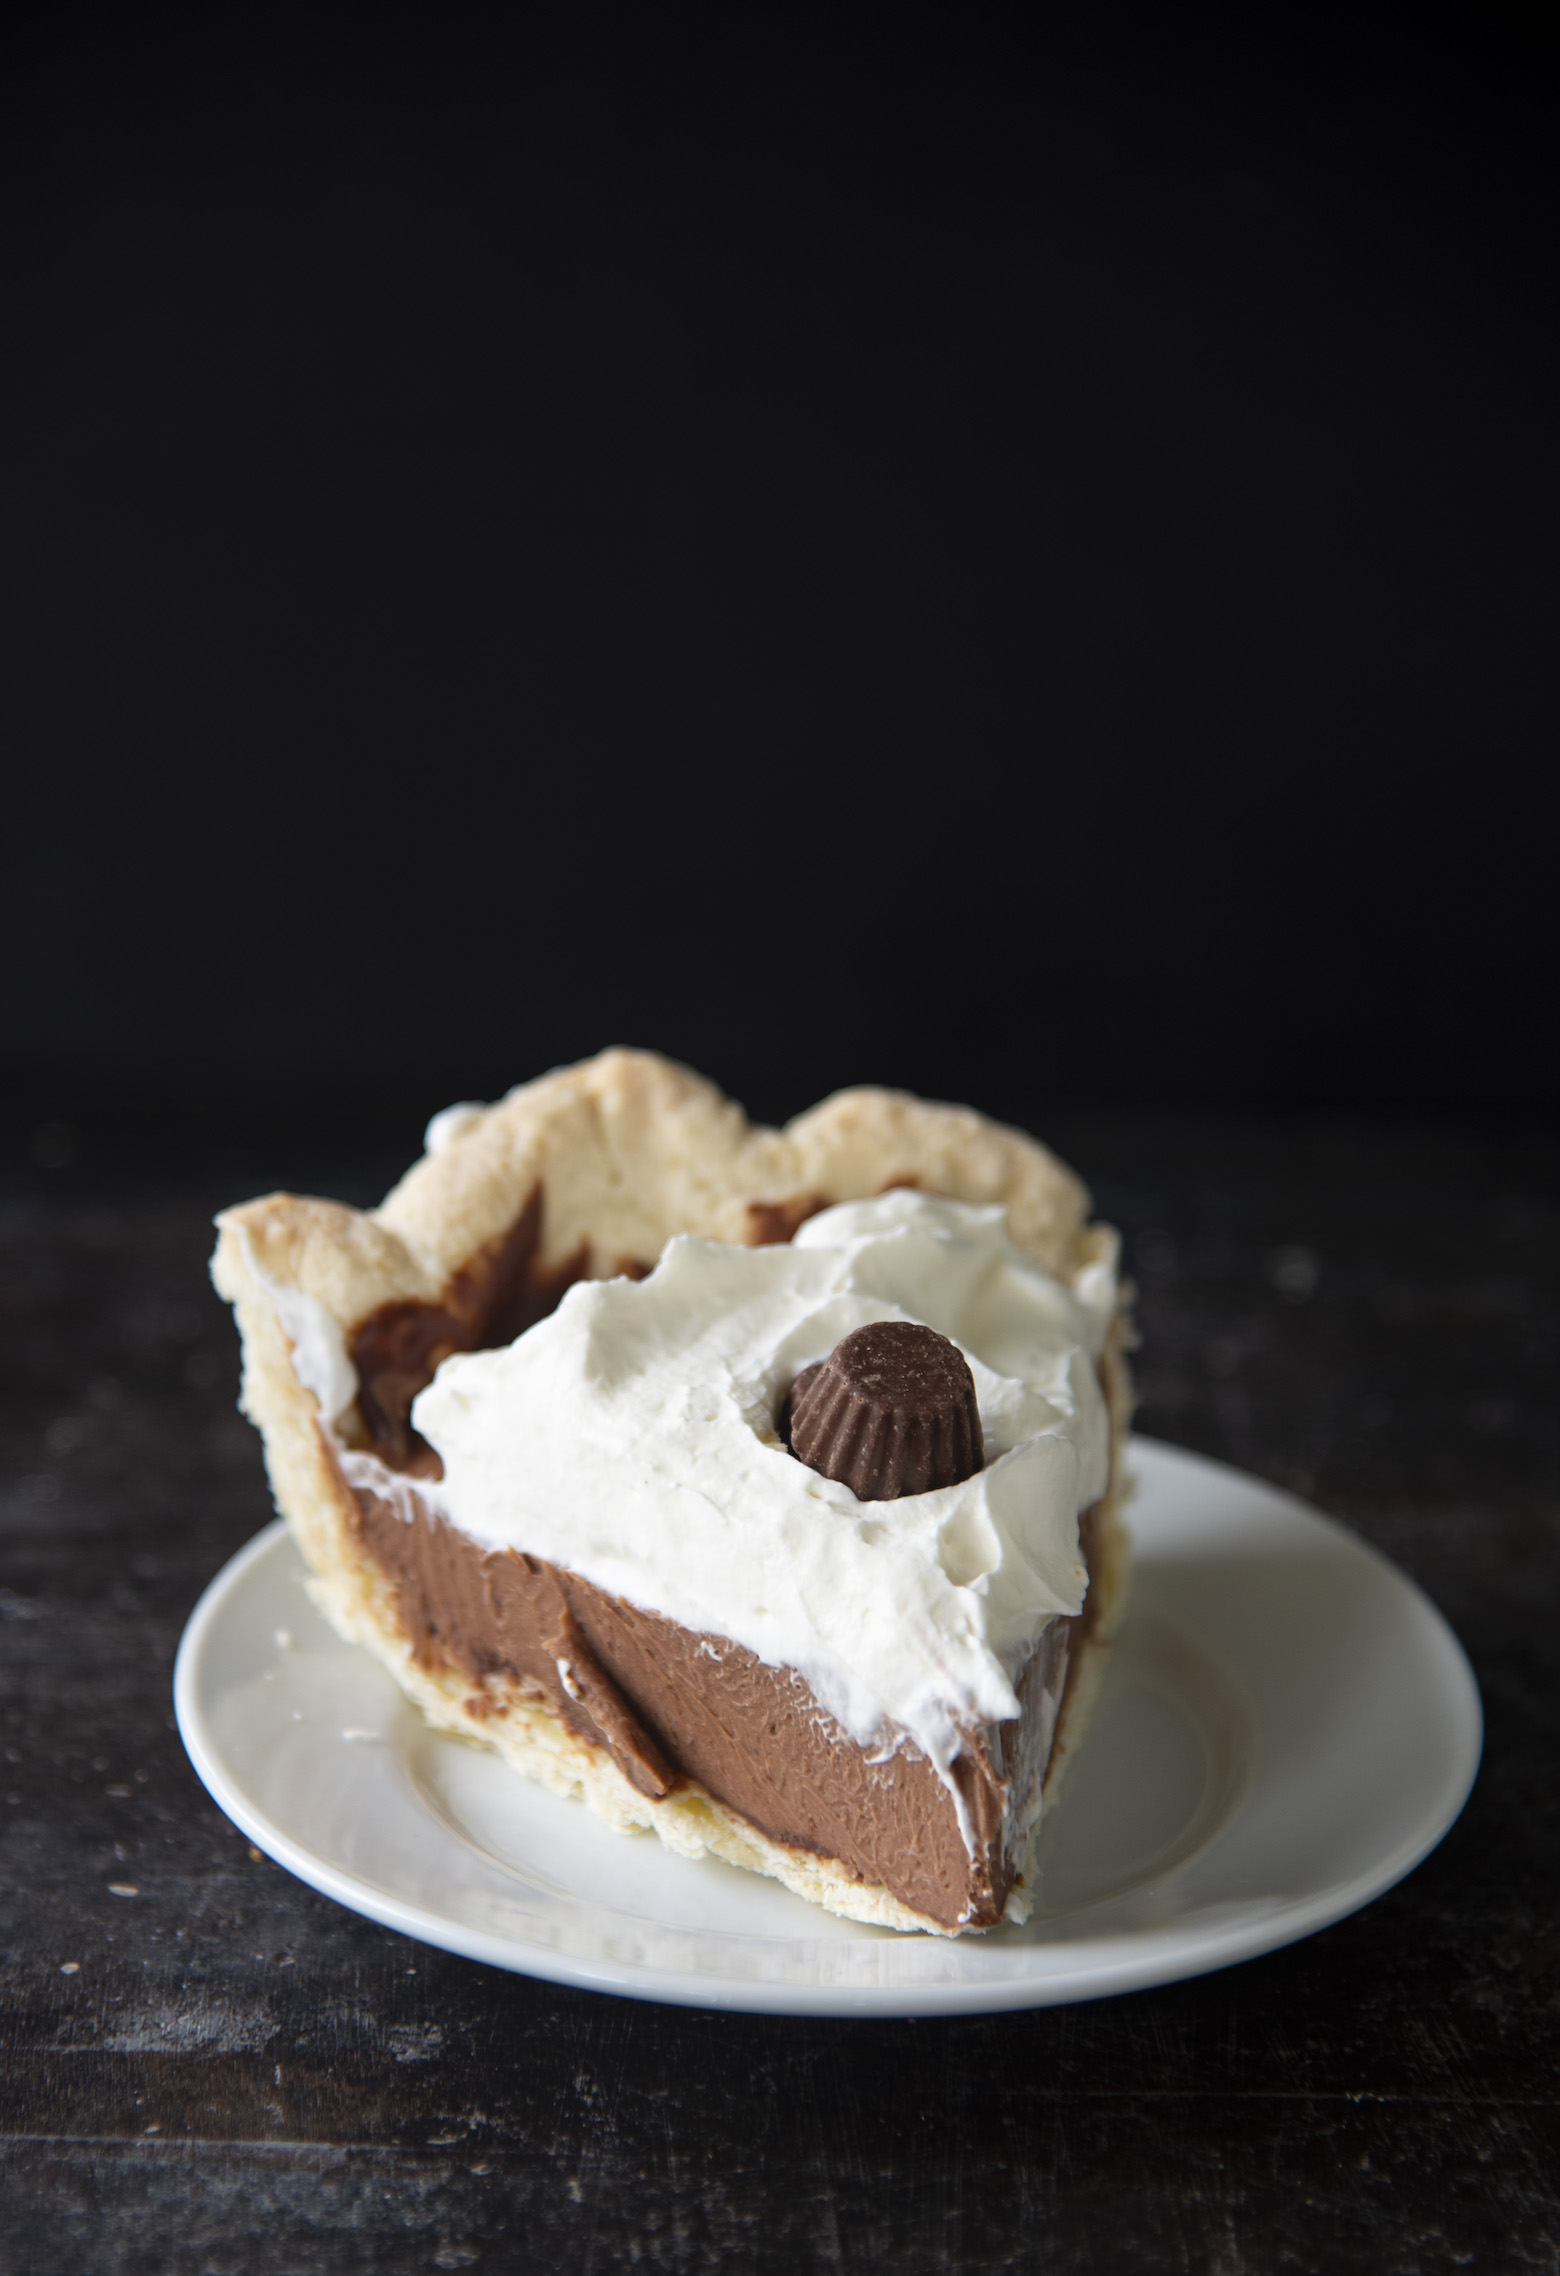
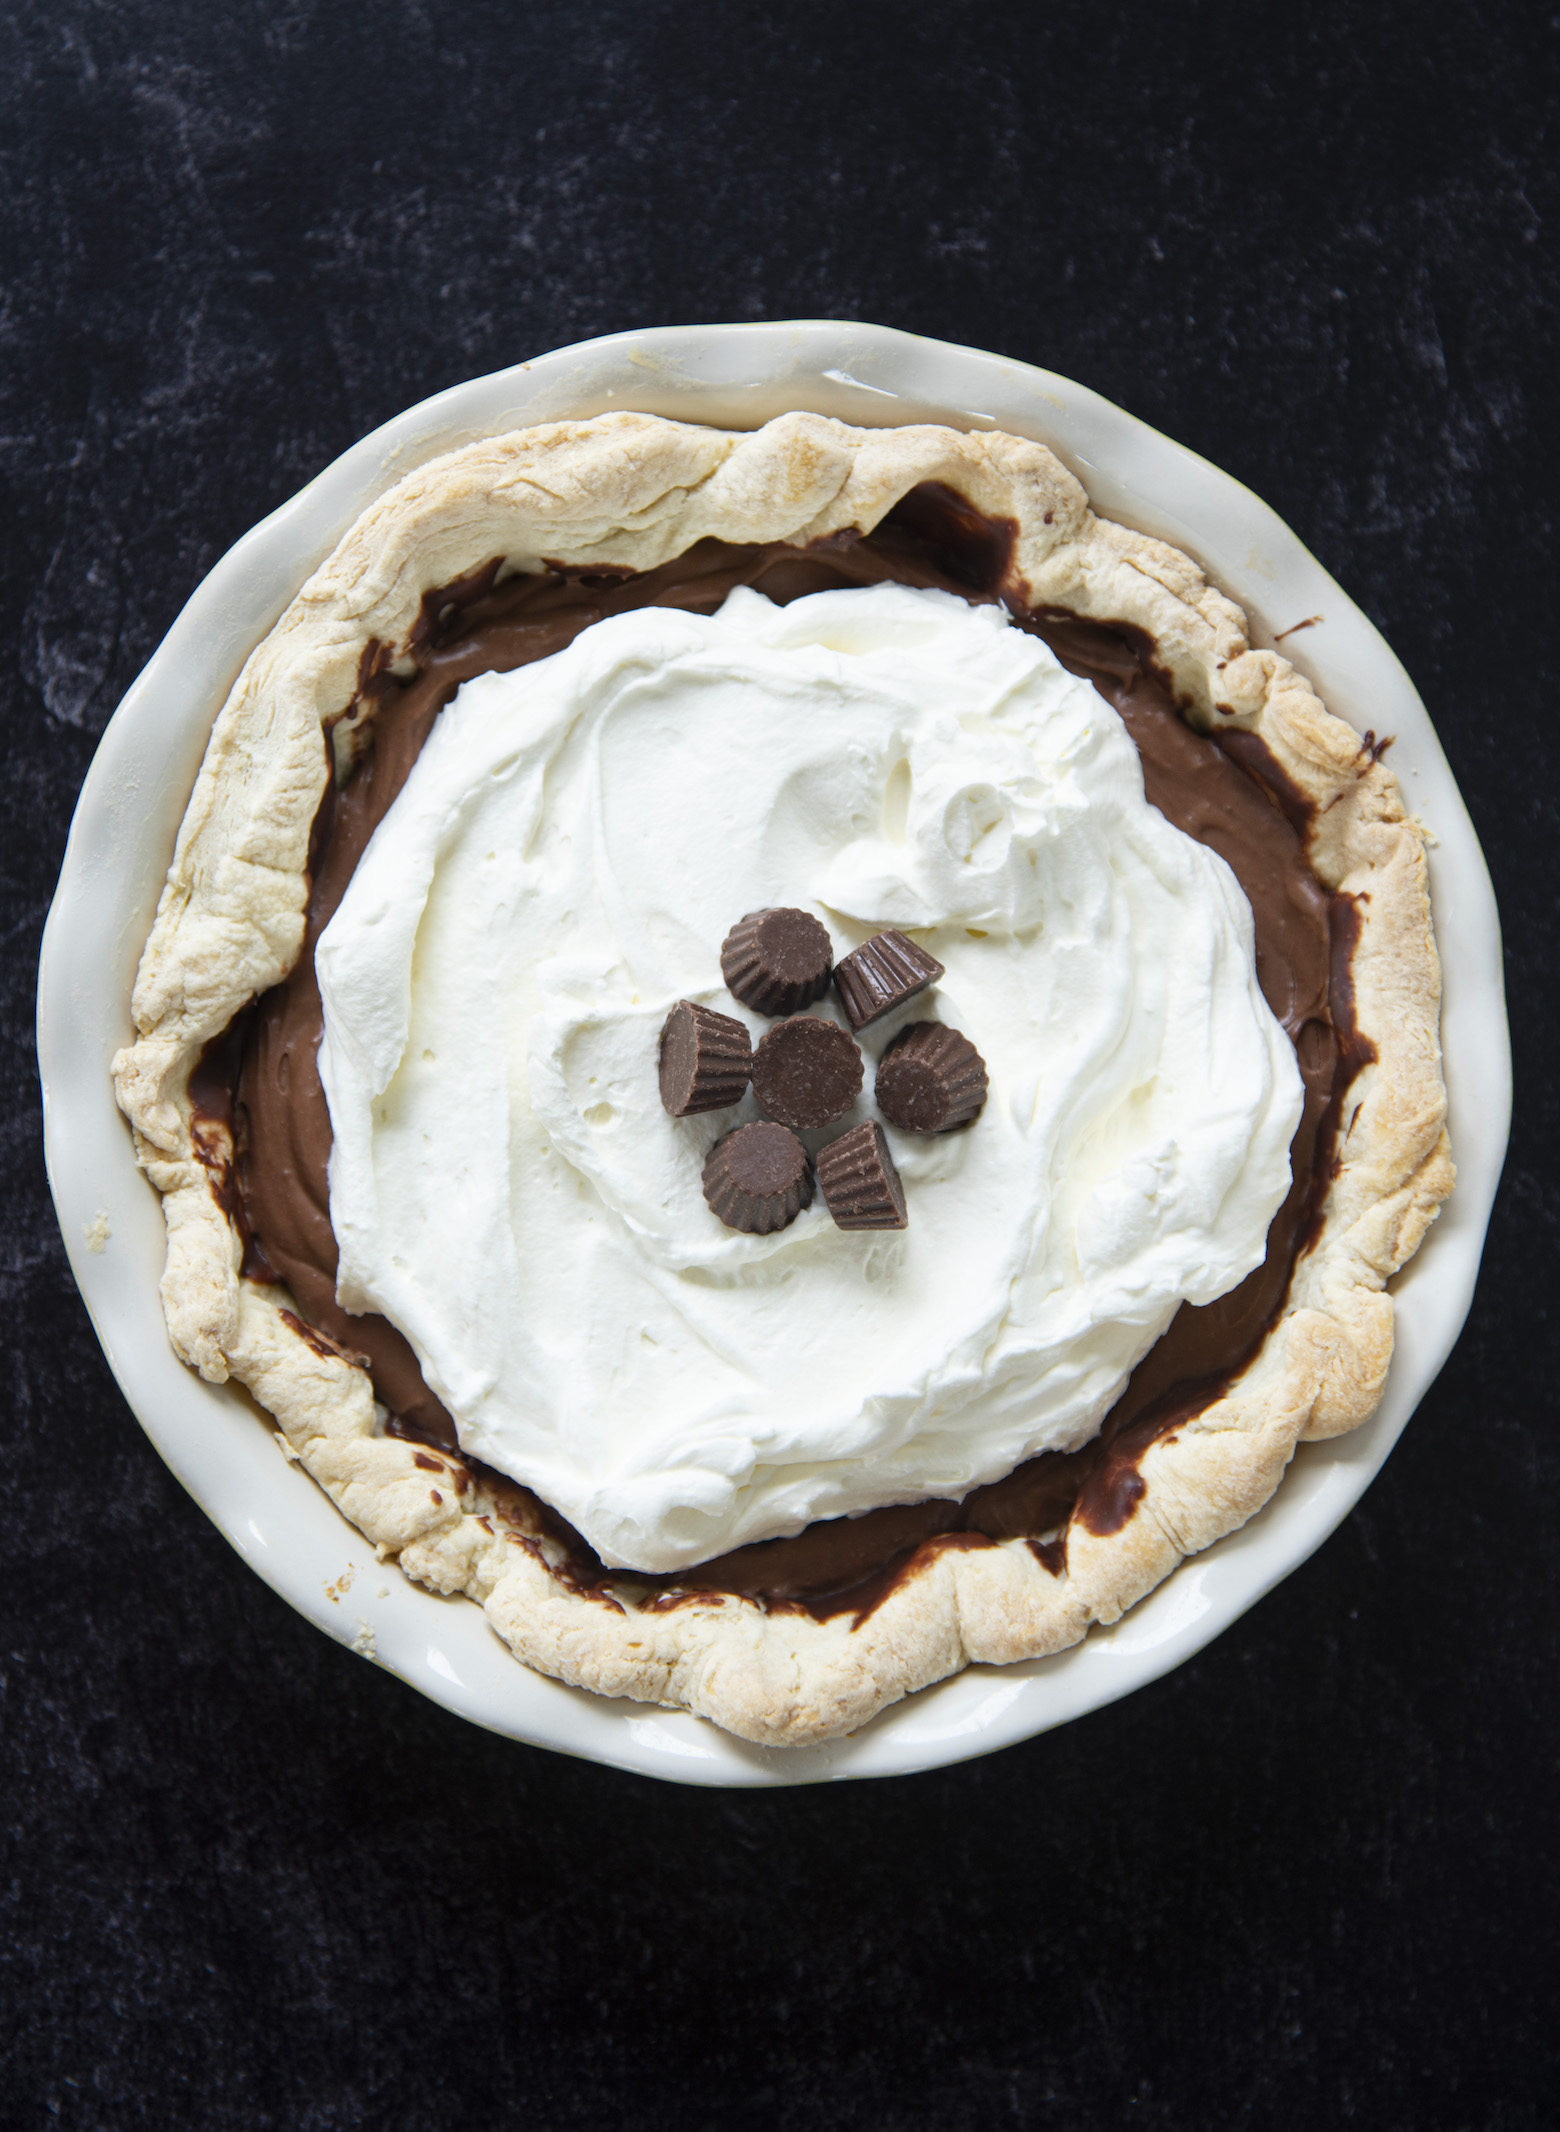
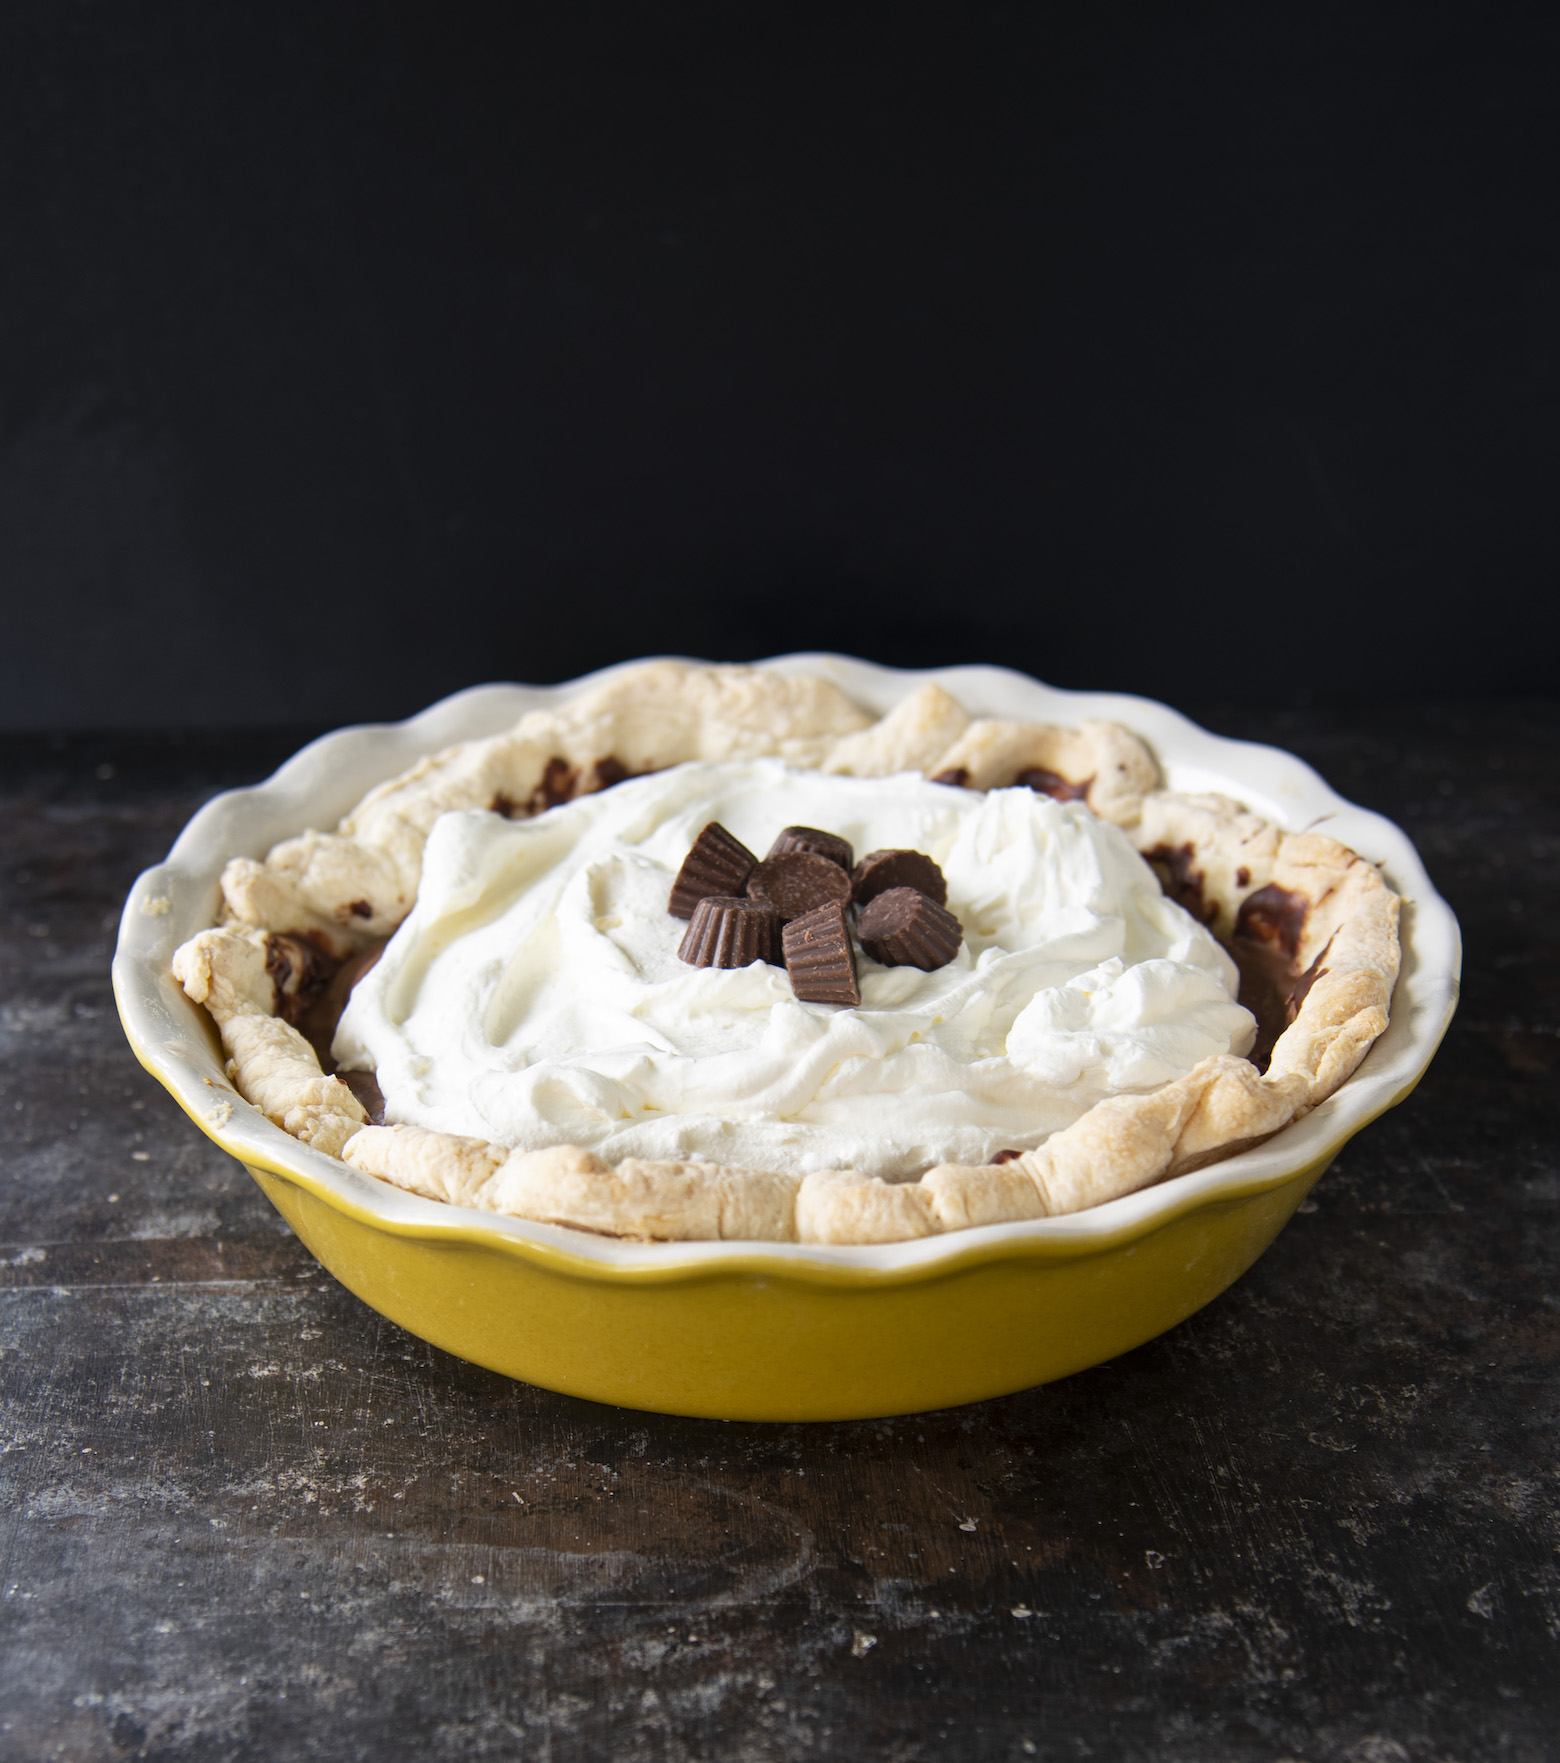
I’m celebrating with this Peanut Butter Cup Cream Pie.
Think chocolate cream pie but instead I made it using peanut butter cups.
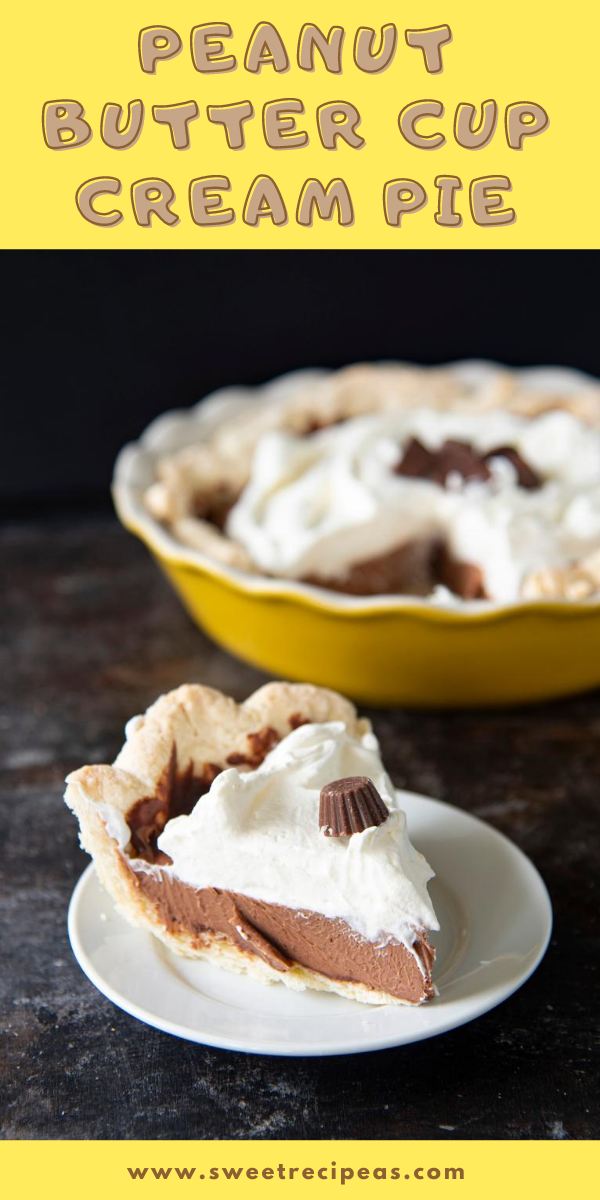
Because it has peanut butter cups in it the cream pie is even thicker and more luscious that just regular cream pie.
This pie is amazing. AMAZING.
I used rough puff pastry again because it just makes for a more flaky crust.
It of course was baked in another gorgeous Emile Henry pie pan.
Be sure to order my cookbook.
Want More Pie Recipes?
Bailey’s Irish Chocolate Cream Pie
Peanut Butter Cup Cream Pie
Ingredients
- ¼ batch Quick Puff Pastry Crust
- 1 batch chocolate ganache
- 1 batch pastry cream
- 1 batch Peanut Butter Cup Filling
- For the Crust:
- 3 1/3 cup all-purpose flour
- 2 cups unsalted butter, cold and cut into chunks (I used Plugra)
- 1/2 cup plus 1/8 cup ice cold water
- 1/4 tsp. salt
- For the Pastry Cream:
- 1/2 cup milk
- 1/2 cup heavy cream
- 3 egg yolks
- 1/4 cup granulated sugar
- 1/8 cup corn starch
- Pinch of salt
- For the Peanut Butter Cup Chocolate Ganache:
- 6 oz. peanut butter cups, chopped
- 2 oz. semisweet chocolate, finely chopped
- ¾ cup heavy cream
- 2 TBSP unsalted butter
- 1 TBSP corn syrup
- pinch of salt
- For the Whipped Cream:
- 1 cup heavy cream
- 2 TBSP granulated sugar
Instructions
- For the Crust:
- In a large bowl, combine the flour and salt.
- Stir with your hands to distribute the salt.
- Add the butter and massage the butter into the flour with the tips of your fingers until the butter pieces are a bit smaller, about the size of a dime.
- Add the water and smoosh everything around with your hands, coating the mixture with water (this gets terribly messy and sticky). Gently knead until the whole mess looks like it's just barely holding together. Dump the dough out onto a lightly flour surface and form it into a loose square. Cover the dough with plastic wrap and let it rest for 10 minutes on the counter, where the flour will continue to absorb moisture from the water and butter.
- Roll the dough into a rough 12 x 20" rectangle.
- Make a single fold by bringing one short edge of the dough to the midline of the rectangle, then fold the other side over on top of the first fold- just like folding a letter.
- Turn the dough 90 degrees, roll out the dough again to the same size rectangle, and make another letter fold.
- Do this twice more, to make 4 folds and turns total.
- Bits are going to fall off and you are going to panic. Don't worry. Just be patient. Place the globs of dough back into the whole and just keep going, t comes together in the end I promise.
- Cover the dough with plastic wrap and allow to rest in the fridge for at least 20 minutes or freeze for months.
- Remove from fridge and preheat oven to 350F.
- Roll out the dough and use it to line a 9-inch pie plate.
- Dock (aka stab with a fork in several spots) and freeze it for 20 minutes.
- Line the crust with parchment paper and fill it with pie weights.
- Bake 20 minutes.
- Remove the pie weights and parchment and bake the crust for 10-15 minutes more, or until he bottom is golden brown and cooked through.
- Set it aside to cool completely, about an hour.
- For the pastry cream:
- In a saucepan, combine the milk and heavy cream. Bring to a simmer.
- In the bowl of a stand mixer fit with the whisk attachment, combine the egg yolks, sugar, corn starch, and salt. Whisk on high until light and fluffy.
- Turn the mixer speed to medium and carefully pour the hot milk/cream mixture down the sides of the bowl into the egg yolk mixture. Whisk until combined.
- Transfer the custard back to the saucepan, scraping the sides of the bowl to get all the cornstarch into the saucepan. Whisk over medium/low heat until the mixture thickens, to the consistency of mayo.
- Transfer to a large bowl. Cover with plastic wrap, making sure that the wrap touches the surface of the cream to keep a skin from forming. Refrigerate until cold, about 2 hours.
- To make the Peanut Butter Cup Ganache:
- Place the peanut butter cup and chocolate and pinch of salt in a medium sized heat safe bowl and set aside.
- Combine the butter, corn syrup, and cream in a saucepan over medium-high heat and bring the mixture to a simmer.
- Pour the cream mixture over the chocolate and allow to sit for about a minute.
- Whisk until the mixture is smooth.
- Cover with plastic wrap and have it come to room temperature.
- To assemble the pie:
- Spoon ¼ cup of the peanut butter cup ganache into the crust and spread it evenly along the bottom and sides of the pie crust. This will help it from becoming soggy when the cream filling goes in.
- Chill in fridge for 15 minutes.
- Stir 1 cup peanut butter cup ganache into the pastry cream and whisk until mixture is smooth.
- Pour into the prepared ganache lined pie shell and spread it into an even layer.
- Chill the pie until it is set, about 2 hours.
- For the Whipped Cream:
- Place the sugar into a mixing bowl and add the whipping cream.
- Whisk just until the cream reaches stiff peaks.
- Place whipped cream on top of cream pie and add peanut butter cups for garnish if desired.
Notes
Slightly adapted from Pie It Forward: Pies, Tarts, Tortes, Galettes, and Other Pastries Reinvented
Leave a Reply