These Christmas Tree Thumbprint Cookies are a fun holiday cookie filled with both fudge and buttercream trees depending on your preference.
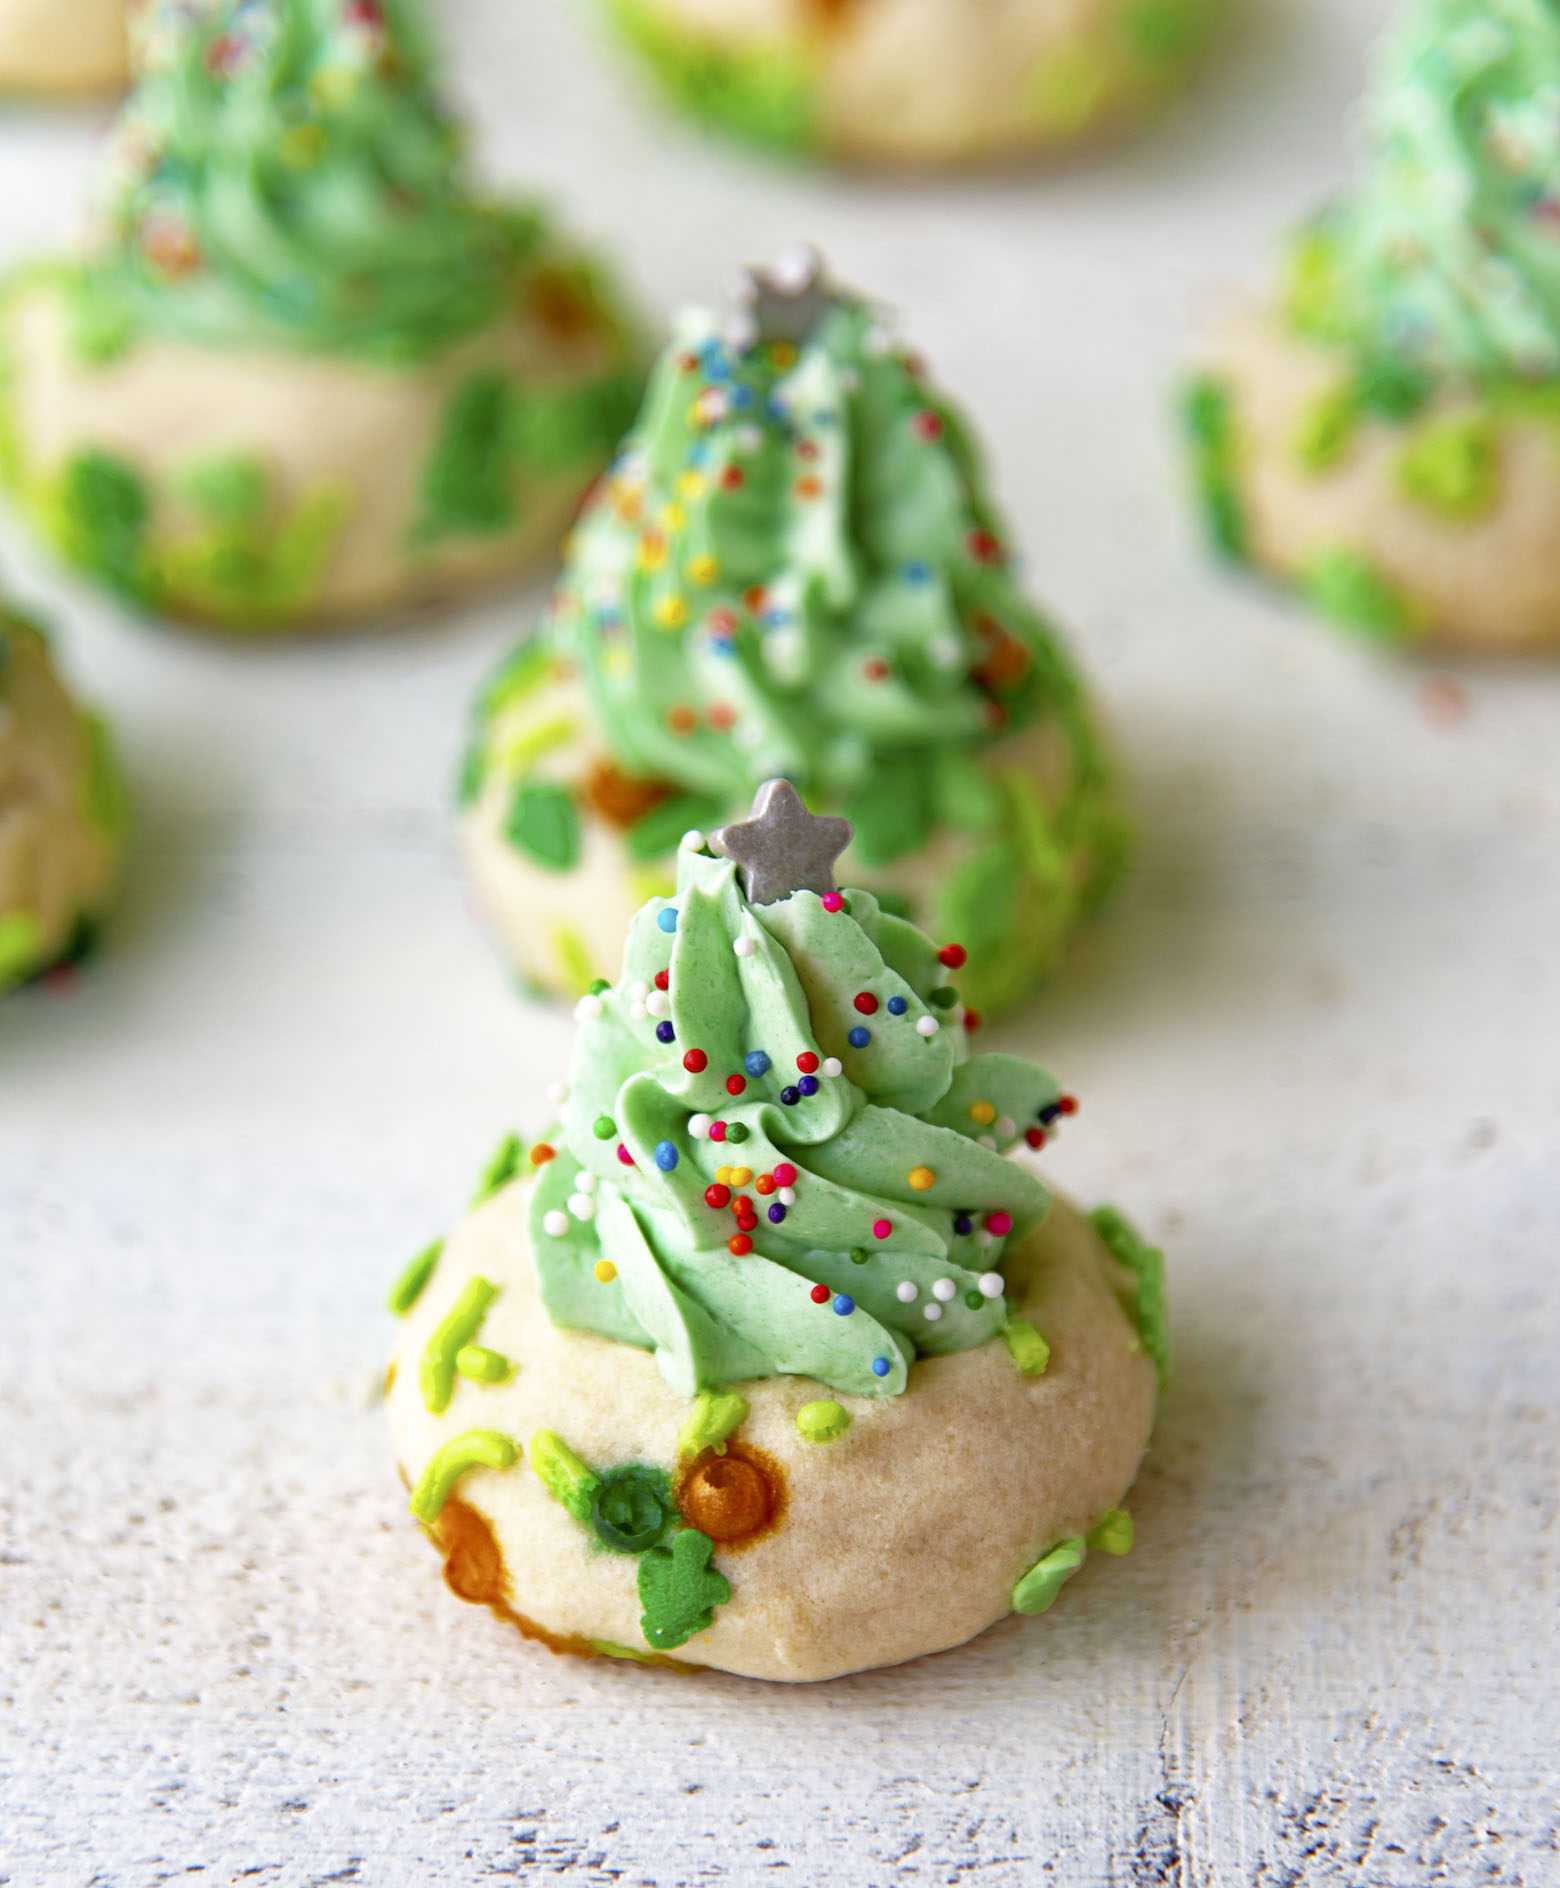
The good news is that these Christmas Tree Thumbprint Cookies turned out better than I originally imagined them.
I won’t call it bad news, but the journey to getting them how I envisioned them was rather comical.
And there was swearing.
A lot of swearing.
See, these all started because I saw Fudge Christmas Trees over on Pinterest and thought, oh how fun.
And then immediately thought to myself that is the thumbprint cookie I am making this year.
For I try and make a new one each year.
I envisioned the tree rising from the center of the cookie, which is exactly what I got.
And they are cute.
But man oh man did they have a rough start.
It’s also why I offer you two options to make the tree.
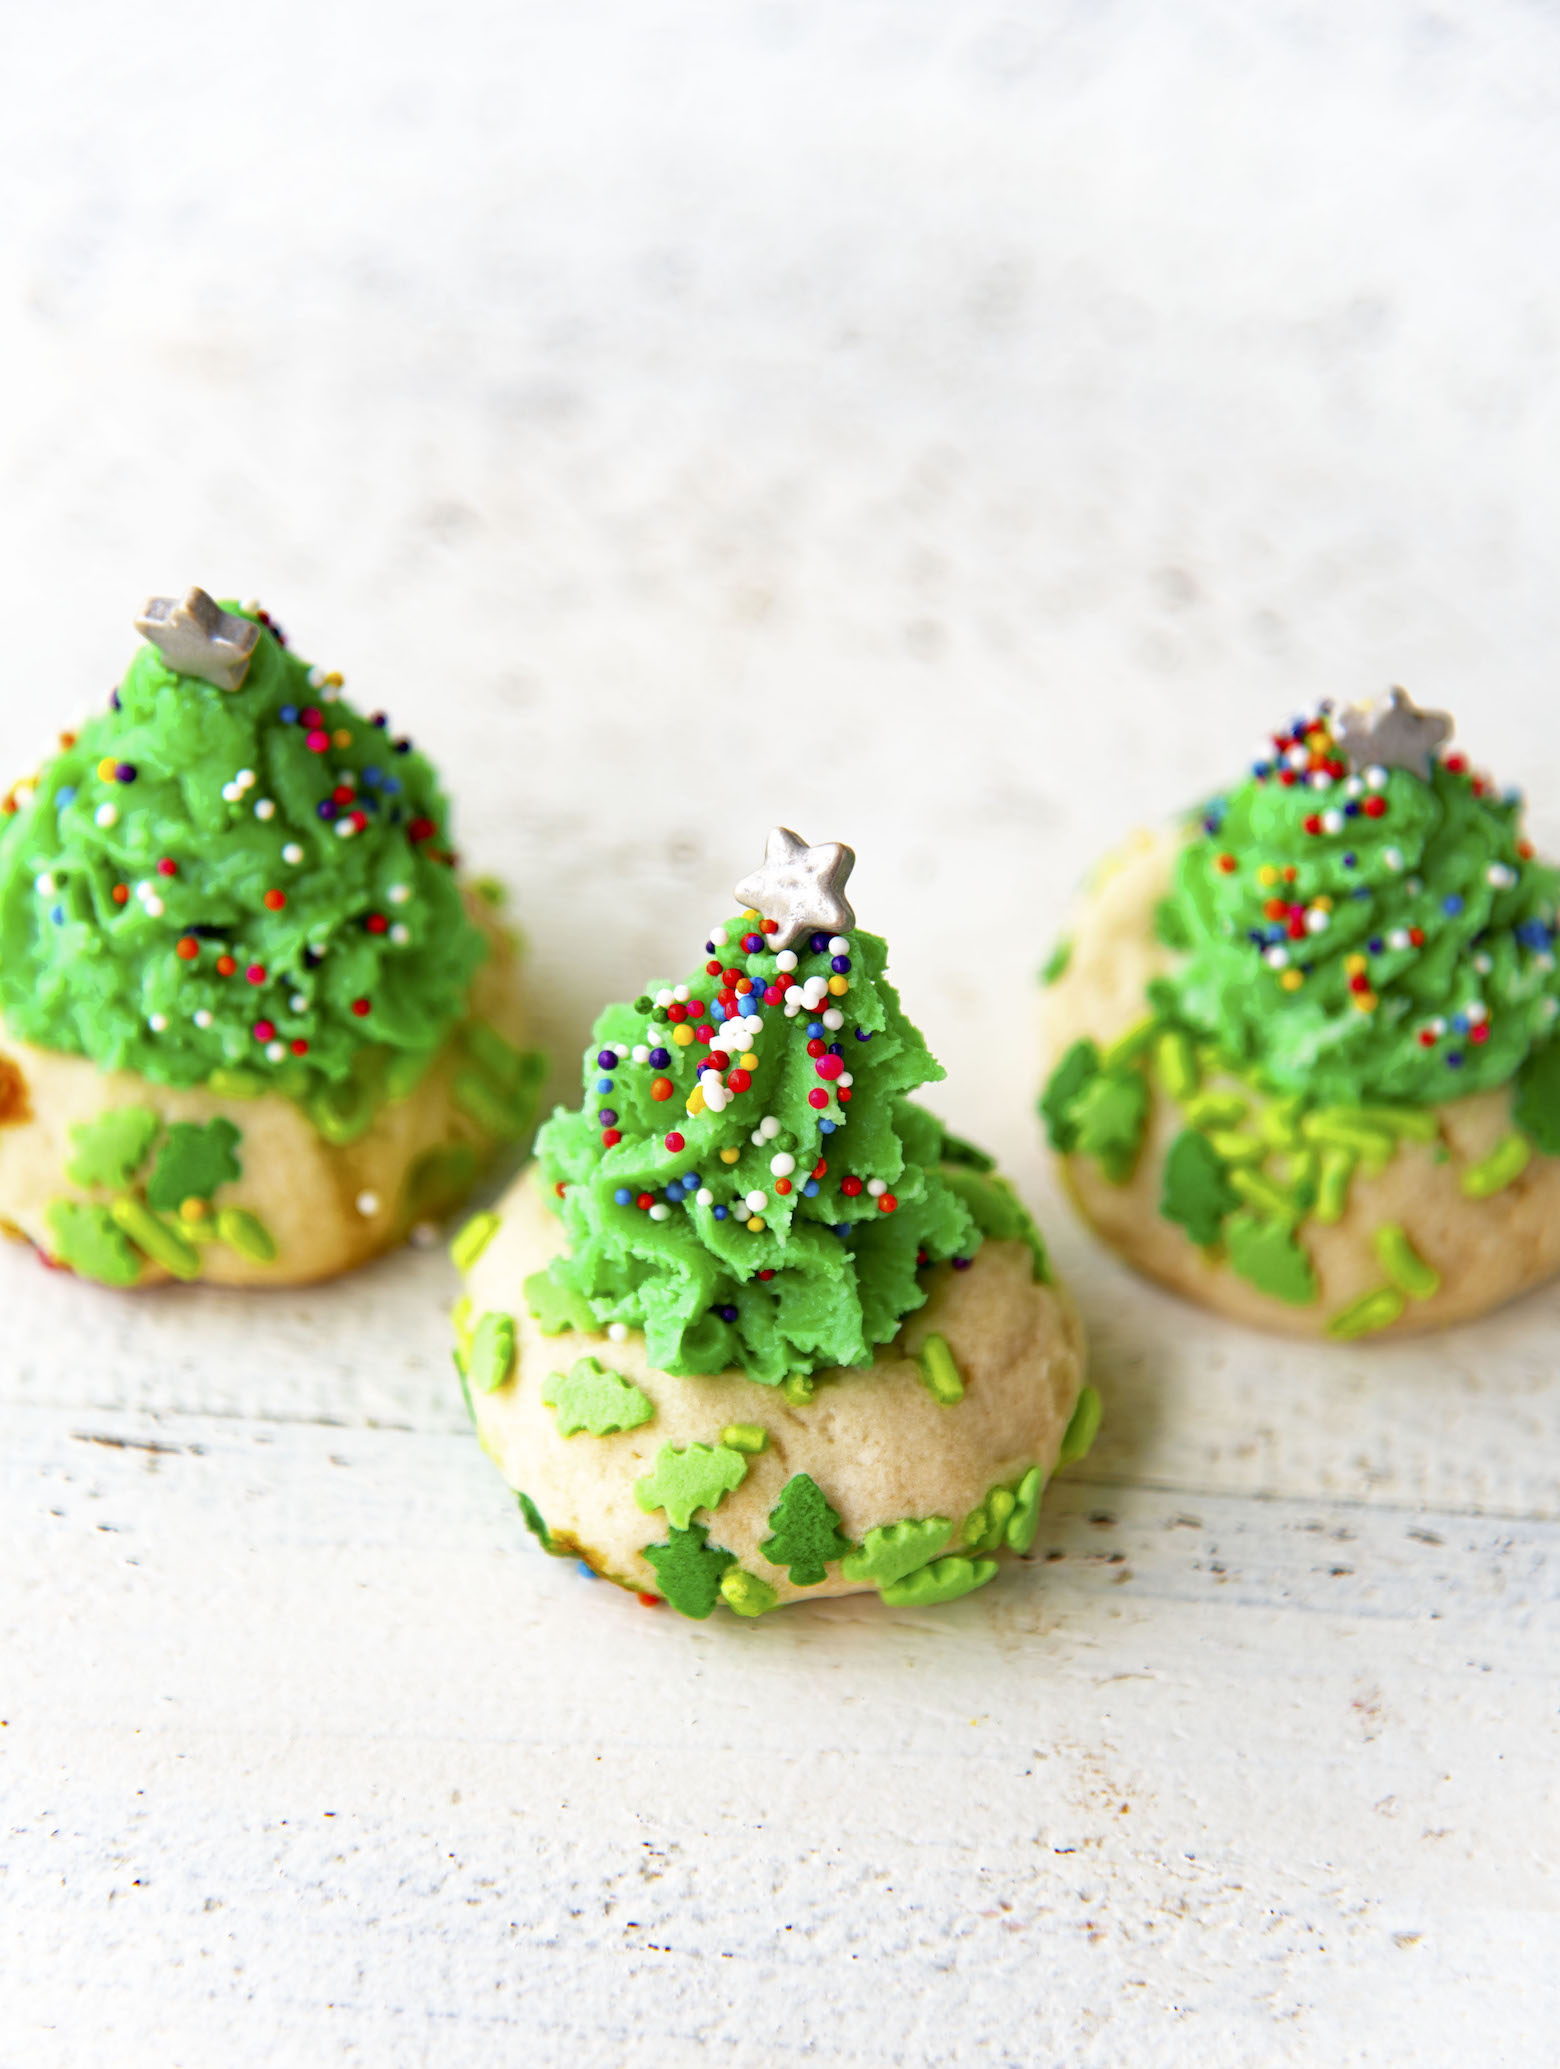
Now the cookie part itself was easy.
Tedious, but easy.
Why tedious?
Because of the rolling them all into balls, then sprinkles, and then making the thumbprint in each one.
Tedious.
Plus I chose the wrong sprinkles for these.
I thought the trees would be cute.
And they are.
The actual trees turned out fine.
It was the little green and gold balls that were in the mix.
They sort of melted and did weird things.
Oh well.
I still like how they look overall.
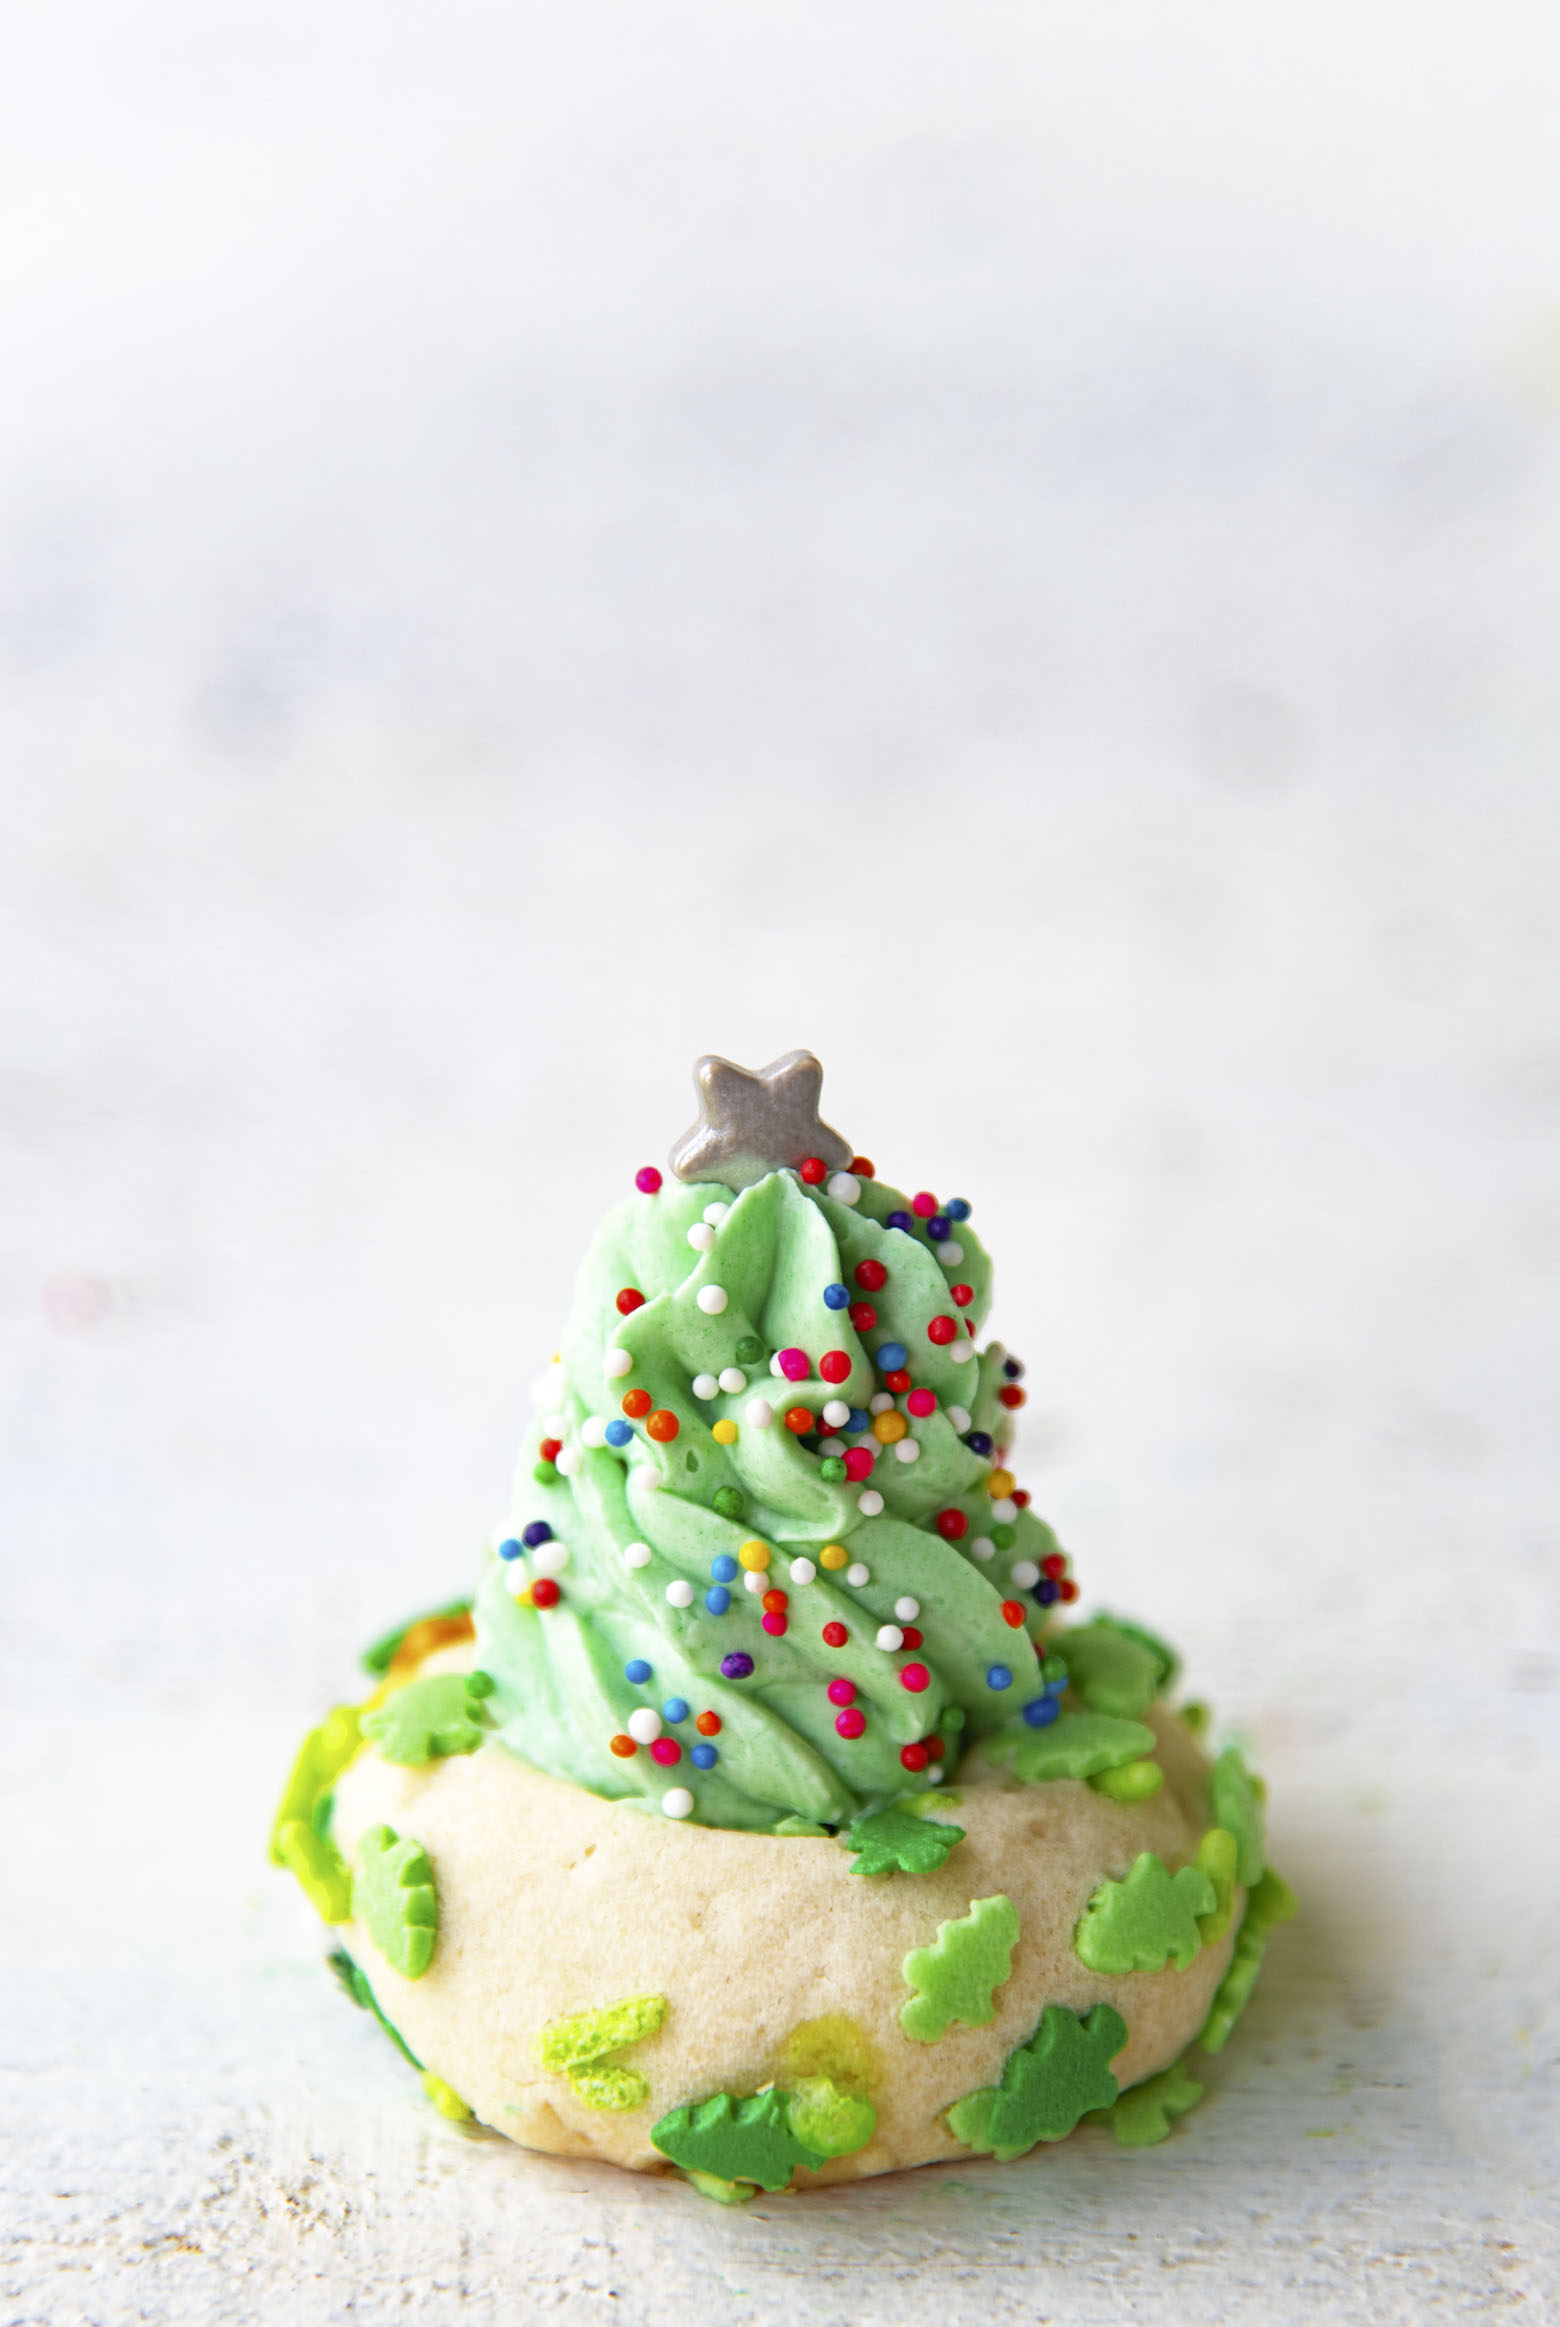
Then we got to the fudge.
Which seemed simple enough.
Candy melts.
Some condensed milk.
A little Crème de menthe.
Followed by a whole lot of stirring.
Waiting.
Stirring.
And so on.
The original recipe told me that I would have to let is sit.
And every 15 minutes stir it until it was fudge like consistency.
Except mine was fudge like consistency after the first stirring.
And the recipe warns not to let it get too cool or it will be hard to pipe.
I can’t imagine it being harder to pipe than what I got but I’m afraid to know just how harder.
So I had my fudge in the piping bag and away I went to make trees.
It was like pushing concrete through a straw.
My bag busted three times.
I got five fudge trees total before I stopped.
Because I was having to push the fudge through the piping tip with my fingers.
And I have rheumatoid arthritis.
So that trashed my hands.
It also started to get oily.
Which don’t even get me started on how that happened…because I don’t know.
At that point I decided to switch to buttercream frosting.
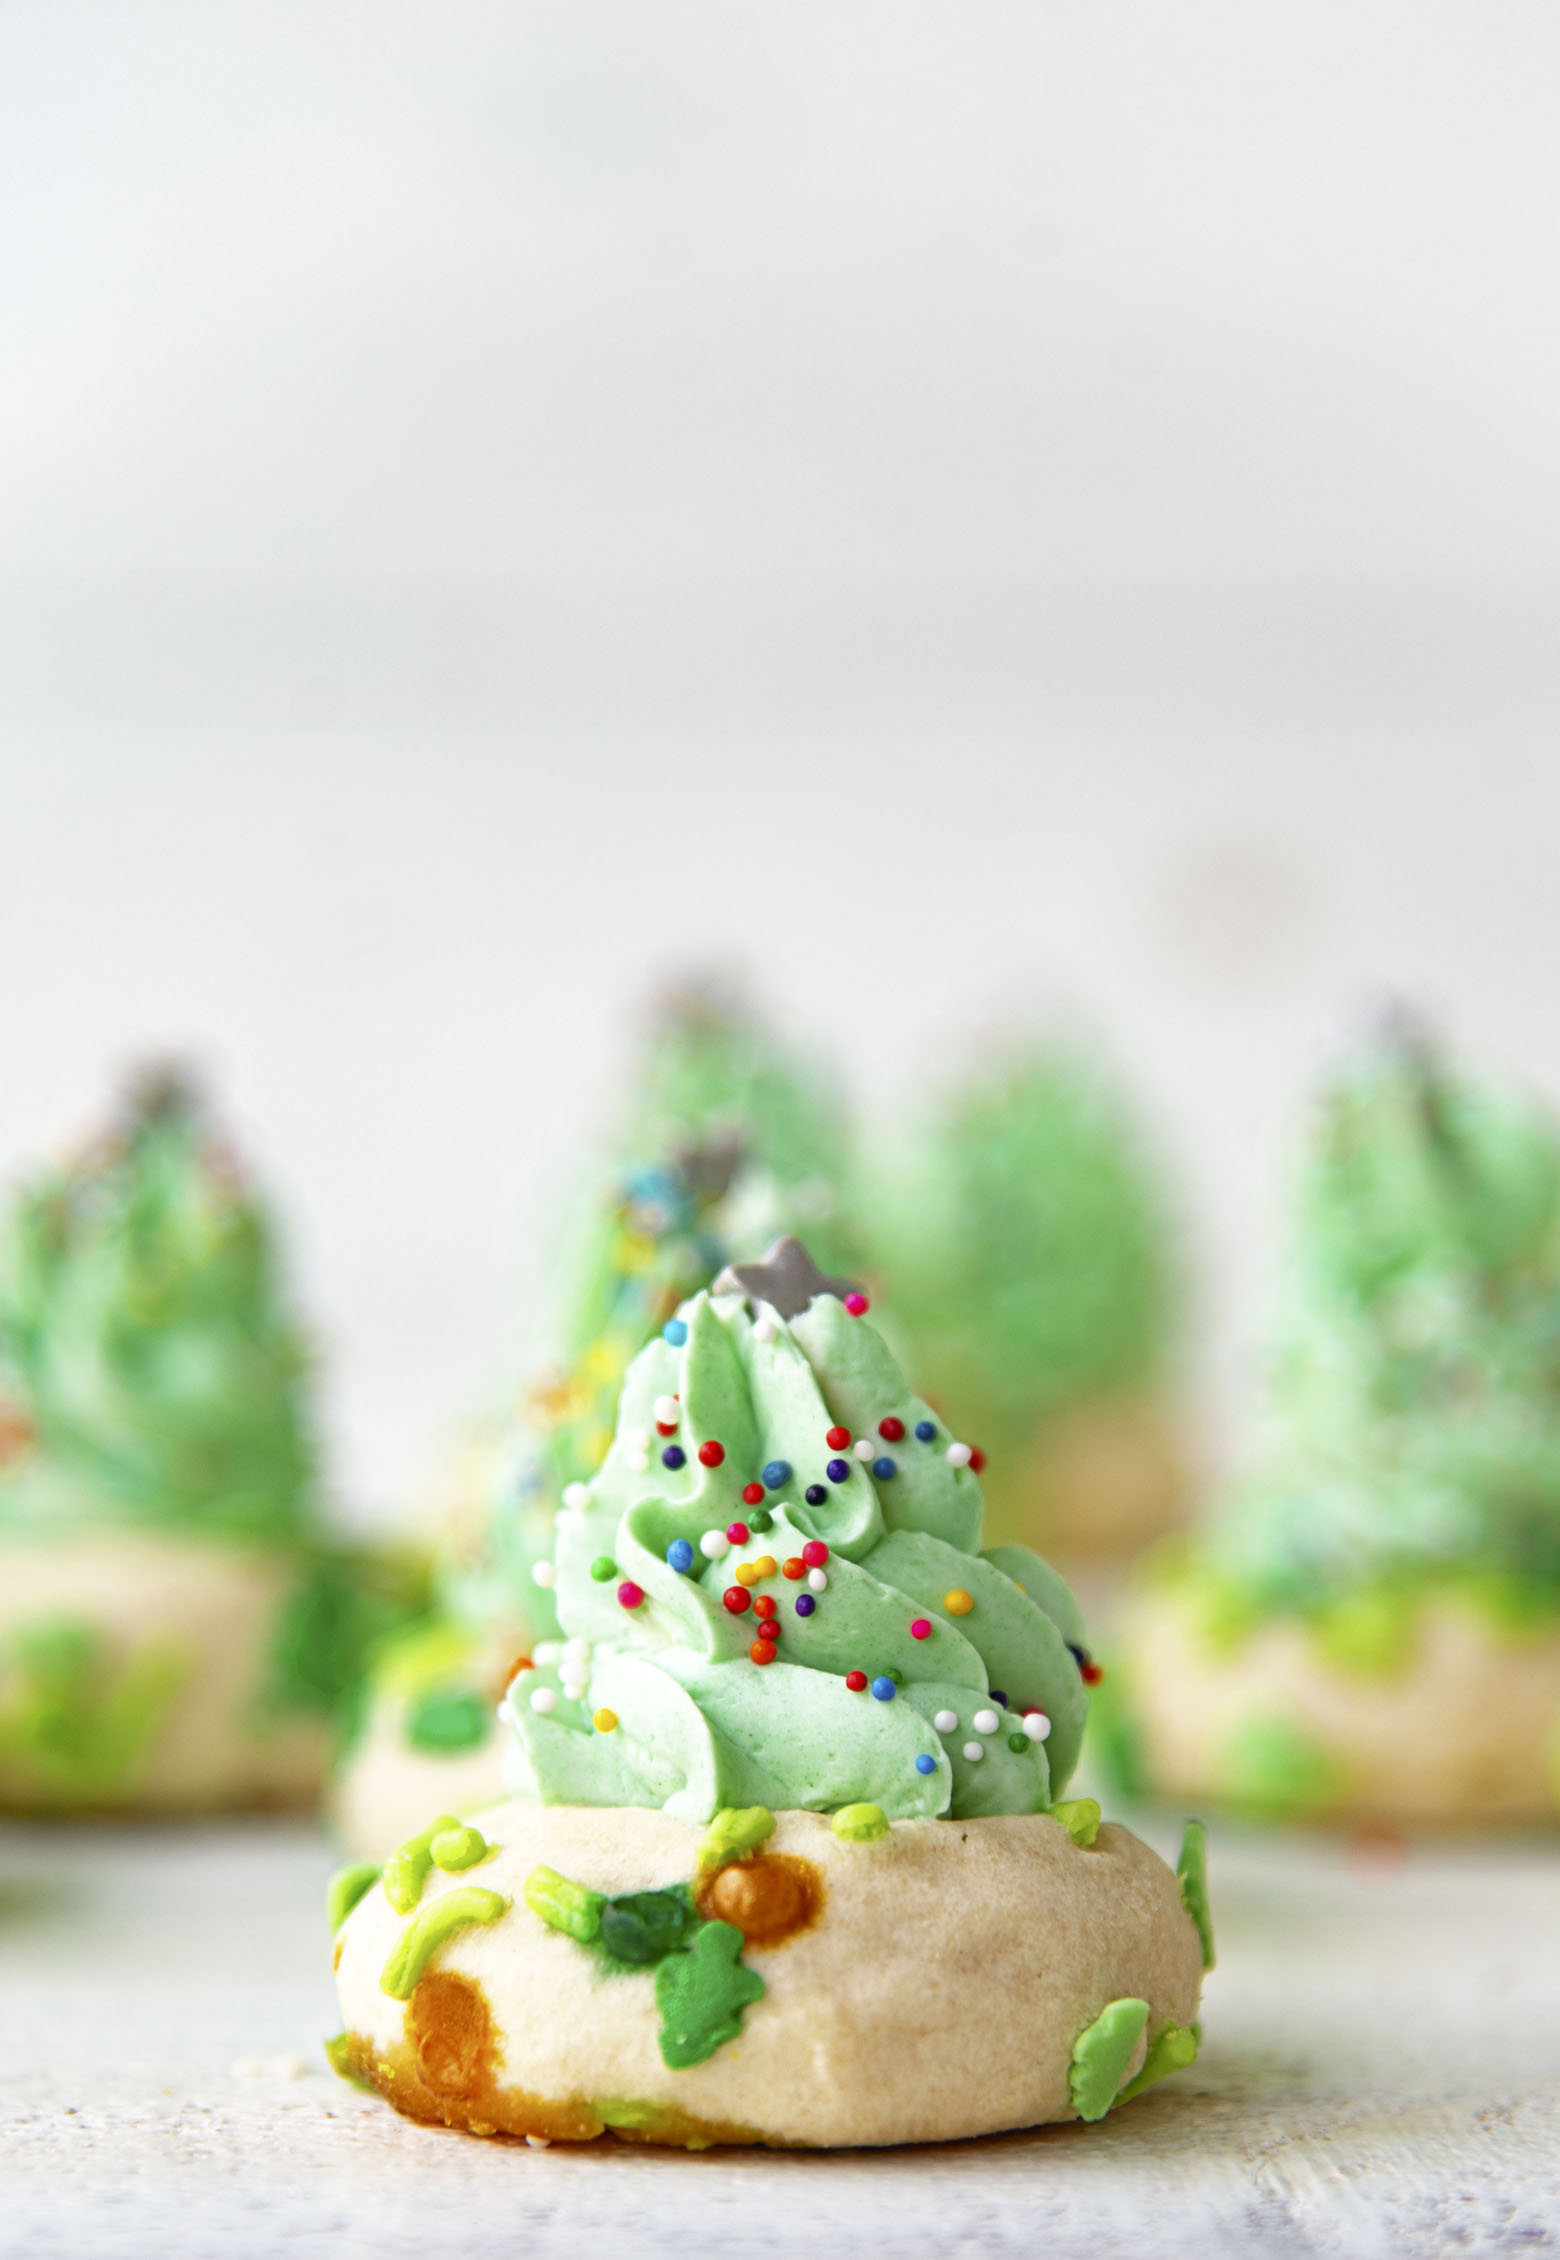
It’s also why some of the trees in the pictures look different.
I wanted to show how both versions looked.
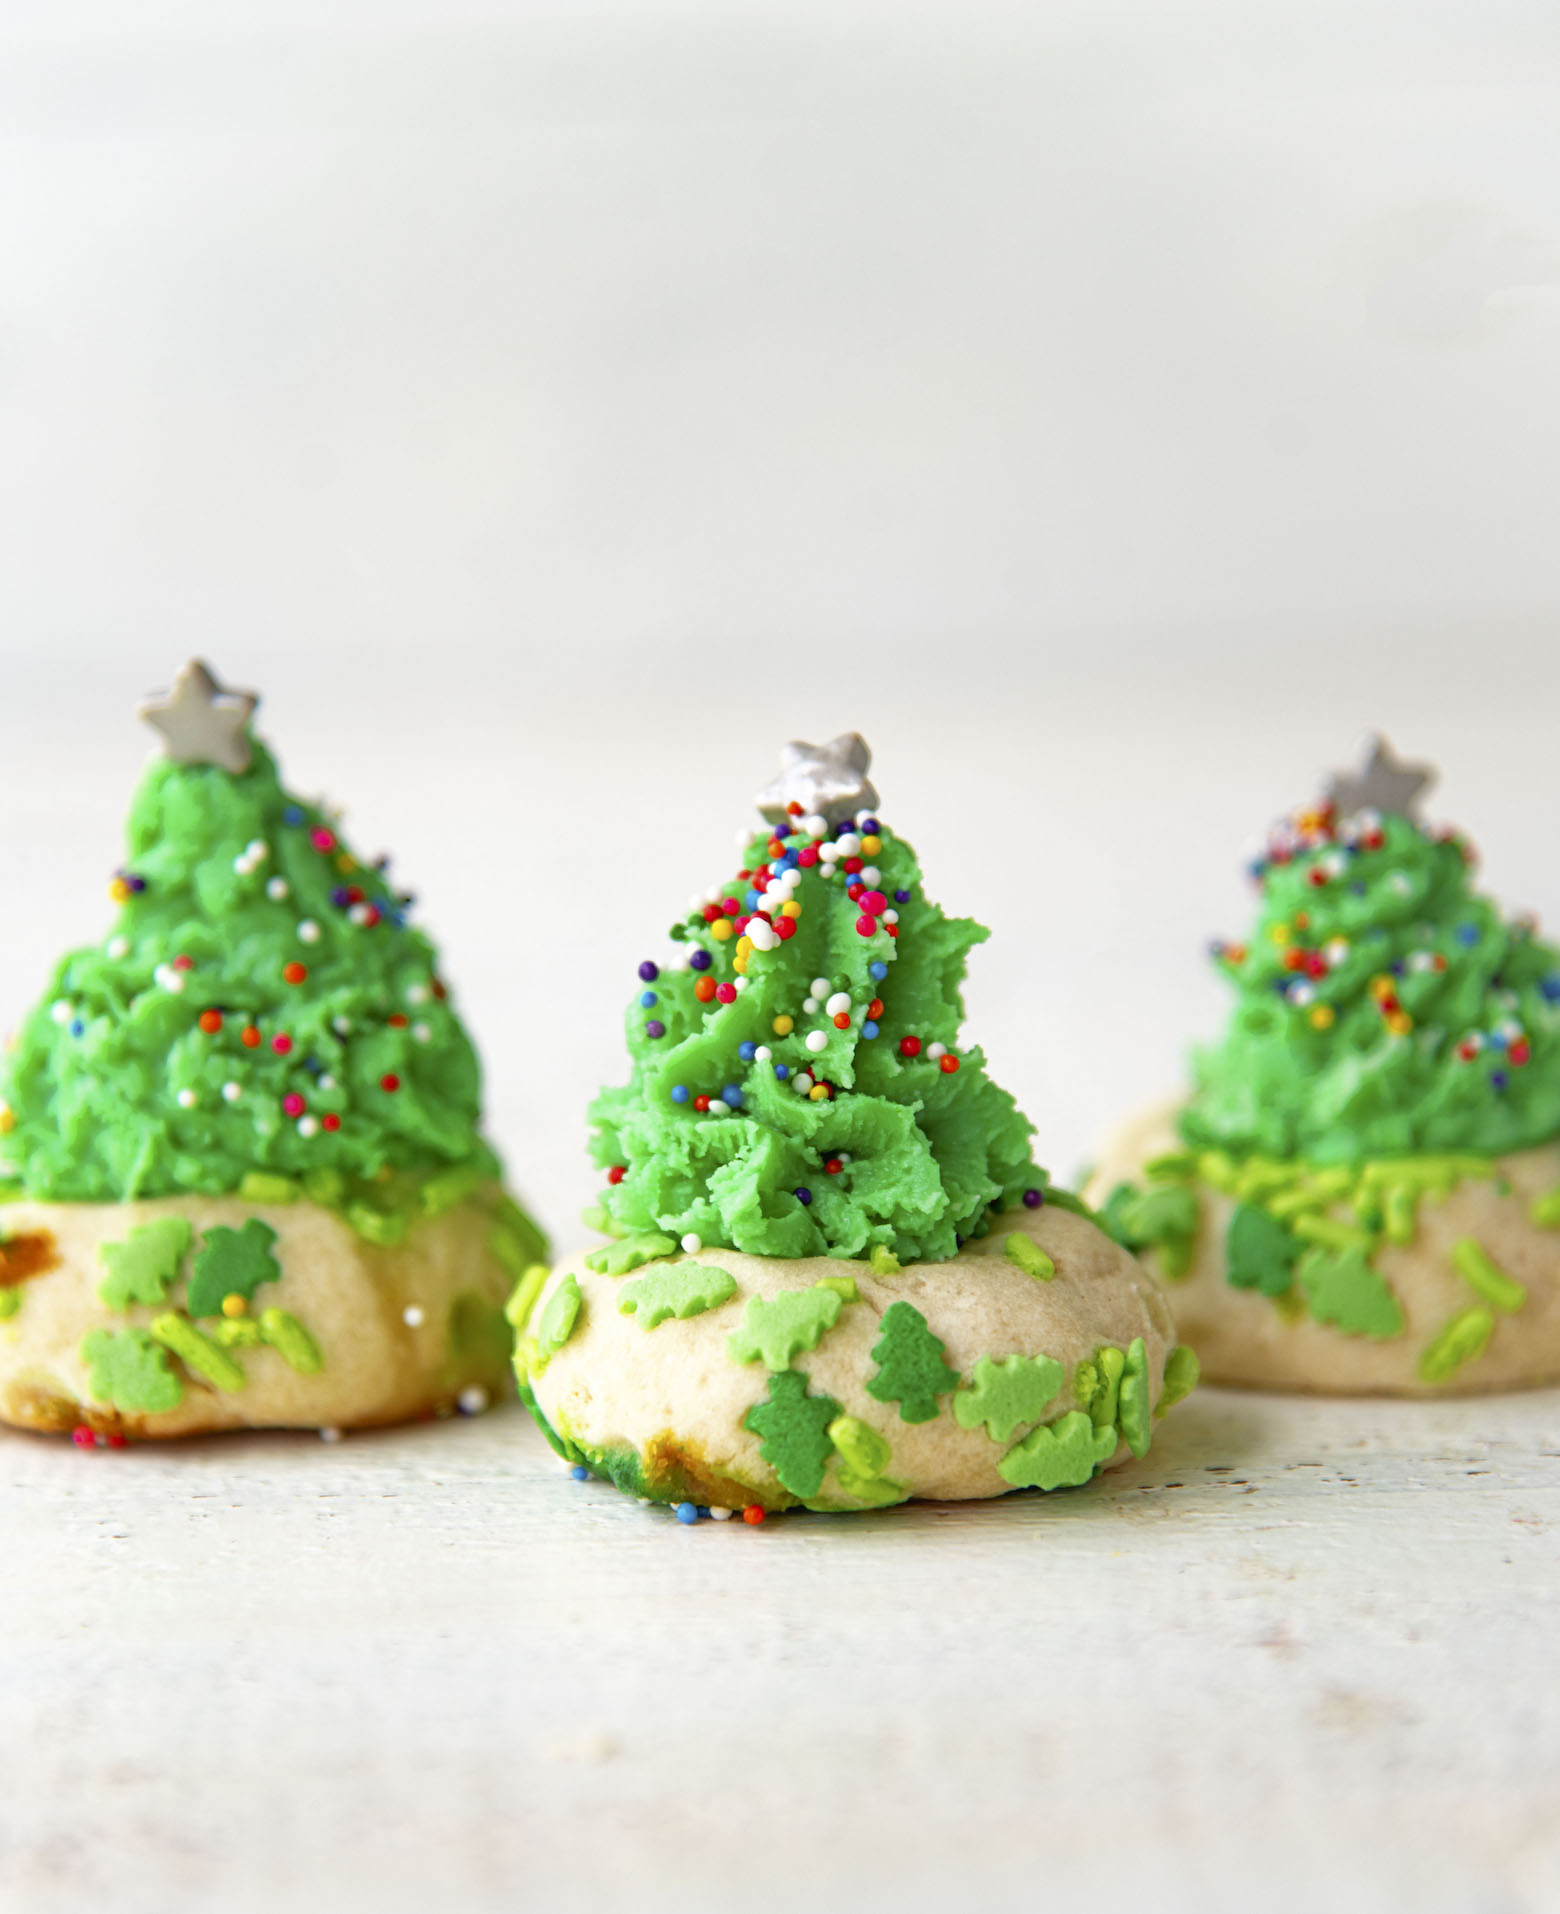
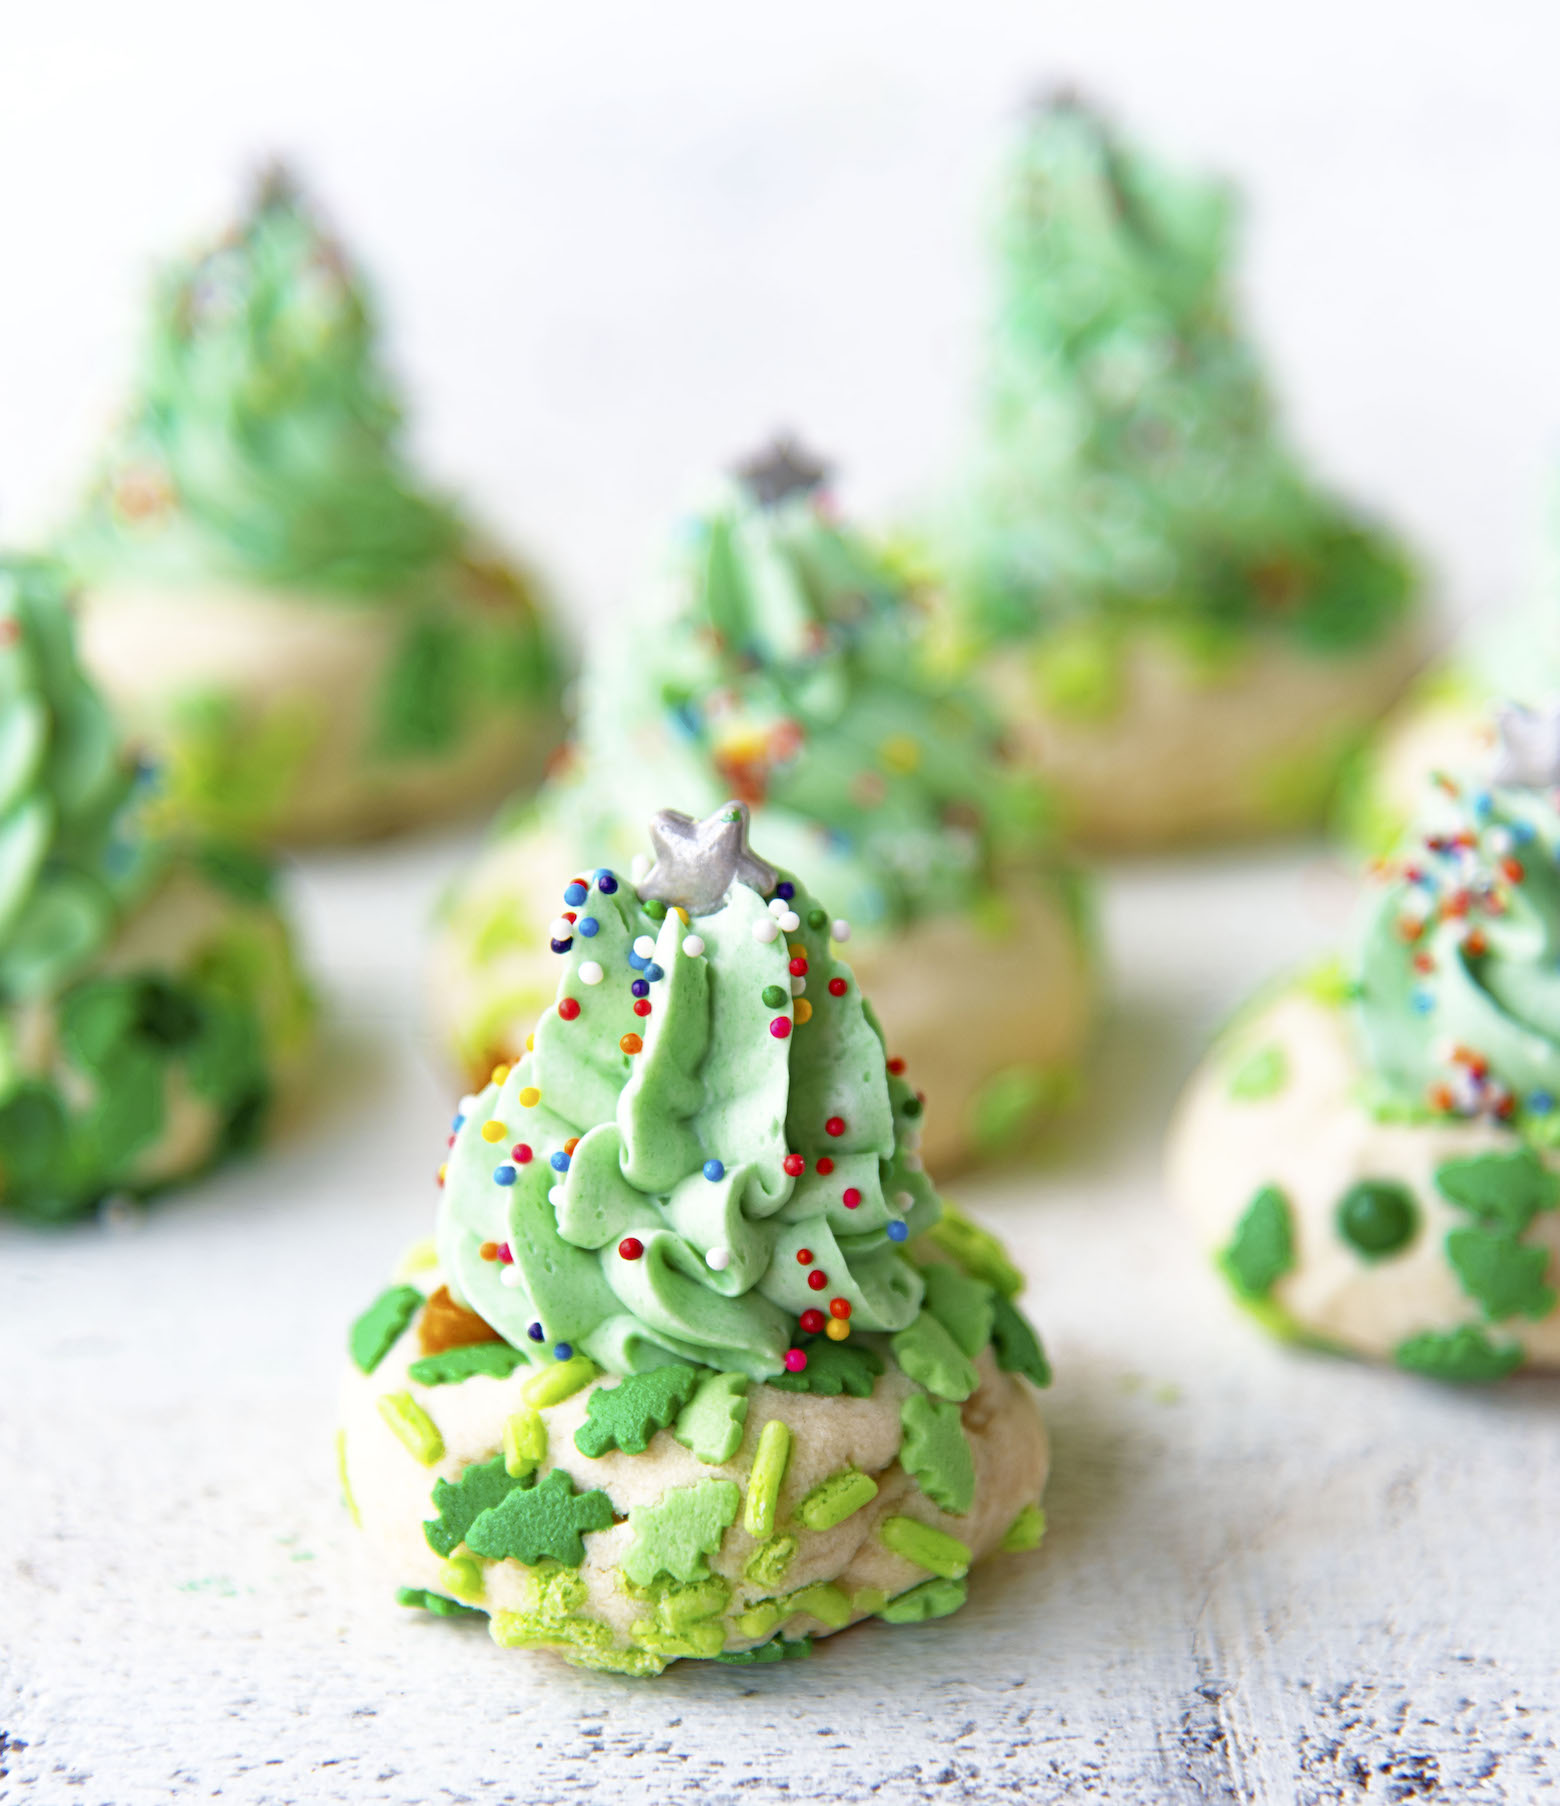
Switching to the Swiss meringue buttercream was the way to go.
At least for me.
Not only because I could actually pipe it.
But because it tasted better.
See, when I asked how hard could the fudge get earlier…the answer is extremely hard.
More like biting a giant Hershey’s kiss than soft fudge.
And not the consistency I was thinking the trees would be.
So I only give the recipe for the buttercream.
But I do link to the fudge trees not only in the post but in the recipe.
Feel free to try the fudge version.
You might have better luck than I did.
But if you want to avoid the hand cramps go with the buttercream version. 😀
And as always it’s a great day to order my cookbook.
Want More Holiday Cookies?
Mini Chocolate Gingerbread Men Sandwich Cookies
Shortbread Roll Out Sugar Cookies
Cranberry Orange Pistachio Cookies
Christmas Tree Thumbprint Cookies
Ingredients
- For the Cookies:
- 1 cup unsalted butter, at room temperature
- 1/2 cup granulated sugar
- 1/3 cup light brown sugar, tightly packed
- 1 large egg yolk
- 1/2 tsp vanilla extract
- 2 ¼ cup all purpose flour
- 2 tsp. cornstarch
- 1/2 tsp salt
- festive sprinkles to roll cookies in
- For the White Chocolate Buttercream:
- 1 cup (about 9) egg whites
- 2 cups granulated sugar
- 3 cups unsalted butter, cubed and at room temperature
- 2 tsp. vanilla extract
- green food gel
- 1/4 tsp. salt
- 10 oz. white chocolate melted and cooled slightly
- star candy decorations
- nonpareils for decoration
Instructions
- For the Cookies:
- Place butter in the bowl of a stand mixer (you may instead use a large bowl and an electric hand mixer) and beat until creamy.
- Scrape down the sides of the bowl, add sugars, and beat, gradually increasing mixer speed to medium-high until ingredients are well-combined (about 30-60 seconds).
- Add egg yolk and vanilla extract and beat well.
- In a separate bowl, whisk together flour, cornstarch, and salt.
- With mixer on low speed, gradually add flour mixture to wet ingredients until completely combined. This dough will seem very dry and crumbly, so be sure to pause occasionally to scrape the sides and bottom of the bowl. Give it time it will get there.
- Scoop cookie dough into 1 Tablespoon-sized balls and roll so there are no cracks.
- Roll in sprinkles and place on a wax-paper covered plate or small cookie sheet.
- Use your thumb or the rounded back of a teaspoon to gently press an indent in the center of the cookie dough. Repeat until all of the dough has been used.
- Transfer cookie dough to freezer and chill for 30 minutes.
- Once dough is done chilling, preheat oven to 375F.
- Place cookies at least 2" apart on a parchment paper-lined cookie sheet and bake on 375F for 11-12 minutes or until edges are just beginning to turn golden brown.
- Allow cookies to cool completely on baking sheet.
- For the Frosting:
- Place the egg whites and sugar in the metal bowl of a stand mixer and set over a small pot of simmering water (the bowl should not touch the water).
- Heat, stirring occasionally, until mixture is 160F or hot to the touch.
- Transfer bowl to stand mixer and beat on high speed with a whisk attachment to medium stiff peaks, about 8 minutes.
- Reduce mixer speed to medium low and add butter a tablespoon at a time, letting it incorporate into the meringue for few moments before adding more.
- Add vanilla extract, green food gel, melted white chocolate, and salt and beat on high for 1-2 minutes until smooth and creamy.
- Spoon the frosting into a pastry bag fitted with a medium star tip.
- Pipe a big swirl of frosting into the center of the thumbprint cookie.
- Pull up while piping to get a nice pointed tip on each frosting swirl Christmas tree.
- Immediately sprinkle on some colorful nonpareils and a candy star and s to make them look like decorated trees.
Notes
To make the fudge version I used this RECIPE.
Leave a Reply