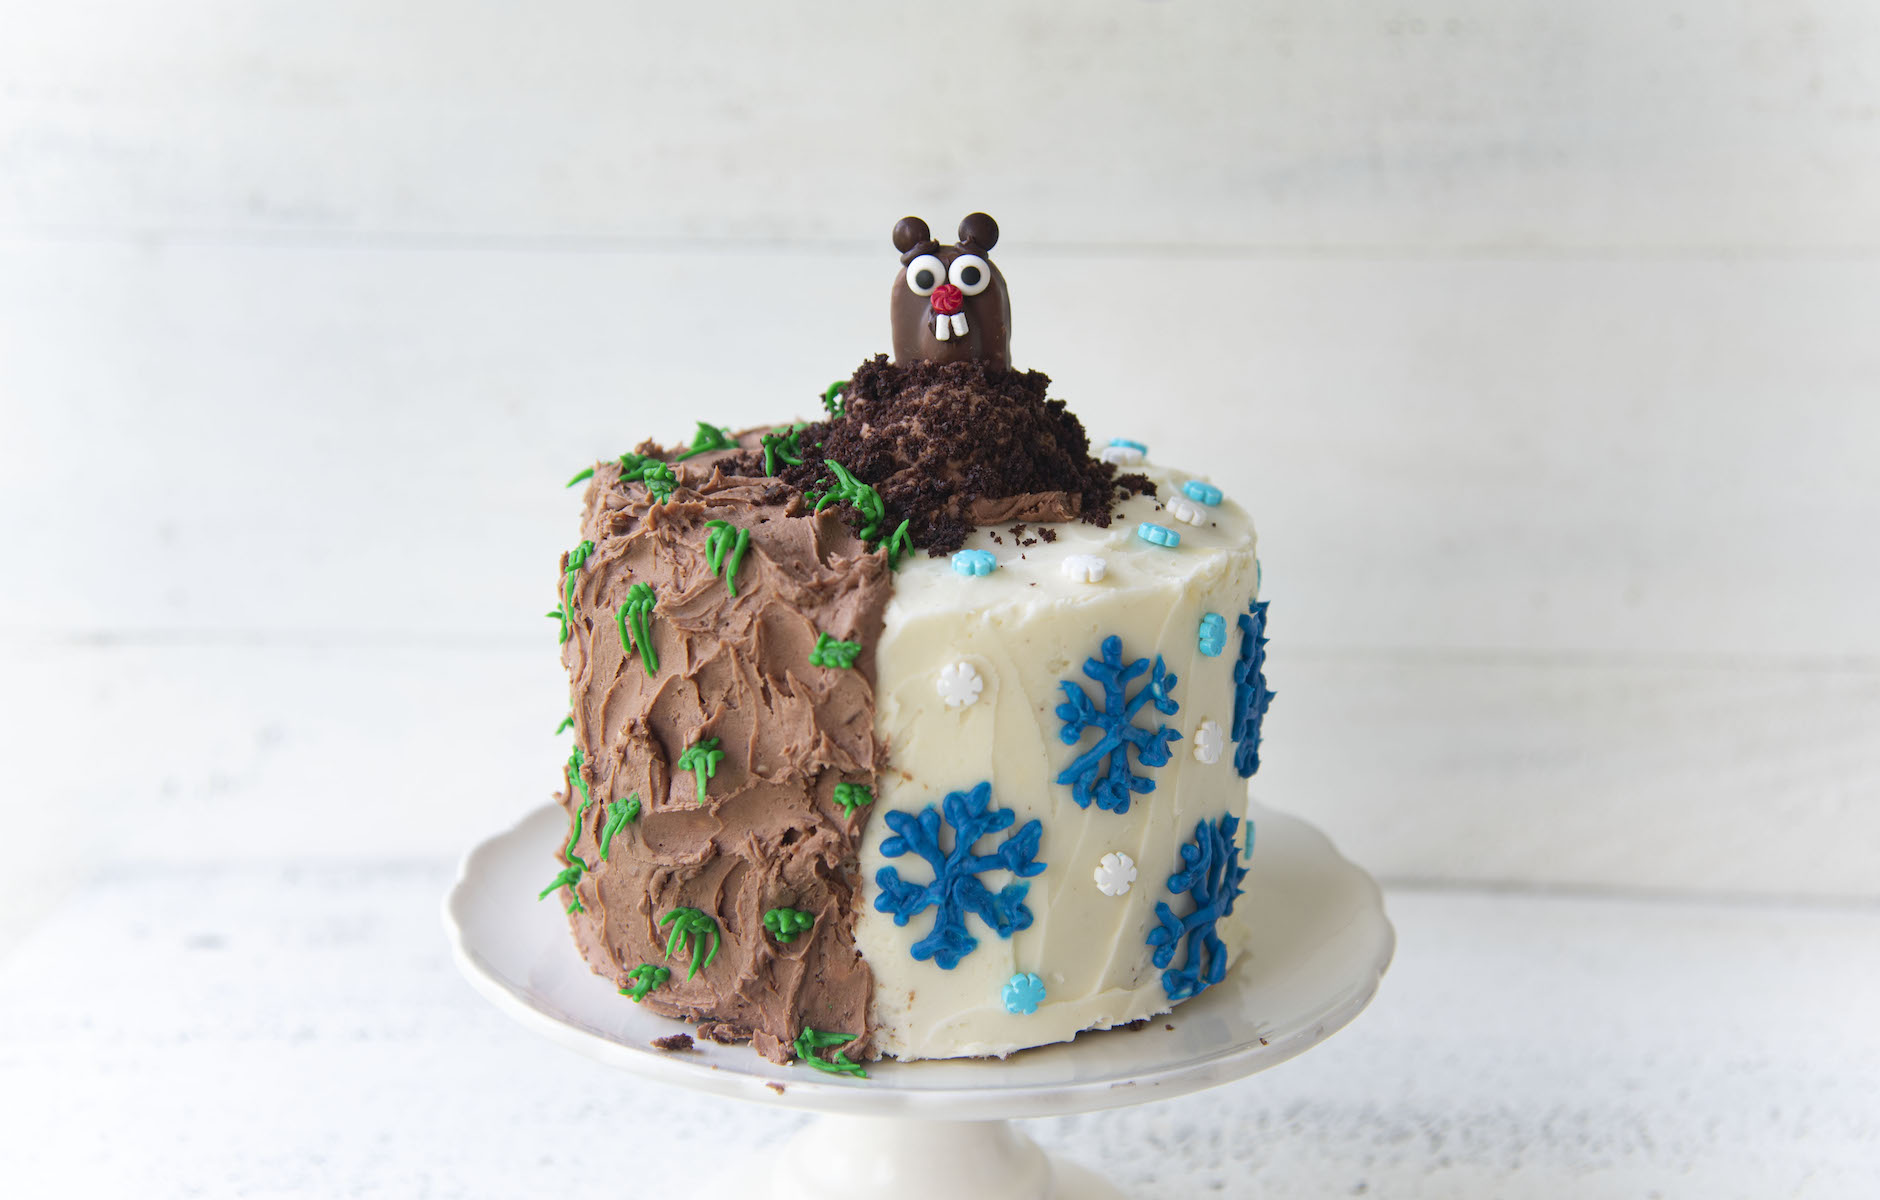
This Groundhog Day Layer Cake is the perfect way to celebrate Groundhogs day with a half winter half spring theme with a candy groundhog.
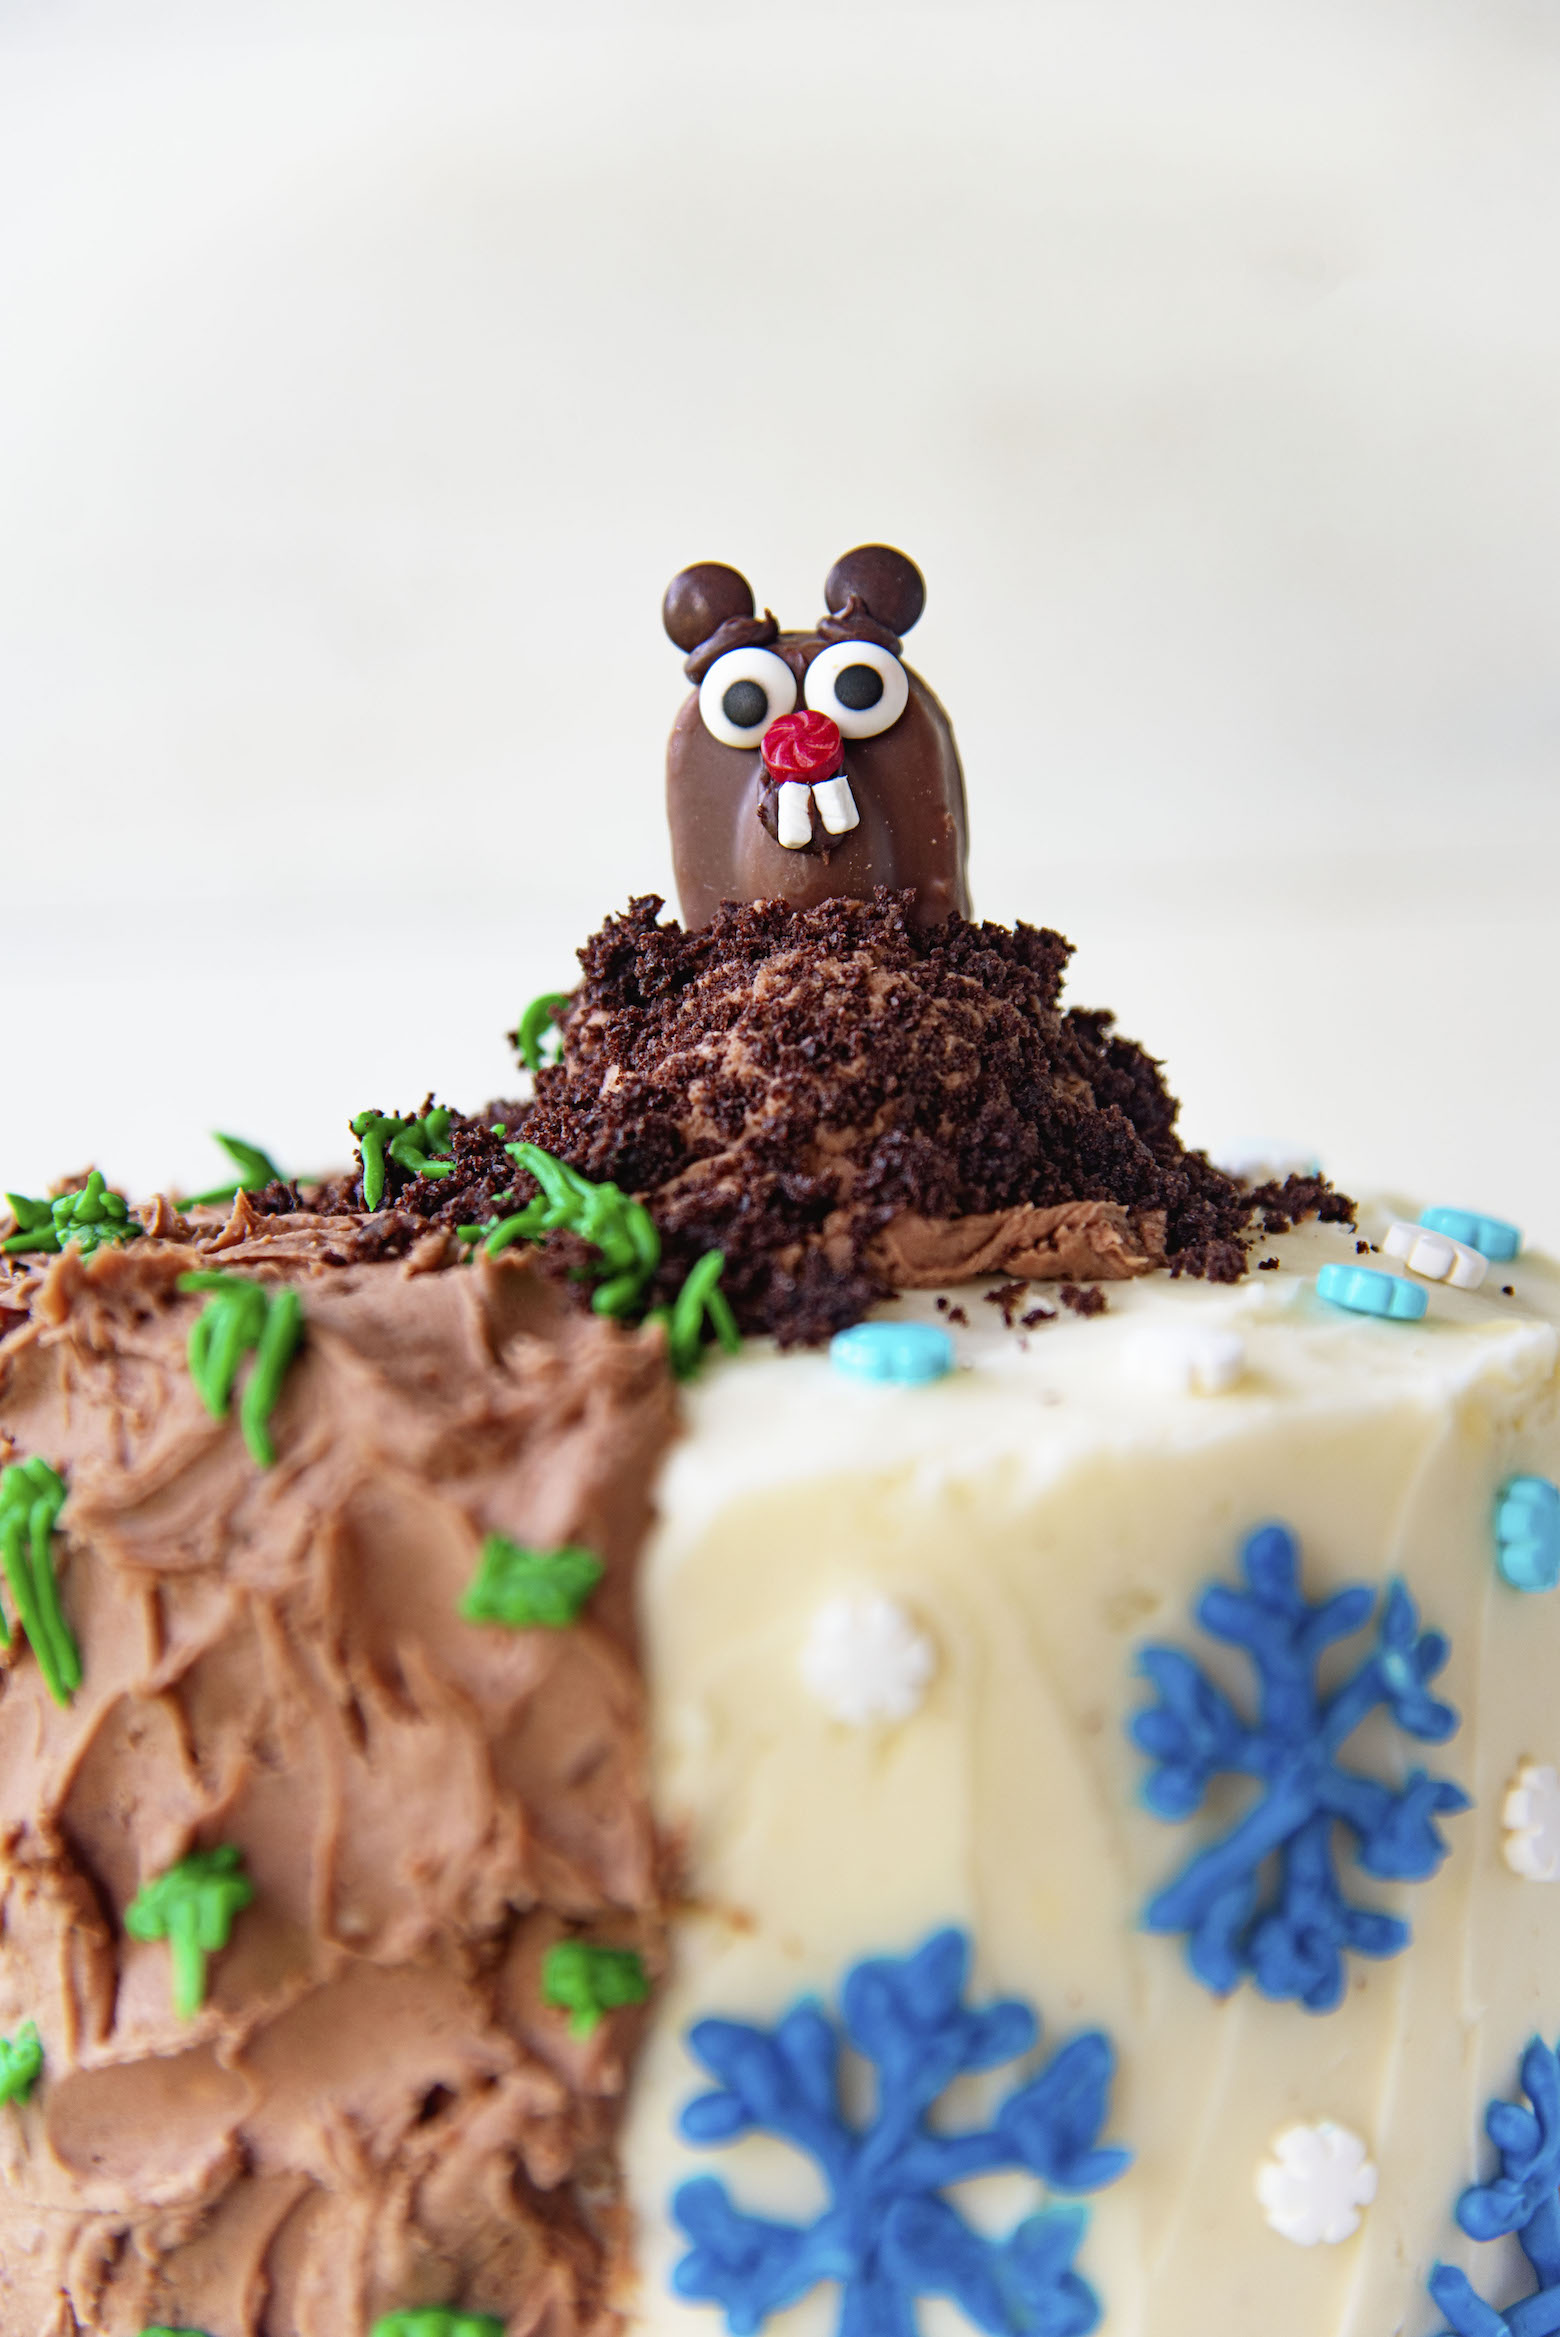
This Groundhog Day Layer Cake is my ode to my favorite holiday, Groundhog’s Day.
Ever since I was a little kid it has been my favorite holiday.
Yes, I know, I’m weird.
I think maybe because I’m just a sucker for cute animals.
And well, groundhogs are cute, especially Punxsutawney Phil.
Though honestly, I’m not sure how cute I would be if someone knocked on my door early February 2nd, held me up, and said predict the weather.
Back in 2008 I made Groundhog Day Cupcakes which have the groundhog coming up out of the cupcake.
In 2011 I made Groundhog Day Hot Cocoa.
And then here in 2022 I not only made Groundhog Day Pudding Shots but now this cake as well.
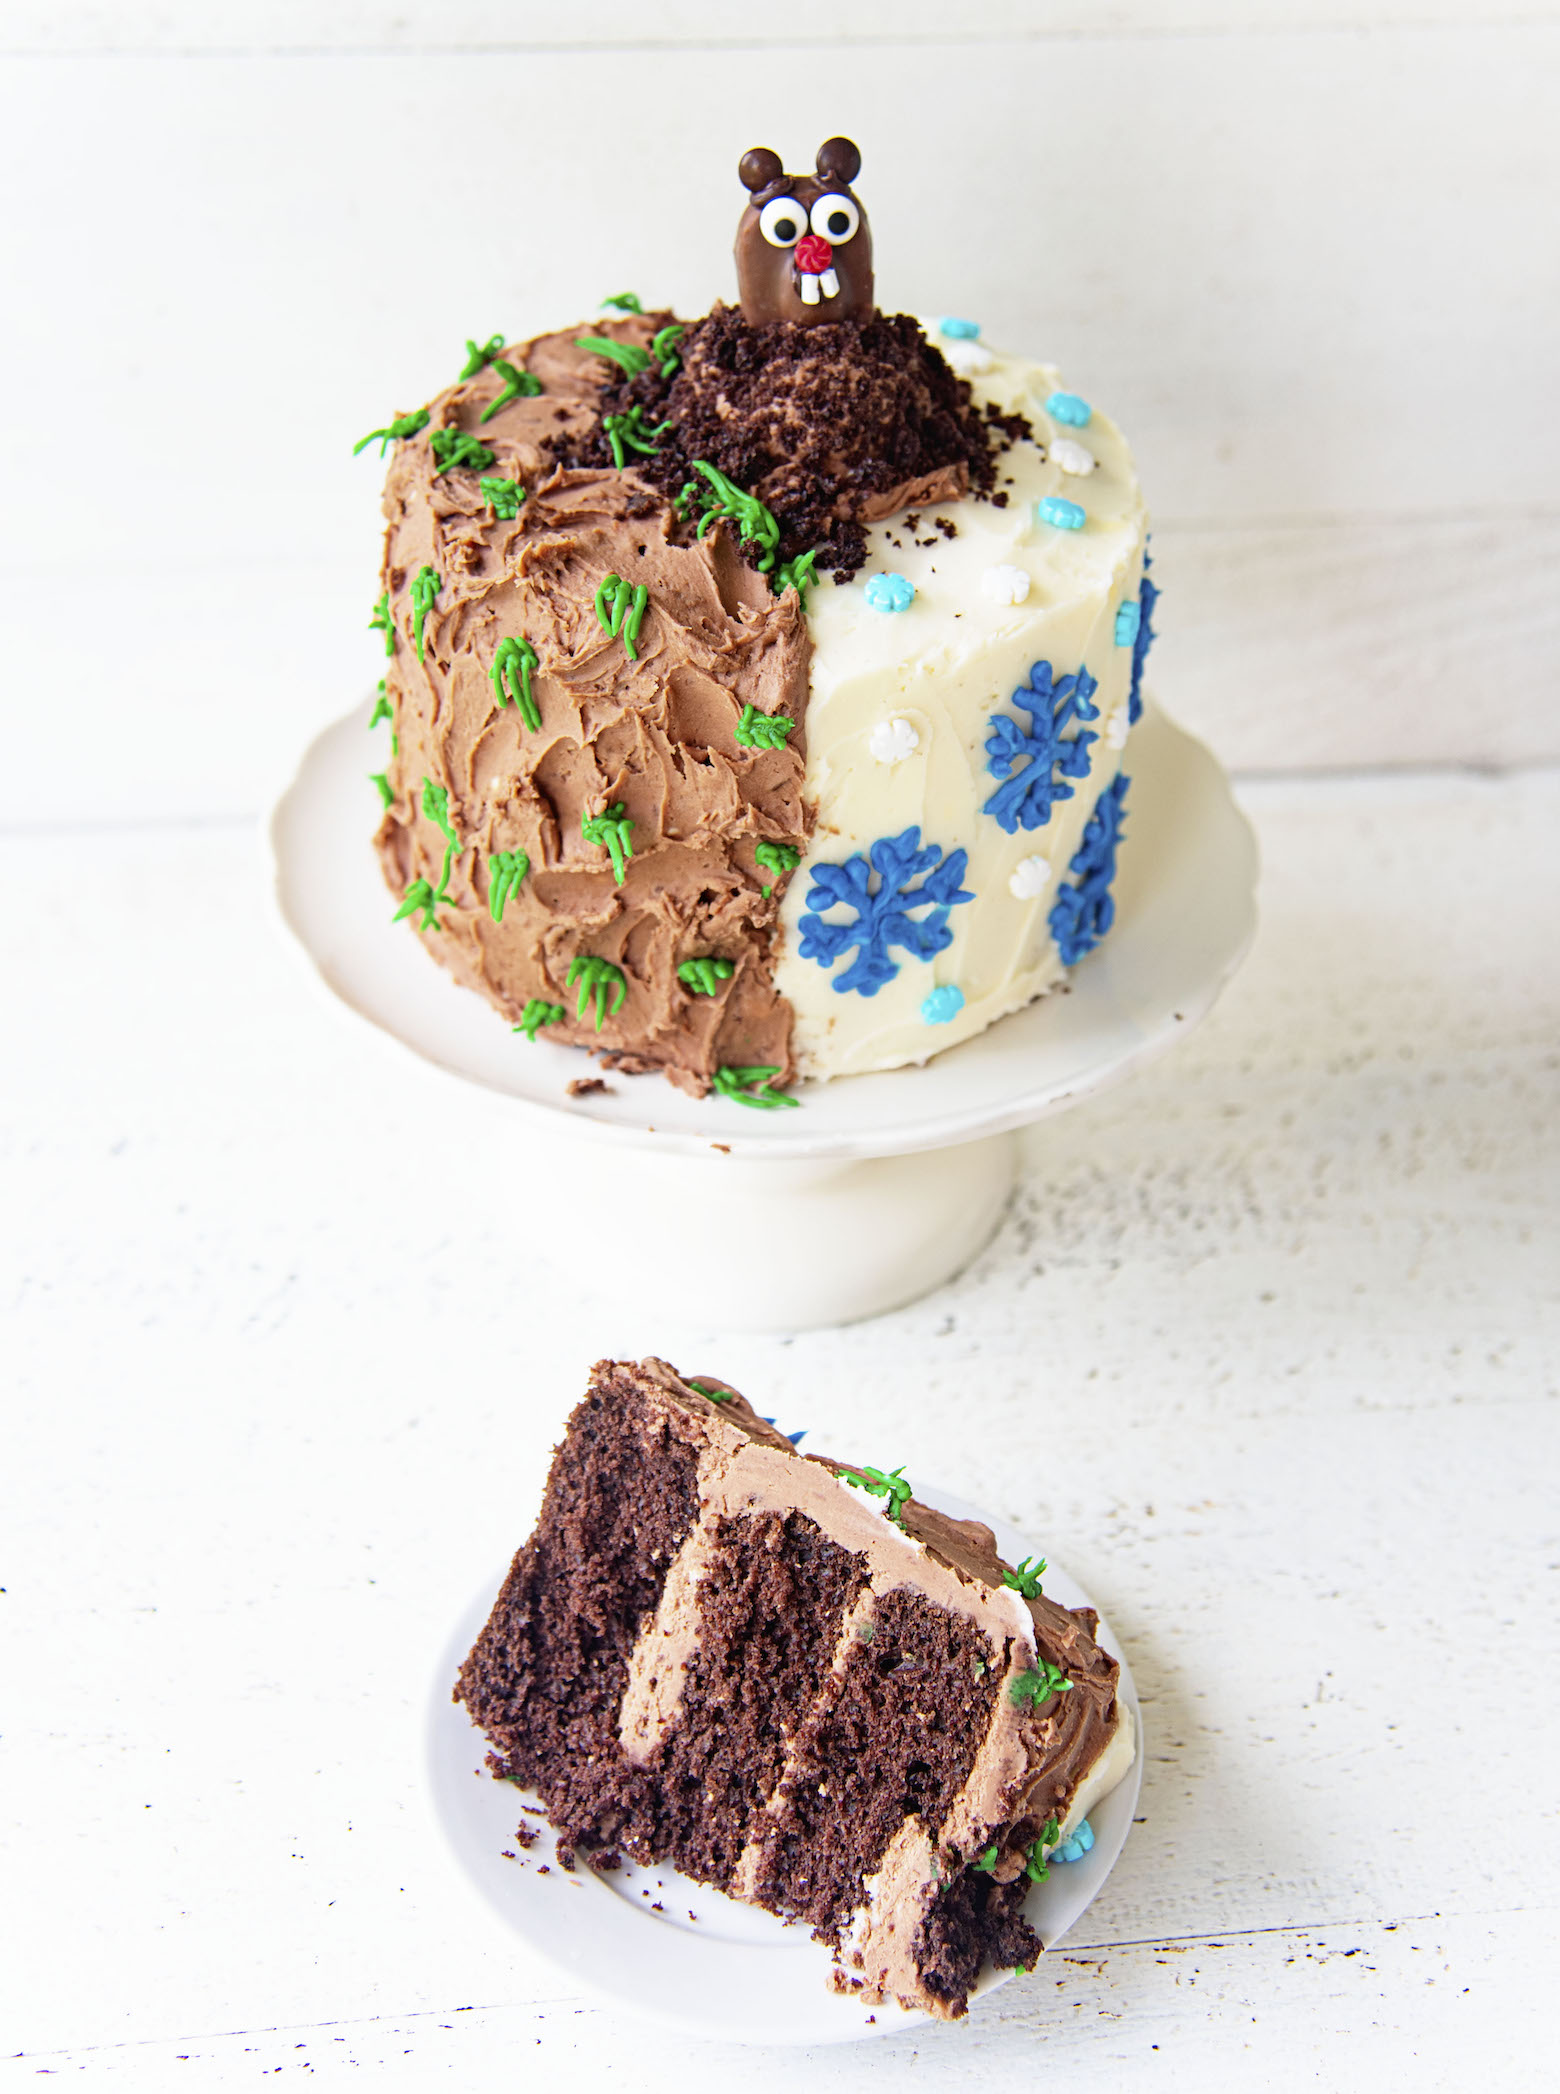
All the previous treats I made focused on the cute groundhog.
This cake does as well.
But I wanted to make something that represented the amazing weather predicting abilities of the groundhog.
Which aren’t that great, but still. It’s unrealistic anyway.
It’s February 2nd.
Most places are going to have winter for another 6 weeks no matter if he sees his shadow or not.
And early spring around here just means mud.
So I’m team winter.
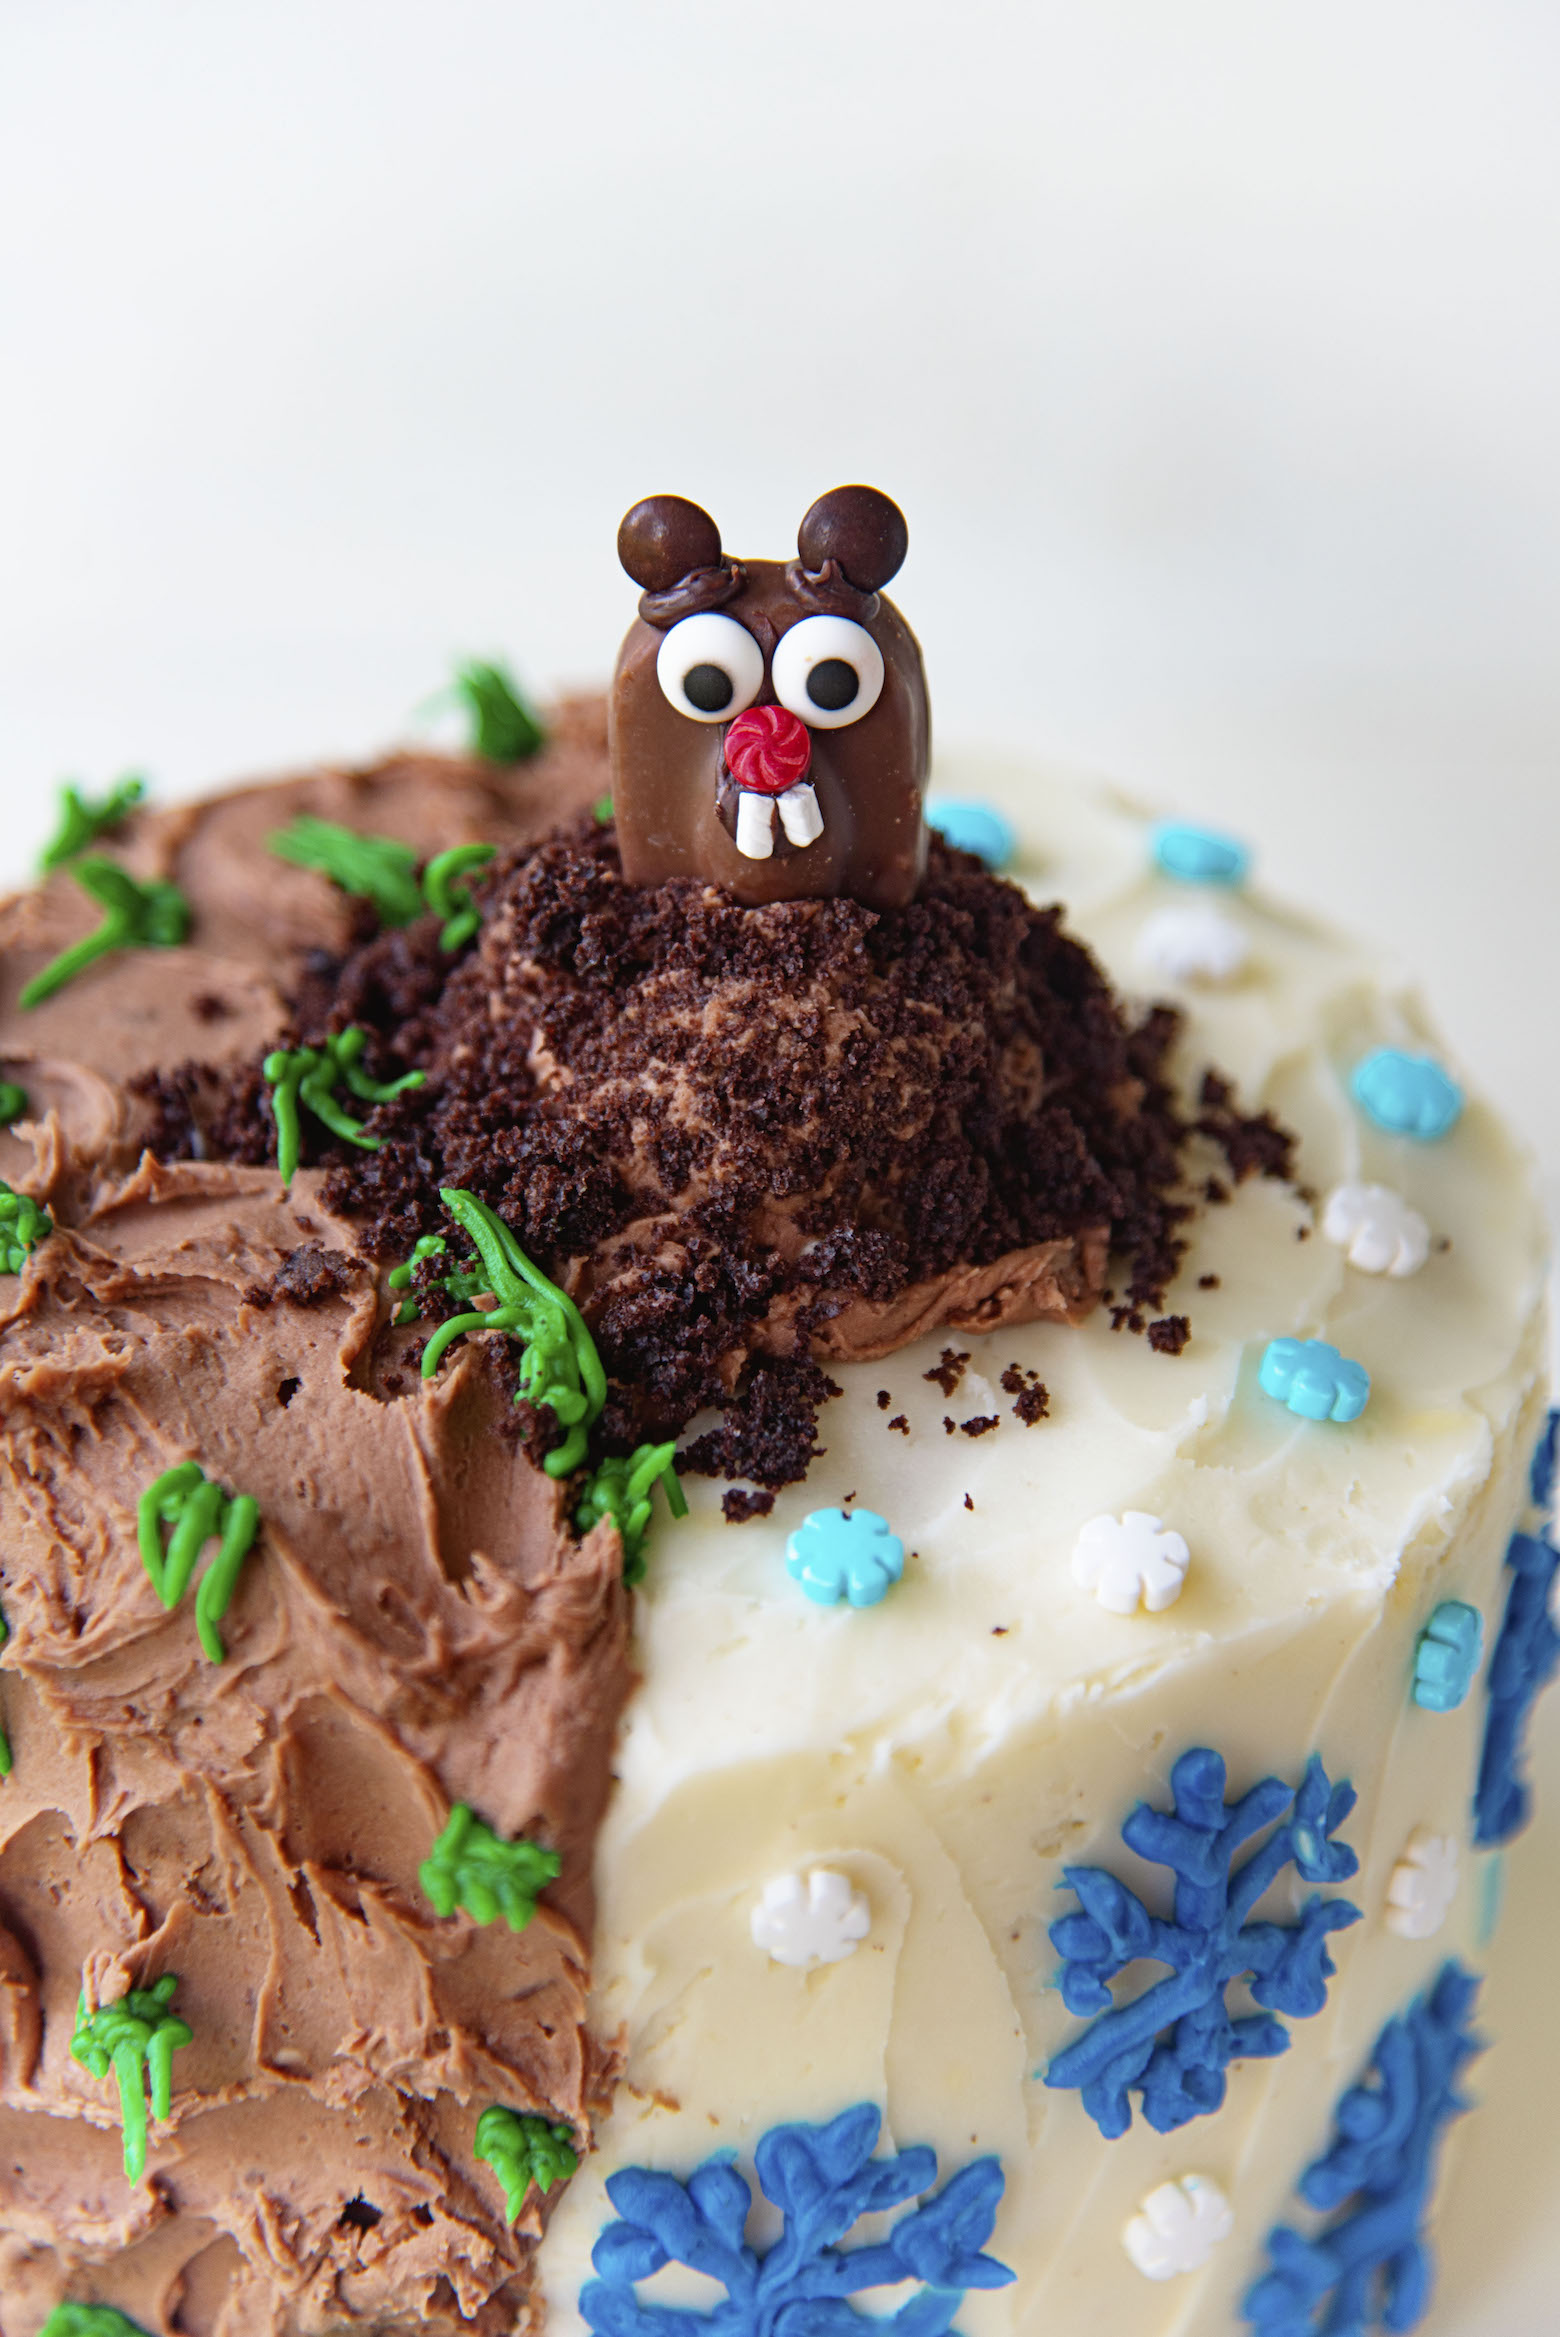
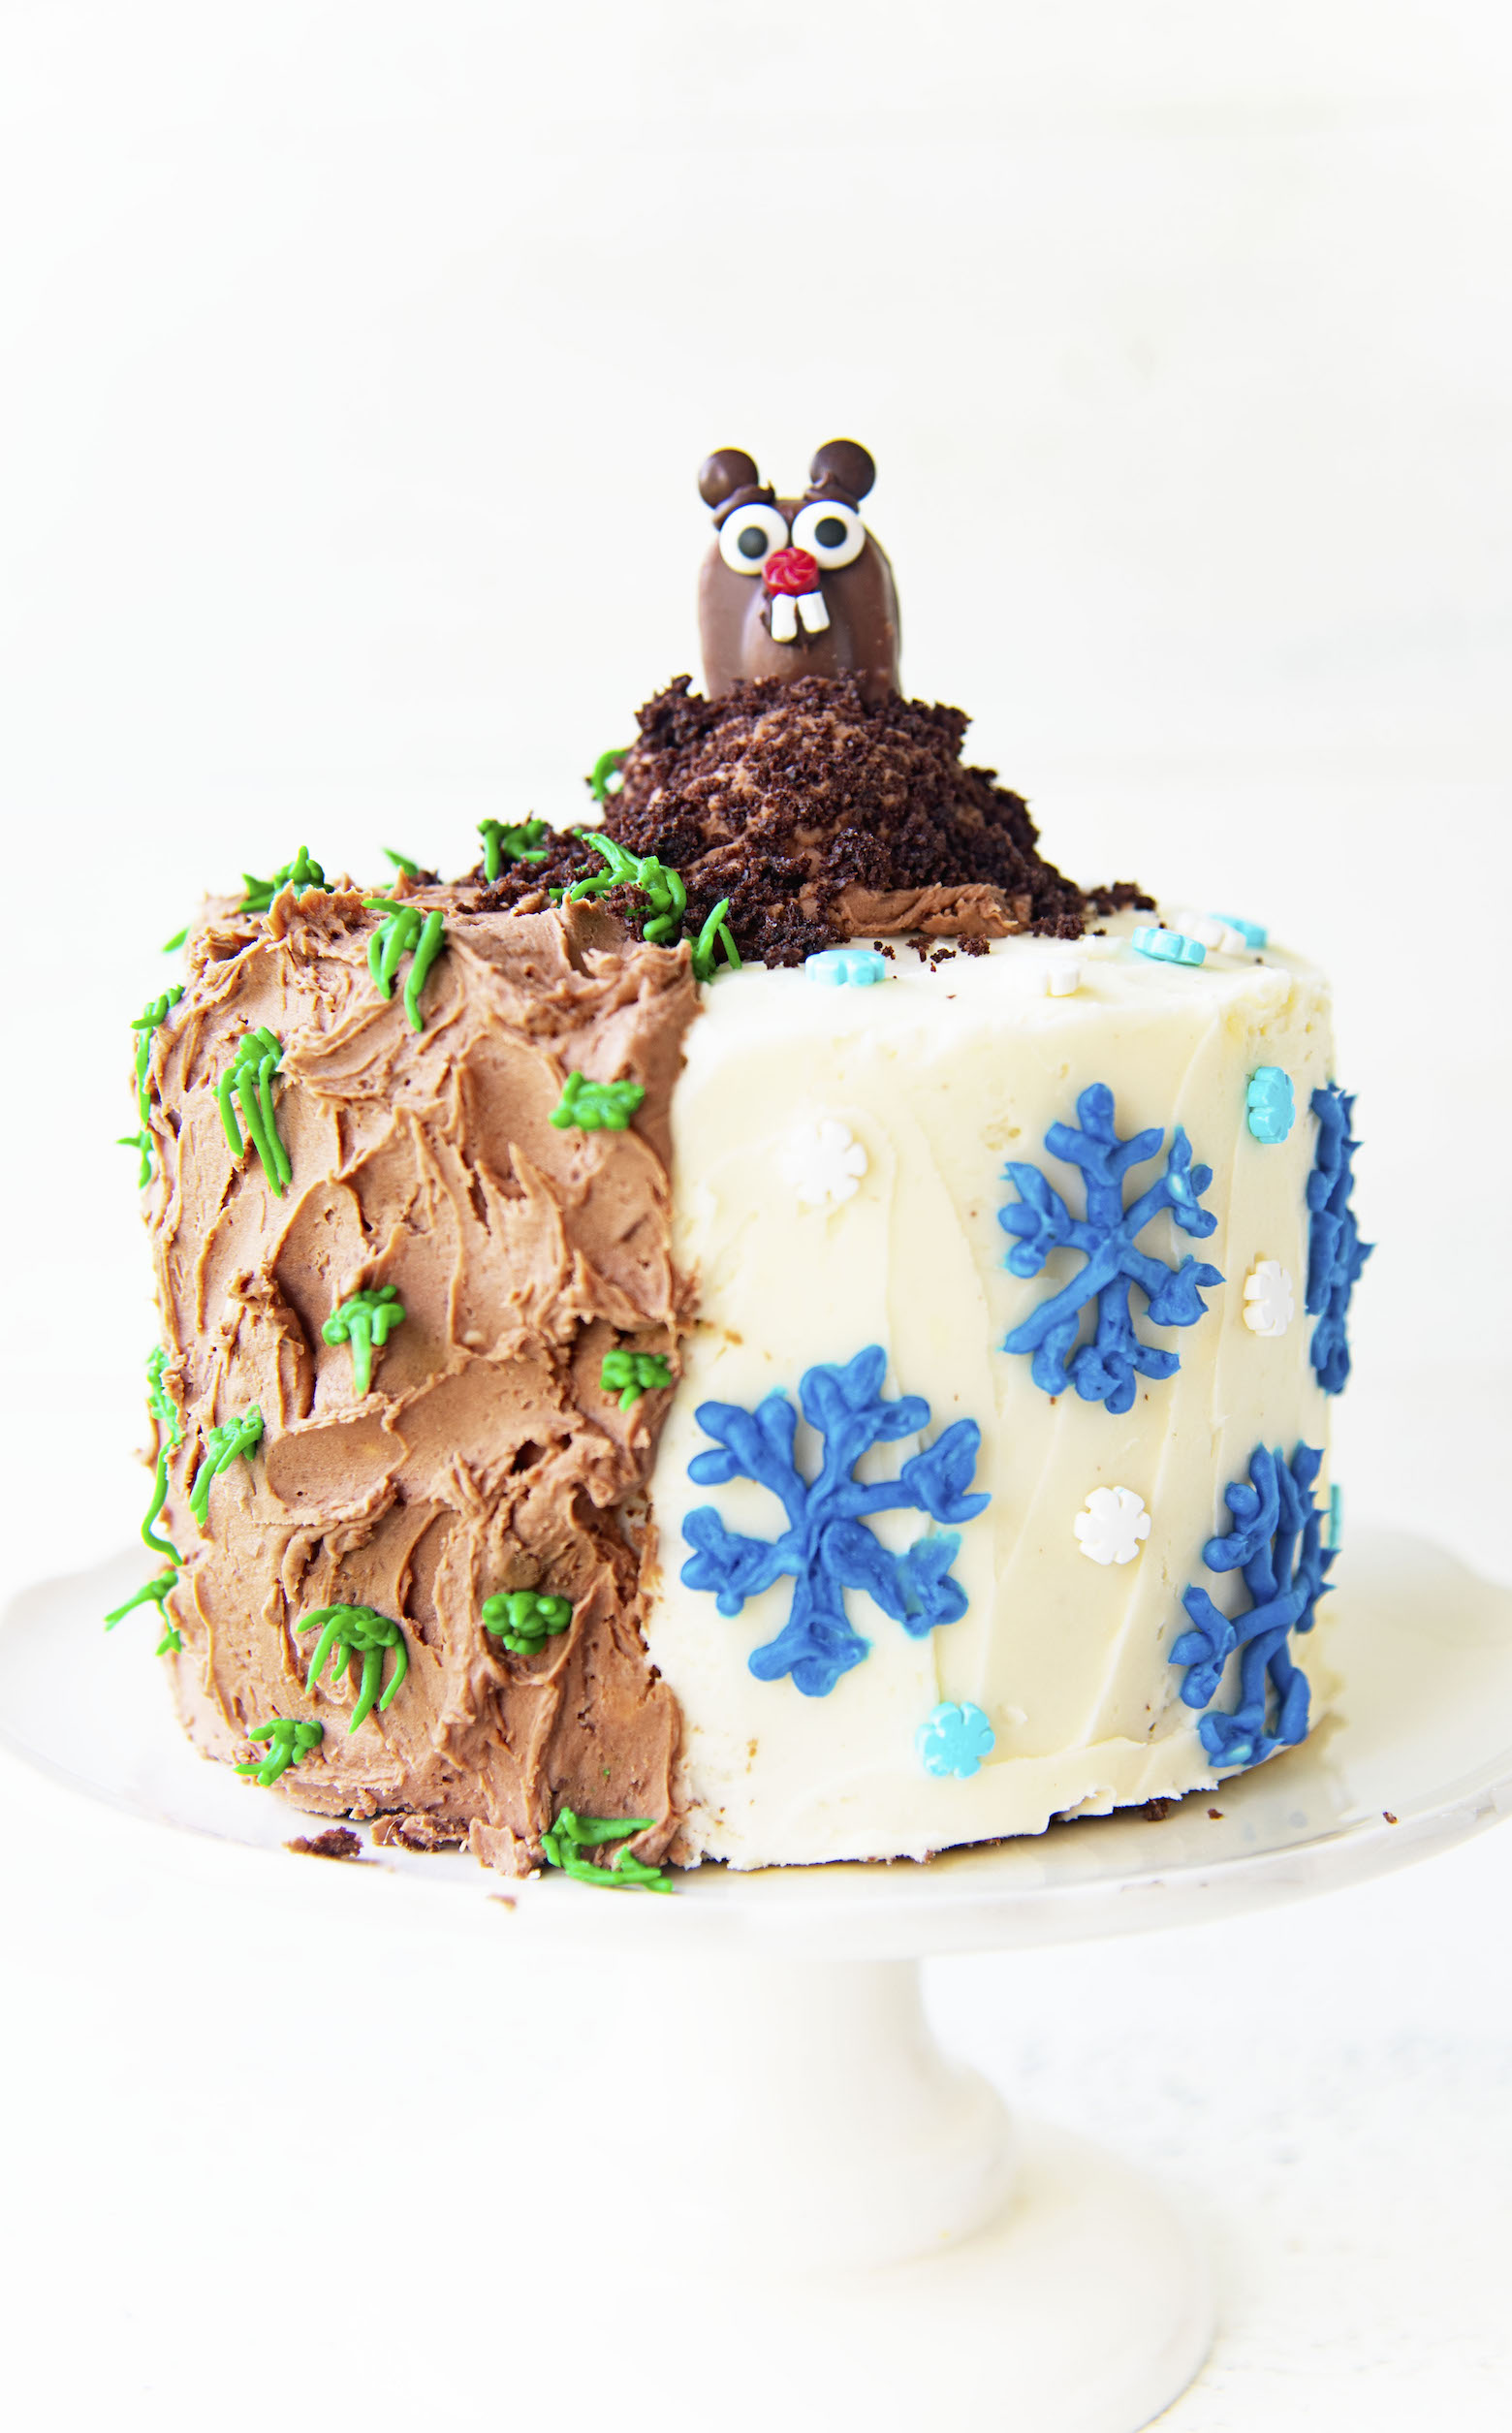
So to represent the groundhog’s weather predicting skills I made the cake half winter and half spring.
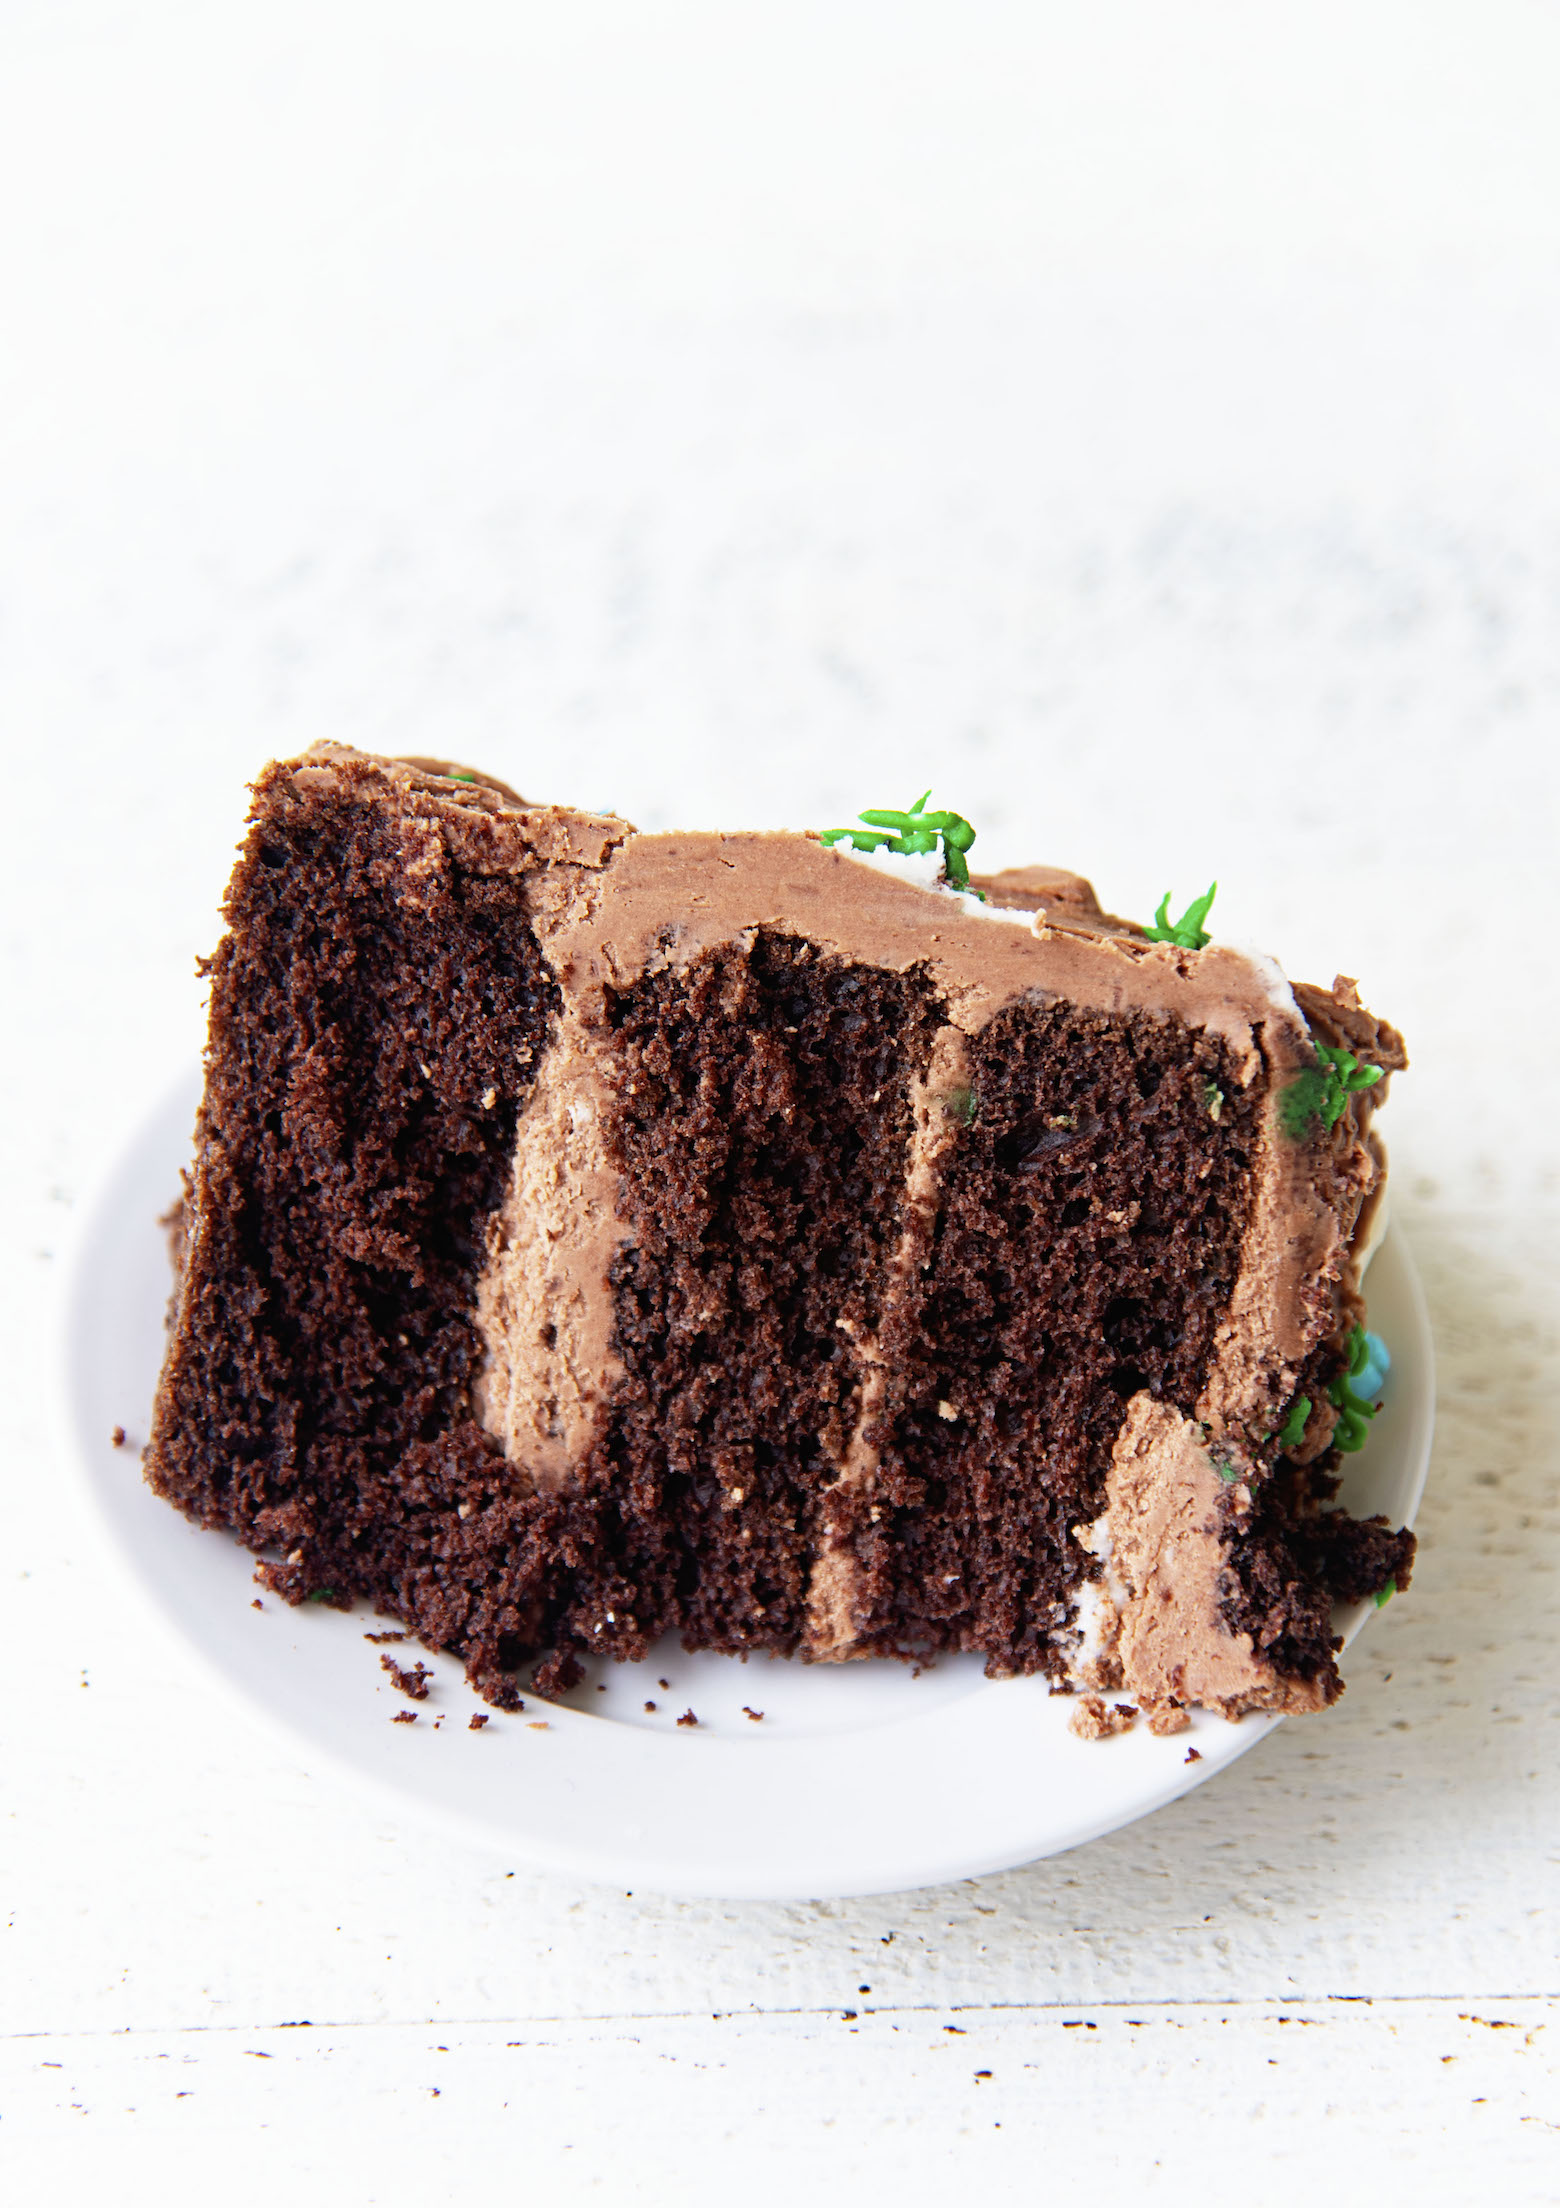
This has a simple chocolate cake base filled with fudge frosting.
My favorite fudge frosting to be exact.
I figured I would make the cake chocolate to represent the dirt below the surface.
The outside of the cake is half fudge frosting and half vanilla frosting.
I suggest frosting the white side of the cake first.
Otherwise you will end up smearing some chocolate into the white.
Which is actually more realistic to when snow melts and things get all messy. 🙂
The vanilla frosting gets used for half the cake but also for the decor.
It’s colored green to make grass peeking out of the ground to represent the spring side.
And then it’s colored blue to make snowflakes (and some candy snowflakes) on the winter side.
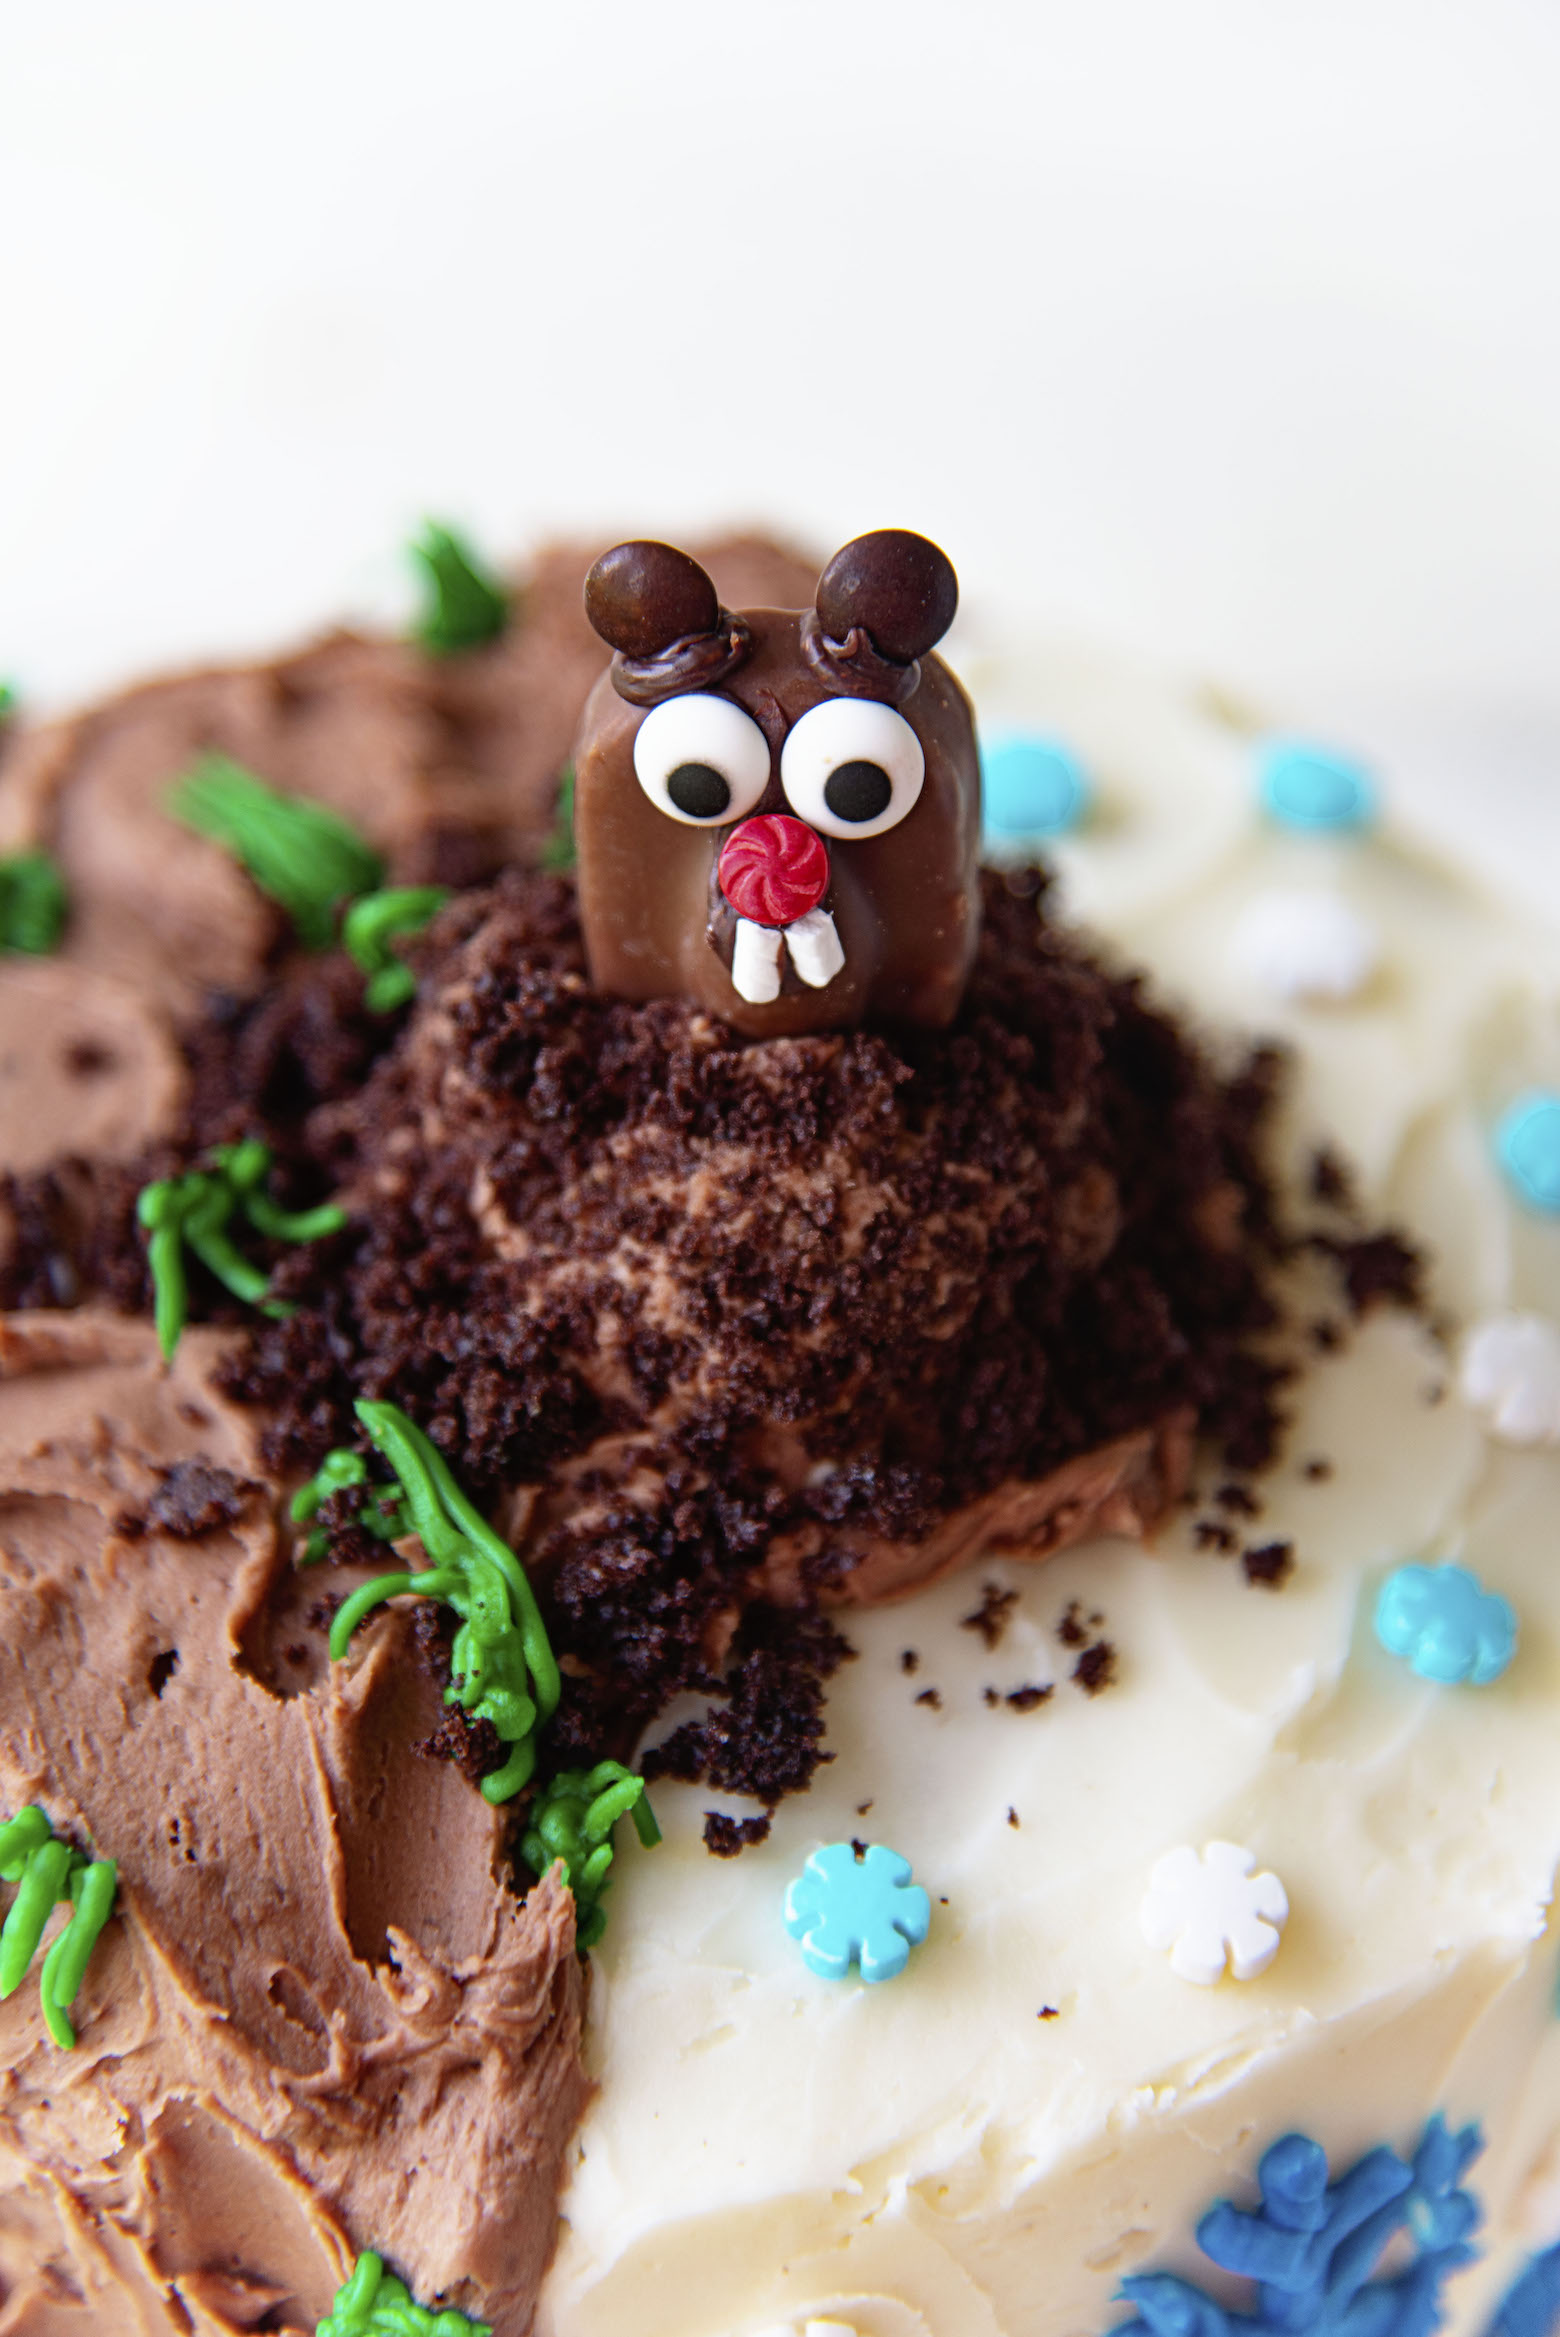
The candy groundhog sits in the middle on a mound of fudge frosting that is covered in leftover cake crumbs.
You get the cake crumbs from when you slice off the tops of the cakes to make them even.
So whether you are team winter or team spring this cake is a fun way to celebrate the holiday.
Kids love it.
As do adults who are not that great at being a grown up (raises hand).
So why not make this cake and celebrate a holiday that should get far more attention than it does.
P.S. It’s a great day to buy my cookbook Holy Sweet!
Want more Layer Cake Recipes?
Circus Animal Cookie Layer Cake
Strawberry Lemonade Layer Cake
Strawberry Mascarpone Buttermilk Layer Cake
Groundhog Day Layer Cake
Ingredients
- For the Groundhog:
- 1 Almond Joy Miniature
- 2 brown mini M&M's
- 2 all white candy cane sprinkles, cut in half, using only the straight part
- 1 round red sprinkle for nose
- 2 candy eyeballs
- 1 TBSP melted chocolate to use to adhere the groundhog pieces
- For the Cake:
- 1 1/2 cups all-purpose flour
- 2 tsp baking powder
- 3/4 tsp baking soda
- 3/4 tsp salt
- 11 TBSP unsalted butter, softened
- 1 1/2 cups granulated sugar
- 2/3 cup Dutch-processed cocoa powder
- 2 large eggs
- 1 tsp vanilla
- 1 1/3 cups warm water
- For the Fudgy Chocolate Frosting:
- 3 ounces unsweetened chocolate, coarsely chopped
- 3 ounces bittersweet chocolate, coarsely chopped
- 1 cup unsalted butter
- 2 cups powdered sugar
- 1 TBSP vanilla extract
- For the Vanilla Buttercream:
- 1 1/2 cups (3 sticks) unsalted butter, room temperature
- 3 cups powdered sugar, sifted
- 1 tsp vanilla extract
- 1/8 tsp salt
Instructions
- For the Groundhog:
- Unwrap the Almond Joy if you haven't yet.
- Place melted chocolate into a piping bag.
- Pipe a little chocolate dot behind each eyeball and place them onto the Almond Joy bar.
- Pipe a little chocolate dot on the back of the round red sprinkle and place below the eyes as this is the nose.
- Pipe a little chocolate dot onto the Almond Joy just below the red nose and place two of the white candy "teeth".
- Pipe two chocolate dots on top of the groundhog head and place a brown mini M&M as ears.
- Set aside to firm up.
- For the Cake:
- Preheat oven to 325F.
- Grease two 9 inch cake rounds and dust with flour.
- Sift together the flour, baking soda, baking powder, and salt in a medium bowl. Mix to incorporate.
- Beat the butter at medium speed until creamy.
- Gradually add the sugar and beat on high speed for about 3 minutes.
- Add the cocoa powder and beat for 1 minute.
- Scrape down the sides with a spatula.
- Beat in the eggs one at a time.
- Beat in the vanilla.
- On low speed, add the flour mixture in three additions alternating with the warm water in two additions.
- Scrape down the sides of the bowl and mix at low speed for 30 seconds. Pour batter into prepared pans.
- Bake cake for 35-45 minutes. Cool cake for 20 minutes after baking.
- Remove cake from pan and let cool completely before frosting.
- For the Chocolate Fudge Frosting:
- Put both chocolates in a stainless steel bowl and place bowl over a pot of barely simmering water.
- Heat, stirring frequently, until the chocolate is completely melted.
- Remove the bowl from the pot and set the chocolate aside to cool.
- In the bowl of an electric mixer, using the paddle attachment, beat the butter on medium until creamy, about 30 seconds.
- Gradually add the powdered sugar and beat at high speed until light and creamy, about 2 minutes.
- Beat in the vanilla.
- Add the cooled chocolate at low speed, mixing until blended and scraping down the sides of the bowl as necessary.
- Increase the speed to high and beat until slightly aerated, about 1 minute
- For the Vanilla Frosting:
- Add the butter to the bowl of a stand mixer. Beat until the butter is pale, very smooth, and makes a slapping sound as it hits the sides of the bowl. This takes about 30 seconds if you butter is really soft, a bit longer if the butter is cooler.
- Add the sugar one cup at a time. Mix until it is incorporated before you add the next cup.
- When all of the sugar has been added, scrape the paddle and the sides of the bowl. Add the vanilla and salt, beat on low speed for 15 seconds.
- Increase the speed to high (or just high enough so that it doesn’t make a mess). Beat until whipped, light, and perfectly smooth, about 5 minutes. Scrape the bowl once or twice. The frosting will look like it is getting really soft, but it will stiffen and increase in volume.
- To Assemble the Cake:
- Using a serrated knife, even out the top of each cake layer. Put those crumbs aside as you will use them as the "dirt" for the Groundhog hill.
- Place one cake layer on the bottom.
- Frost the layer with fudge frosting.
- Place the second layer on top of that layer.
- Frost that layer with fudge frosting.
- Place the top layer on top of that.
- Frost half of the cake with the fudge frosting.
- Frost the other half of the cake with the vanilla frosting.
- Take an ice cream scoop and scoop out some fudge frosting.
- Place on top in the middle of the cake sitting half of the fudge side and half on the vanilla side.
- Top with the leftover cake crumbs to look like dirt.
- Place groundhog in the center of the mound.
- Take 1/2 cup of vanilla frosting out and put into a bowl with some green food coloring and mix until the white frosting is green. Place into a piping bag fitted with the grass tip (Wilton tip 233).
- Pipe green grass coming out of the fudge frosting side so show signs of spring grass coming through.
- Take a cup of vanilla frosting and put into a bowl with some blue food coloring and mix until the white frosting is blue. Place into a piping bag fitted with a writing tip (Wilton tip 2) and pipe snowflakes on the vanilla side of the cake to represent winter.
Molly says
Being a longtime reader I thought of you this morning when I saw Punxsutawney Phil on TV. Happy Groundhog Day! This cake is adorable and looks delicious.
Peabody says
Did you see the Jeep commercial they did with Bill Murray and the groundhog?
Molly says
Oh yeah, was that the super bowl one? I had forgotten about it so just went and watched it again – so fun!
Peabody says
Yes, it was but they have an extended version of it.