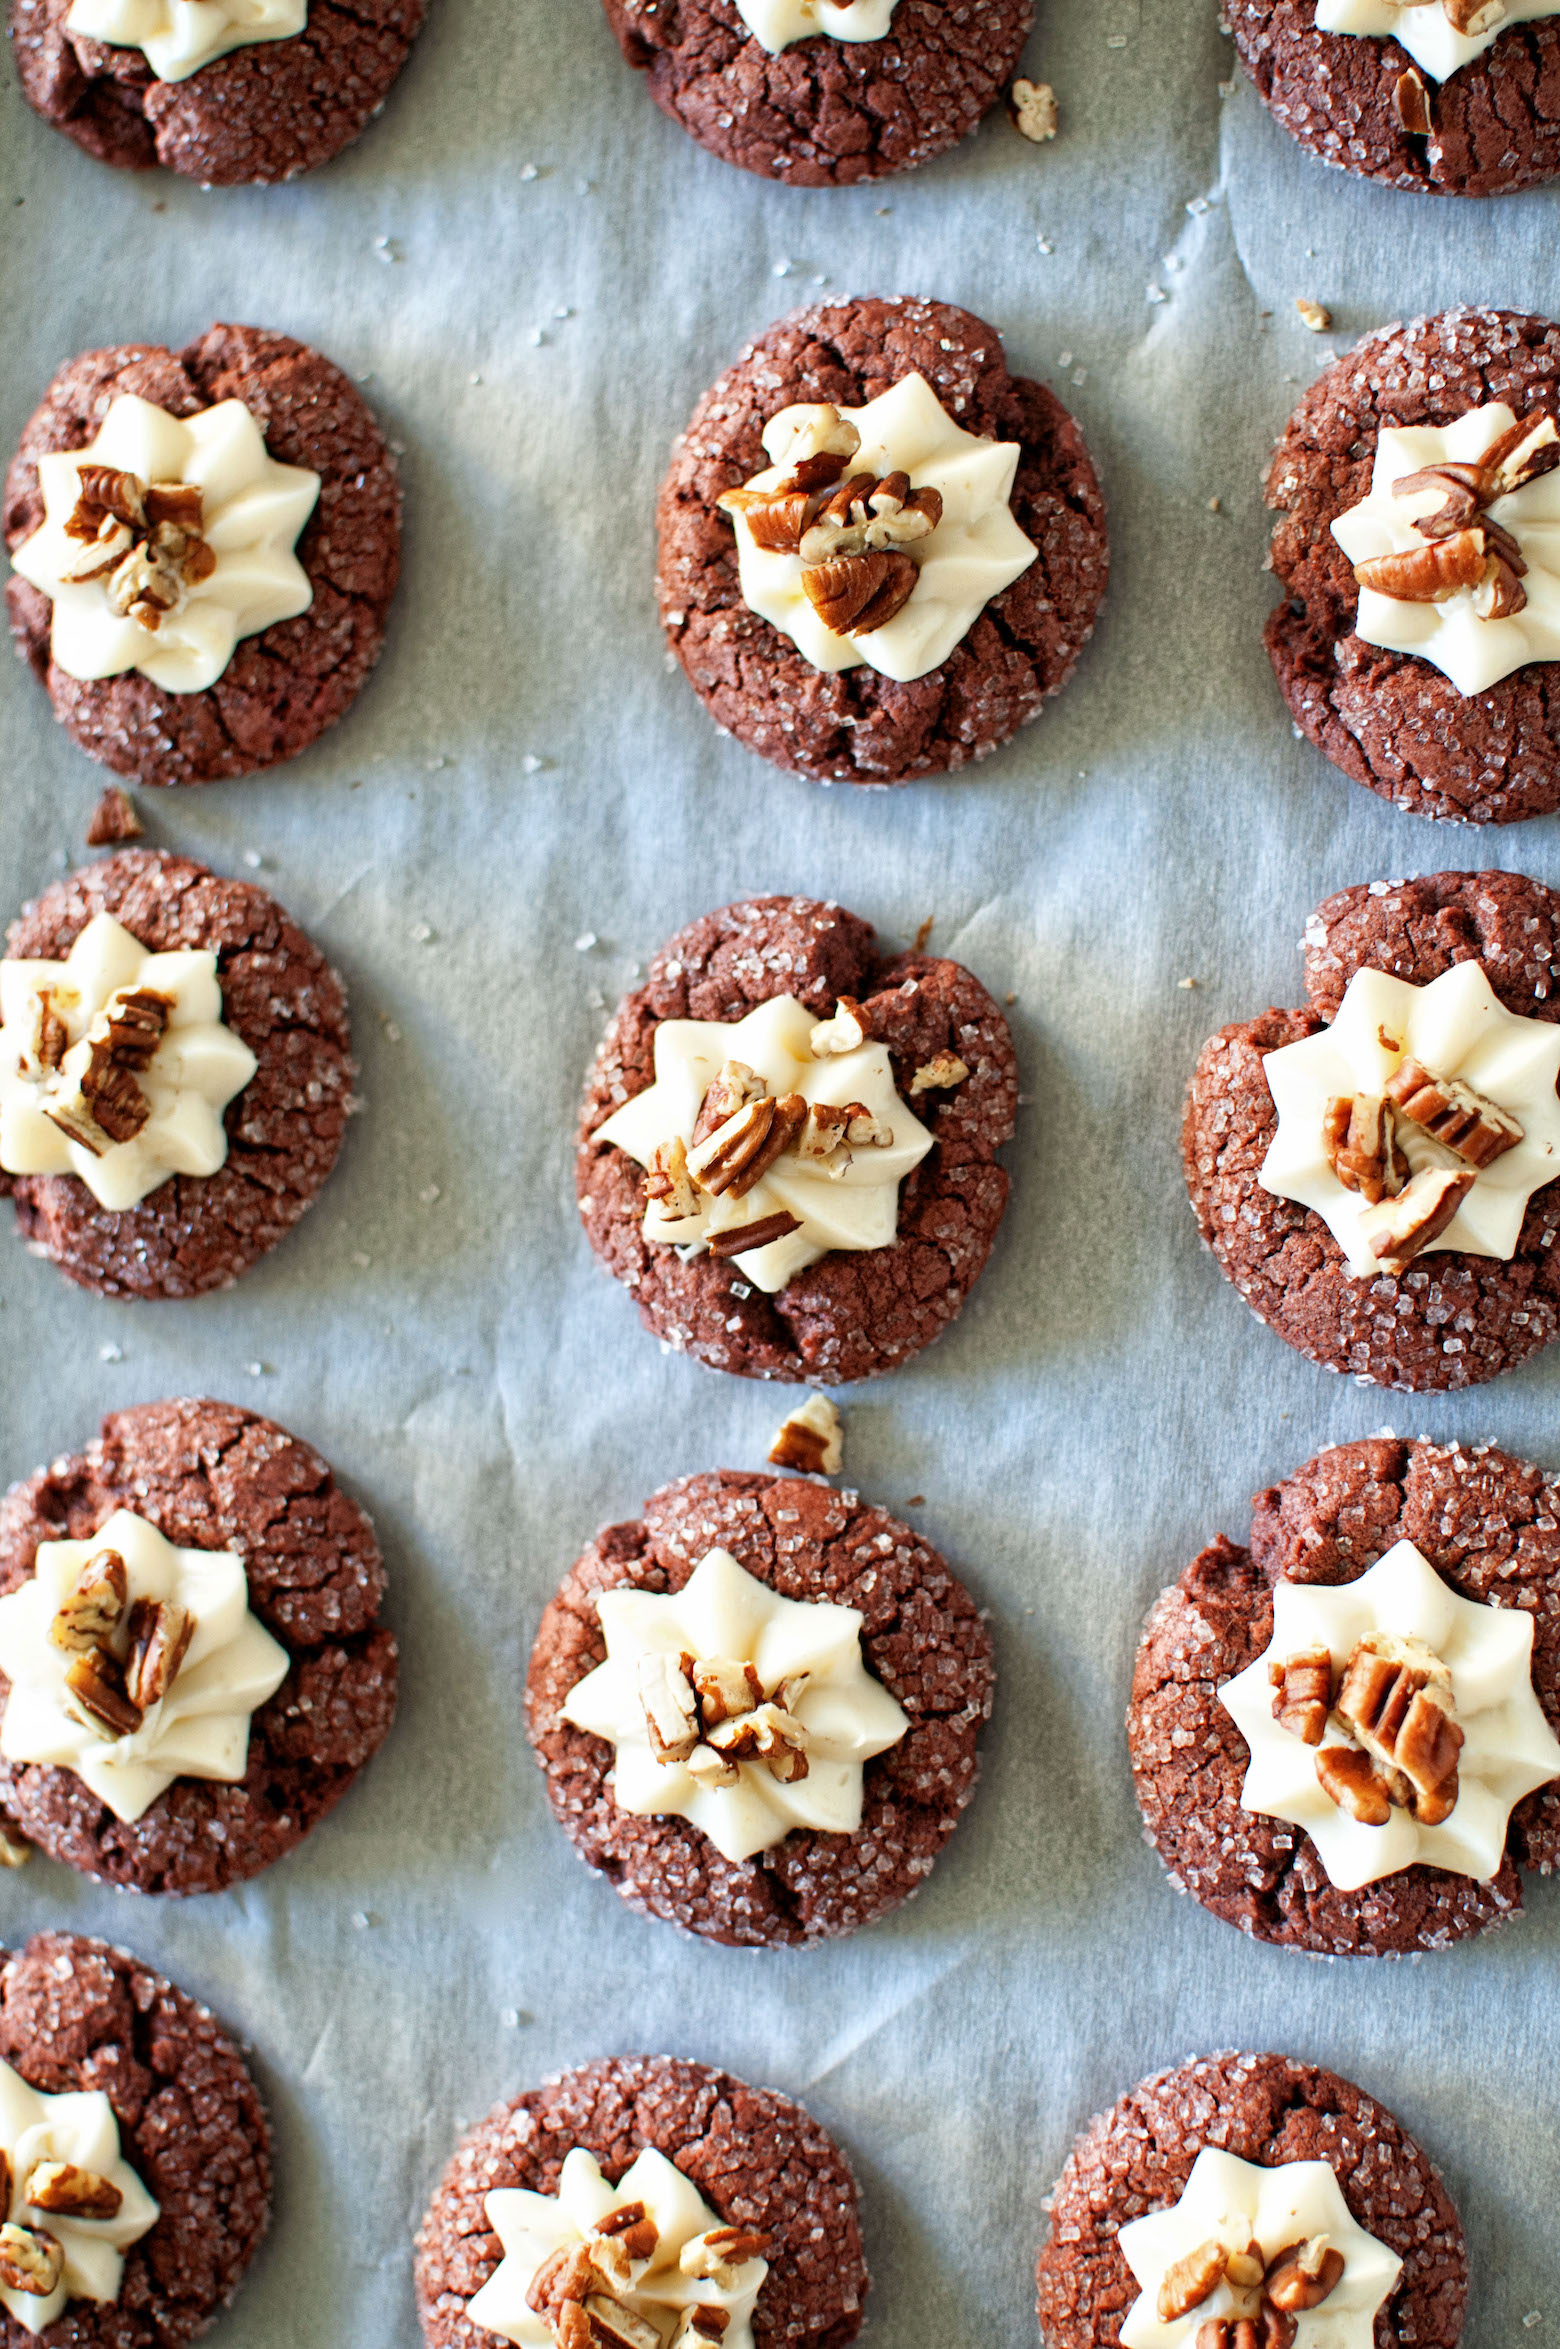
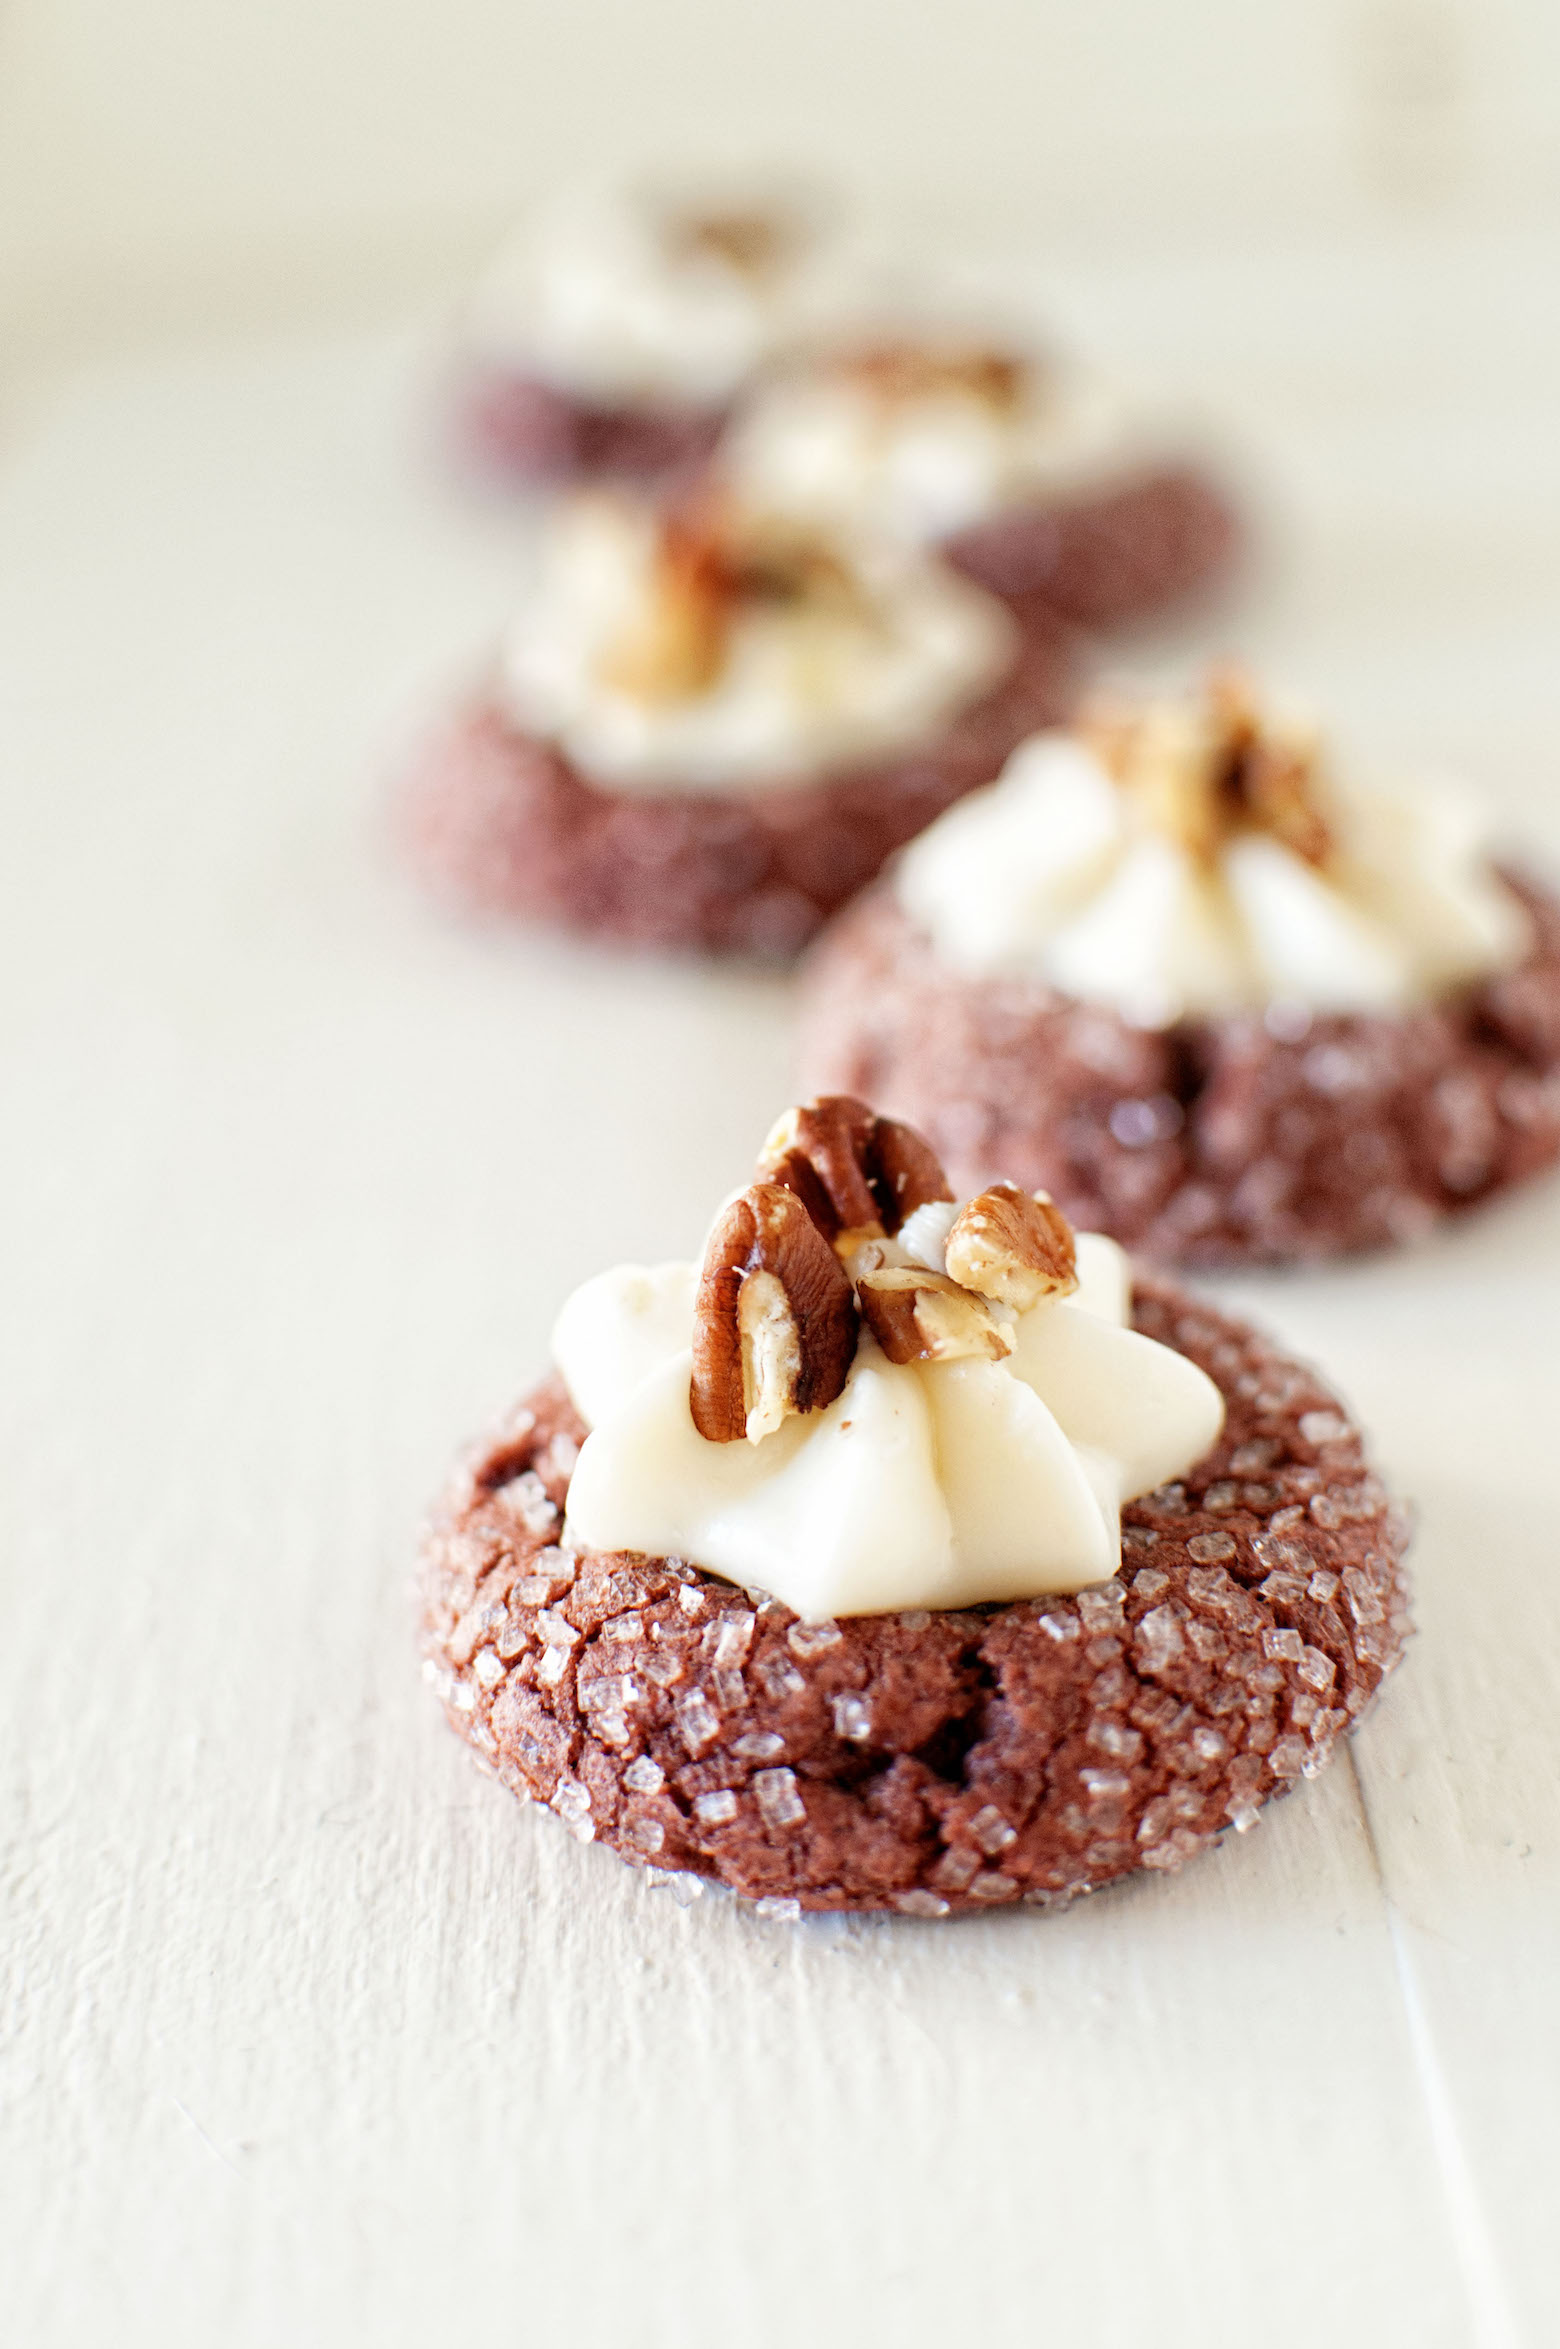
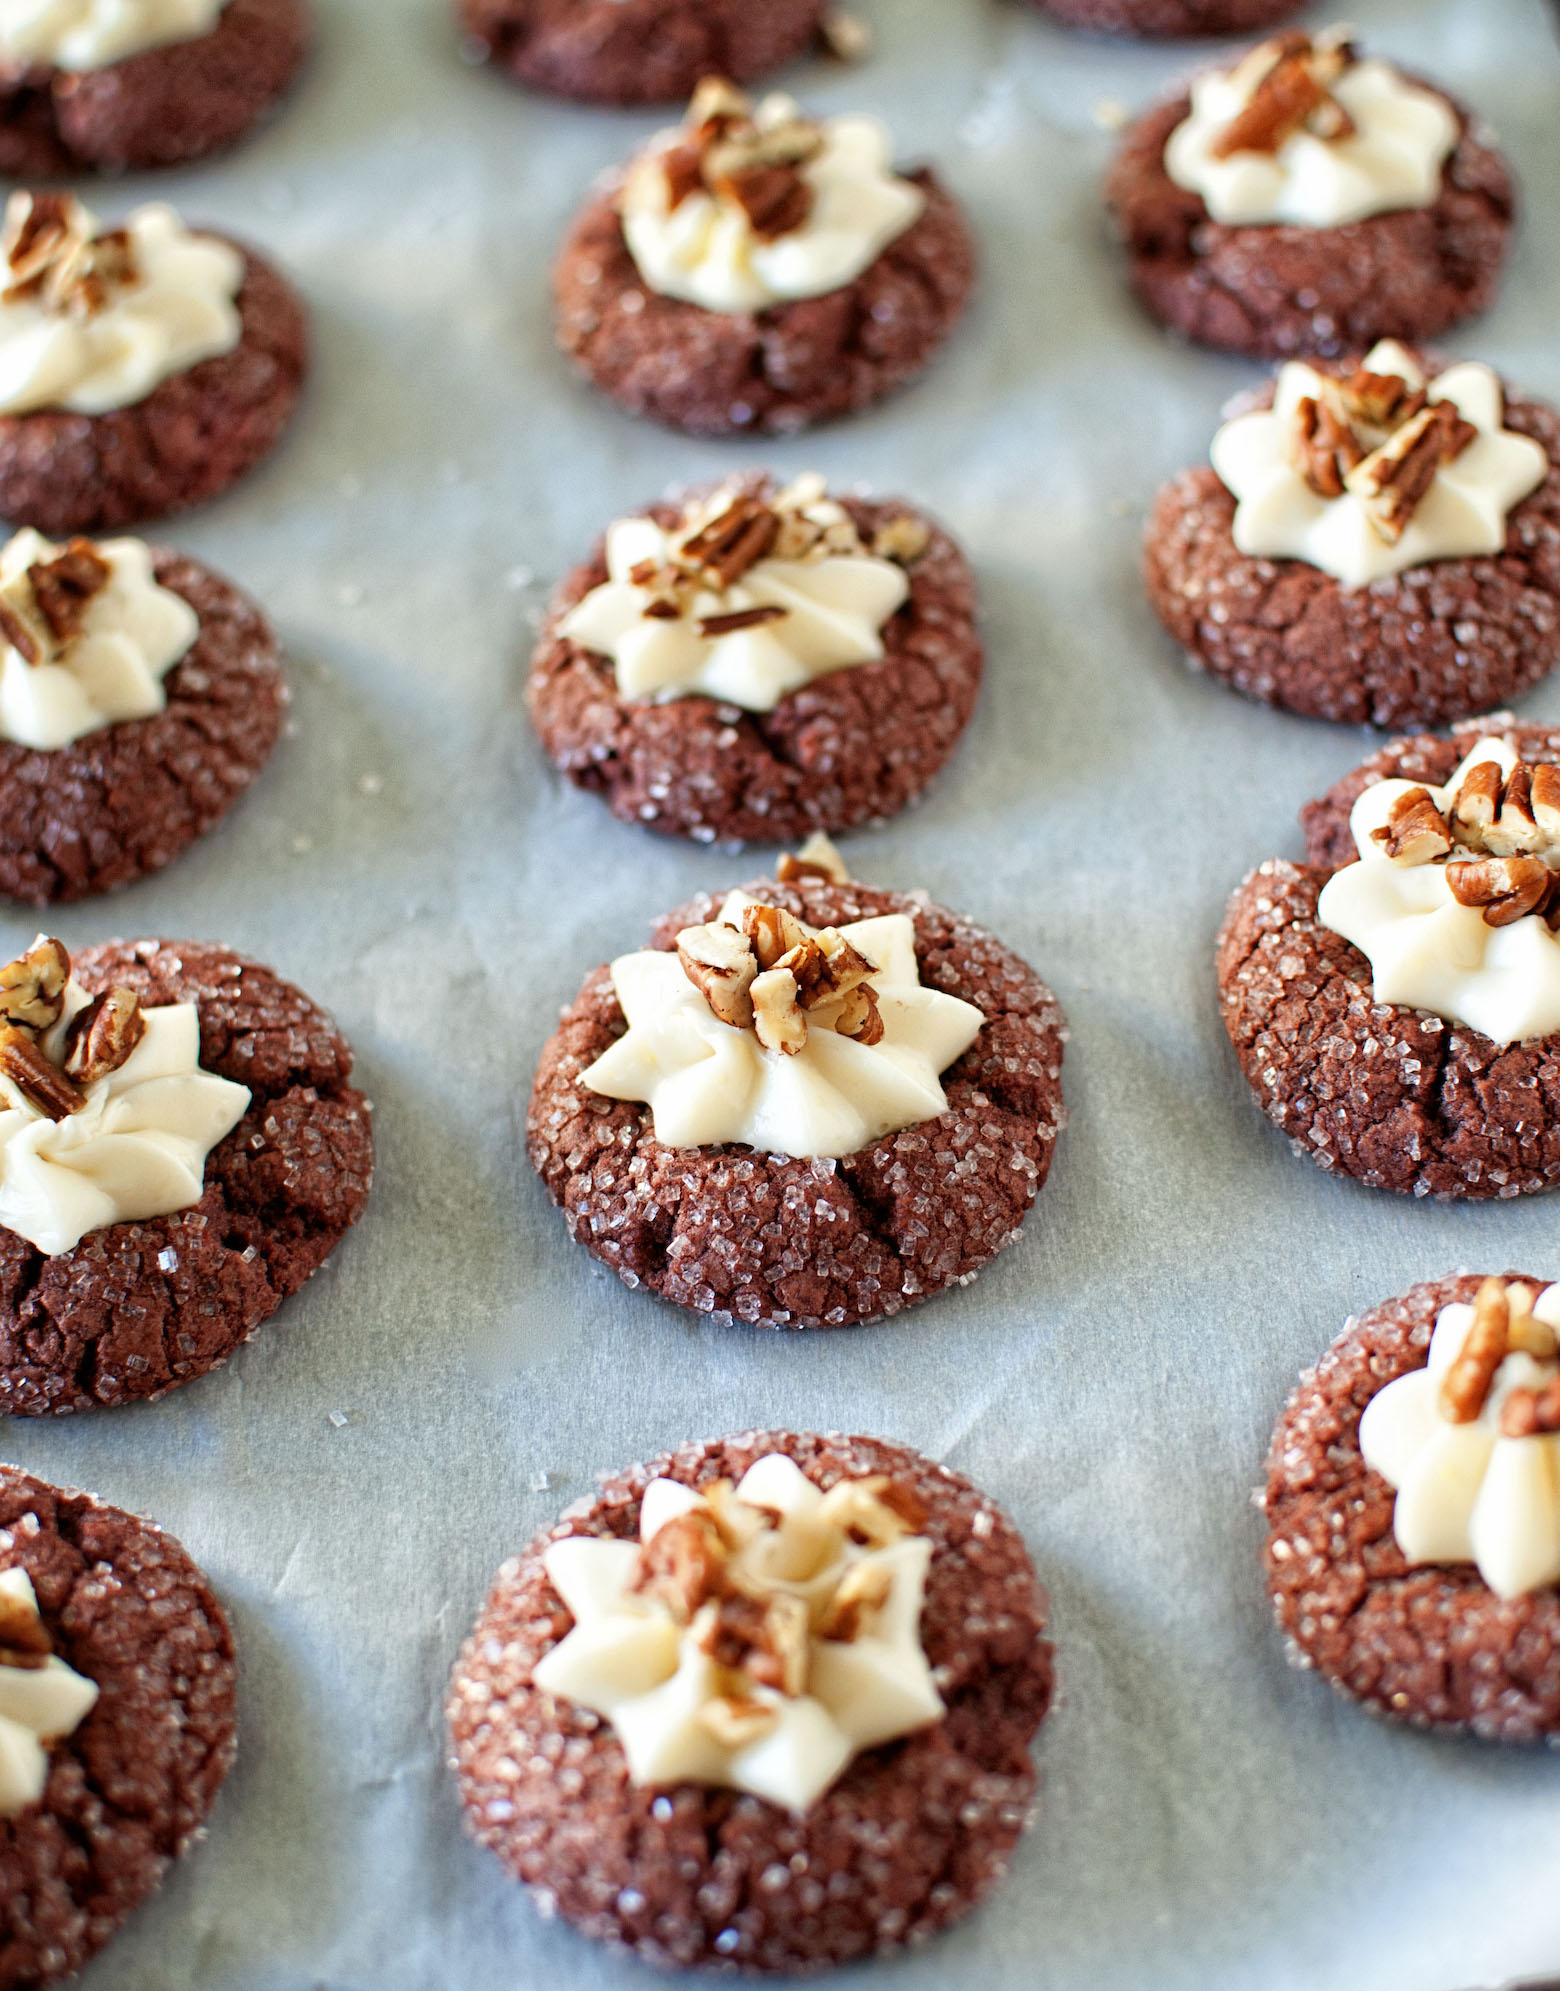
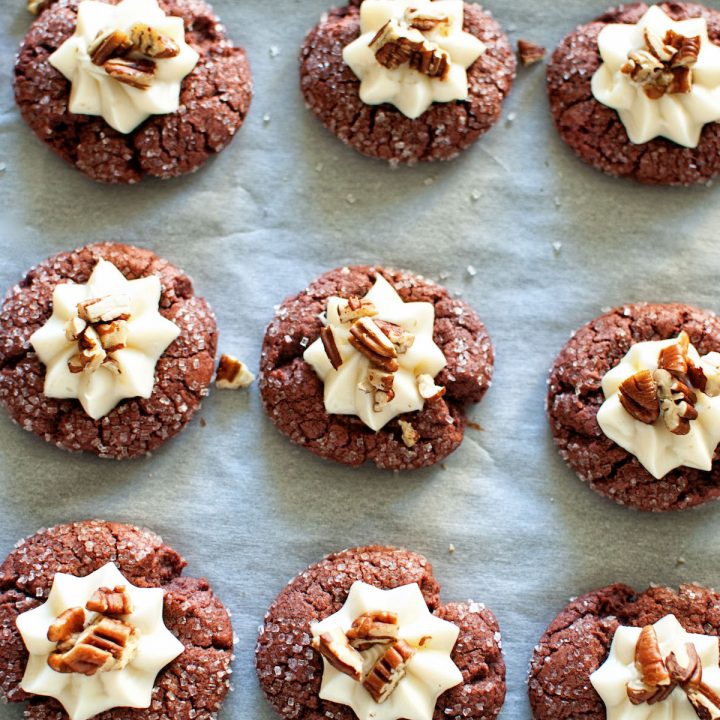
These Red Velvet Thumbprint Cookies have a hint of cocoa and the cookies are made even better with the addition of cream cheese frosting.

Between now and Christmas it’s prime baking time.
To help make your baking easier I’m going to offer a few suggestions.
Cookies:
When baking cookies you are going to want to under-bake them for about a minute.
Why? Because they continue to bake on the cookie sheet after they come out of the oven.
This will help keep your cookies soft.
If you don’t own a cookie scoop yet, I highly suggest one.
Most cookie dough can be frozen.
Just like you buy at the store you can pre-scoop the cookie dough out and freeze it.
Then when ready to use you can let it thaw and bake fresh.
You can also do what I prefer to do which is to freeze the baked cookie.
This of course does not work for every cookie but will for most.
It’s great for when guest stop over unannounced or with little notice.
Cakes:
Parchment paper baking circles.
They are simply parchment paper that is cut out in rounds depending on cake size.
These will ensure that your cake that you slaved over does not stick to the bottom of the pan.
Every time I skip using one I immediately regret it.
While I am no cake decorating pro I will say that frosting cakes became much easier when I invested in a cake turntable.
A offset spatula is a good idea as well.
If your cake is uneven…simply cut off the uneven part.
They even make tools for that or you can use just a plain old knife.
Cheesecakes:
Cheesecakes love to crack, especially if you do not bake it in a water bath.
To cover the cracks simply cover with whipped cream or you can get fancier and top with chocolate mousse.
When baking a cheesecake and it tells you it will take an hour, DON’T open the oven until the time is up.
This will also prevent the cheesecake from cracking.
Pastry that you Roll Out:
Cheat.
People often ask how do I get my cinnamon roll dough to be a perfect 12-x-18-inches, that they can’t ever roll it out like that.
Just cut it to fit the dimensions.
That’s what bakeries do.
Same goes for pie crust…cheat.
Trim with a knife.

Holidays are a time for splurging and I suggest buying the best ingredients that are in your budget.
That being said, make sure not to waste those special ingredients on those that would not appreciate it.
Say 7 year old kids at a holiday party.
Don’t use the $16 a pound European chocolate on them. 🙂
In fact, throw cake mix at them.
My favorite splurges are:
The best milk chocolate.
I love this spice pack for the holidays.
Good vanilla.
Fail proof yeast.
Amazing butter.
If you have a Winco where you live they sell it the cheapest I have seen.
The greatest caramel sauce.
With Thanksgiving being this Thursday, the next big baking for most people are Christmas cookies.
I’m always looking for a new cookie to bring to cookie exchange and this year is a nod to the Picky Eater.
Who just happened to move back to Seattle last month.
He is a southern boy and so he enjoys himself some Red Velvet.
These Red Velvet Thumbprint Cookies are fun and have cream cheese frosting as a filling…so you pretty much can’t go wrong with them.
You don’t need to roll them in the sanding sugar but I feel it adds a little sparkle for the holiday season.
P.S. It’s a great day to buy my cookbook.

Want More Holiday Cookies?
Mini Chocolate Gingerbread Men Sandwich Cookies
Shortbread Roll Out Sugar Cookies
Cranberry Orange Pistachio Cookies
Vanilla Bean Caramel Thumbprint Cookies

Red Velvet Thumbprint Cookies
Ingredients
- For the Cookie Dough:
- 1/2 cup unsalted butter, at room temperature
- 2/3 cup granulated sugar
- 1/2 tsp. vanilla extract (I used Rodelle)
- 1 1/2 tsp. red food coloring
- 1 1/2 cups all-purpose flour
- 2 TBSP unsweetened cocoa powder (I used Rodelle)
- 1 tsp. baking powder
- 1/4 tsp. baking soda
- 1/4 tsp. salt
- 1/2 cup white sanding sugar
- Cream Cheese Filling:
- 1/2 cup cream cheese, at room temperature
- 2 TBSP unsalted butter, at room temperature
- 2 cups powdered sugar
- 3 tsp. whole milk
- 1 tsp. vanilla extract
- pinch of salt
- Topping:
- 1/2 cup chopped toasted pecans
Instructions
- Cookie Dough:
- Using a stand mixer with a paddle attachment, beat together the butter, sugar, and vanilla on medium speed until fluffy, about 3 minutes.
- Scrape down the sides and bottom of bowl.
- Add egg and beat until fully combined.
- Add the food coloring and mix until combined.
- Add the flour, cocoa, baking powder, baking soda, and salt.
- Mix until fully combined.
- Wrap in plastic wrap and chill for 1 hour.
- Preheat oven to 350F.
- Line two baking pans with parchment paper.
- Roll dough in to 1-inch balls.
- Roll the balls into the sanding sugar.
- Place balls 2-inches apart on the prepared pans.
- Using your thumb or the back of a spoon, gently make an indentation in the center of each ball.
- Bake until puffed, about 10 minutes.
- Remove from oven and press down centers again.
- Return to oven, and bake until set, about 3 minutes more.
- Let cool on pans for 2 minutes.
- Remove from pans, and let cool completely on wire racks.
- Cream Cheese Filing:
- Using a stand mixer with a paddle attachment, beat together the cream cheese and butter on medium speed until creamy.
Liz says
My husband would love this recipe (another Southern boy) but he’s allergic to cream cheese. Any suggestions on what else I could top the cookie with?
Peabody says
Melted white chocolate could be good as a replacement.
Alice says
I cannot wait to make these cookies!
Peabody says
I hope you like them. 🙂